DIY Faux Lime Wash Walls

HOW TO DIY FAUX LIME WASH WALLS
I have a lime washed wall obsession.
I think lime washed paint is just so beautiful with its organic textures and natural, earthy tones. It just makes a room feel so warm and inviting. And I’ve wanted it on the (some, any) walls of my home for as long as I can remember. But living in a rental, it’s not the most practical option. Why, you might ask? Well, to answer that questions, let’s start at the beginning with the basics, like what exactly even is lime wash paint.
Lime wash is a natural, mineral based paint made with crushed limestone that gets burned and mixed with water to make a sort of putty. The putty then gets aged, thinned and colored with natural pigments before it’s ready to use. One of the original house paints, it’s been around for centuries now, dating back to Roman times, and is a staple in much of Europe. More recently, it’s gained popularity for more modern homes in other parts of the world, I’m sure largely thanks to Instagram, where lime washed walls can frequently be seen on any given scroll. But it’s no surprise. With its chalky consistency it creates a matte and mottled surface that’s a perfect way to add depth to your walls. On top of that, its textured and organic look only gets better as it ages. Since it’s free of solvents and made with natural pigments, it’s also much more environmentally friendly than regular paint. Plus, with lime’s high pH level it also means microorganisms can’t survive, making it hypoallergenic, as well.
Lime wash can be used on interior and exterior surfaces. Since it sink into materials versus sitting on top like traditional paint, it does best on porous surfaces, things that are usually in outdoor spaces, like plaster, stone and brick. However, with the right primer, such as an acrylic primer, this eco friendly paint can be used on drywall.
Since this post is about a DIY faux lime wash look I want to focus on that so I won’t go into full details, but you can find a paint company that specializes in lime wash paints fairly easily these days and they do a great job of explaining how-to, techniques, helping you pick colors, etc.
DIY faux lime wash is a great way to add that same warmth and texture to a room as traditional lime wash paint, but the application is a little less time consuming, the technique is a little bit easier and the overall project is little bit more budget friendly, making it perfect for a renter, someone on a budget, or maybe even someone who wants to just test out the look, dip their toes in the lime wash paint, so to speak, without fulling committing. Plus, you don’t need any specialty supplies. You only need a few simple things, which you can easily get at your local hardware store, and one which you may already have in your kitchen cabinet.
So, without further ado, enough of me talking. Let’s get into what you really came here for.


DIY FAUX LIME WASH
YOUR HOW-TO GUIDE + TUTORIAL
DIY FAUX LIME WASH WALLS TUTORIAL

SUPPLIES YOU NEED
PAINT (whatever color you choose be sure to get it in a matte finish)
PAINTER’S TRAY, LARGE SHALLOW DISH OR TRAY OR A PLASTIC CONTAINER (FOR MIXING)
A VARIETY OF FOAM PAINT BRUSHES, REGULAR PAINT BRUSHES, FOAM ROLLER, A SPONGE, OLD RAGS, WHATEVER YOU CHOOSE TO USE TO APPLY THE PAINT
CLEAN WATER
AN OLD TOWEL OR BLANKET OR A BOX (FOR YOUR MIXING/PAINT STATION)
PAINTER’S TAPE, OLD NEWSPAPERS, WHATEVER YOU NEED TO COVER/PROTECT, SEAL THE AREA YOU’RE PAINTING

STEP 1
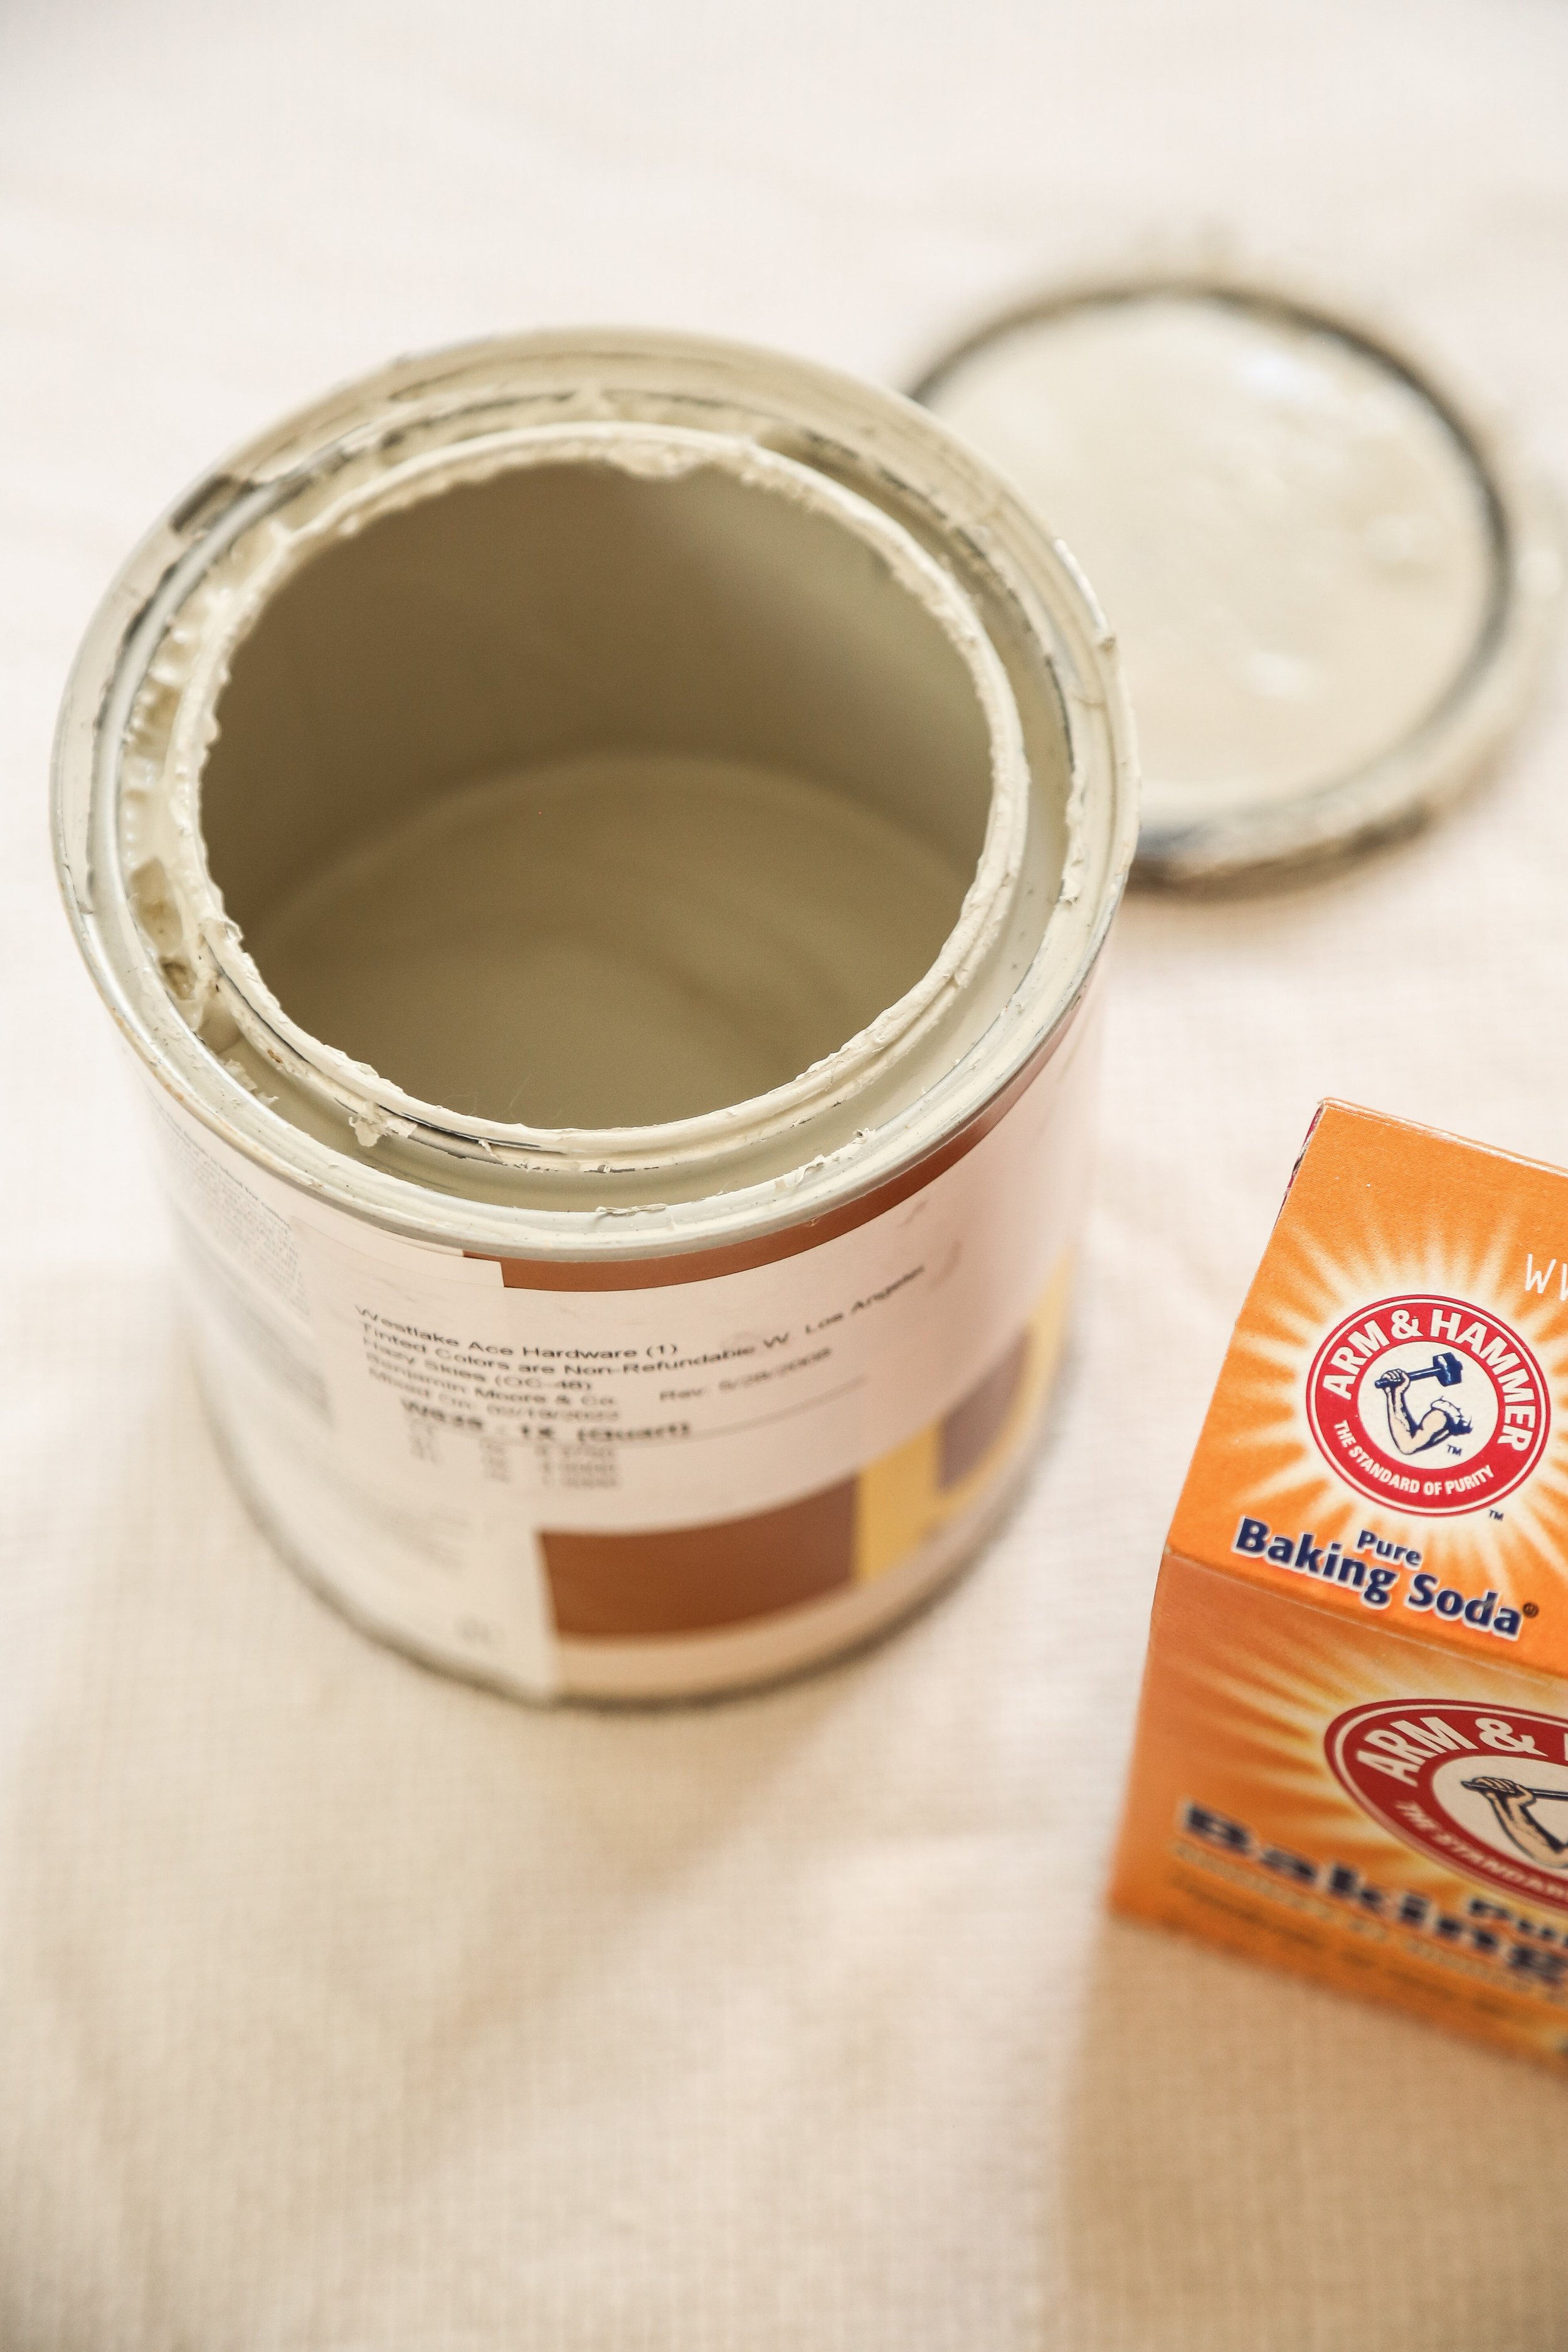
Select your paint colors. Since lime wash is a natural material, for the faux lime wash, I’d say that it’s best to stick to natural, earthy tones when choosing a color. You also want to make sure that whichever color you choose, you get it in a matte finish. For me, I went with Benjamin Moore’s Hazy Skies as my main color, and Swiss Coffee where needed for lighter tones.


STEP 2
Prep your walls. Wipe them down with a damp rag, make sure they’re clean and free of any dirt, particles, etc. Then allow them to dry.
Since our walls were previously painted, and this is a rental, I chose not to use a primer to keep effort and cost down. However, you could definitely prime your walls first, if you prefer.
This is all the time you’ll want to fill in any holes (and, in the case of our old kitchen, any cracks, gaps, etc.), sand down any extra rough spots, place down newspaper or old towels, cover any necessary things (like appliances) and apply painter’s tape where needed.


STEP 3
Make the paint mixture. I found 1 part baking powder to 3 parts paint to be the ideal consistency for me and the look I was going for, but feel free to play around to reach a consistency you like. You can also use plaster of paris instead of baking soda. Baking soda will give you a softer, more forgiving texture whereas plaster will give you a texture that is a little more bold and defined. Another note, and why I chose the baking soda route instead, if you do choose plaster, you have to work with much smaller batches and much faster as it dries within a few minutes. The baking soda mixture, however, acts like regular paint (aka it doesn’t dry quickly), giving you ample time to paint. Given how technique and the time it takes to apply the paint to achieve the look we’re going for here, I’d recommend the baking soda route, as well.
To mix the paint- you can use a small plastic container, a tray, a painter’s tray, whatever works for you and the painting tools you choose to use. To combine the mixture, you can use a stirring stick, your brush (not the most efficient though), or, if you have an old whisk, that would also be a great option.
A tip- either way, I’d recommend mixing up the paint in small batches to keep it fresh and from drying too quickly. It’s also easier to get any lumps out and make it smooth when it’s mixed in small batches.

STEP 4
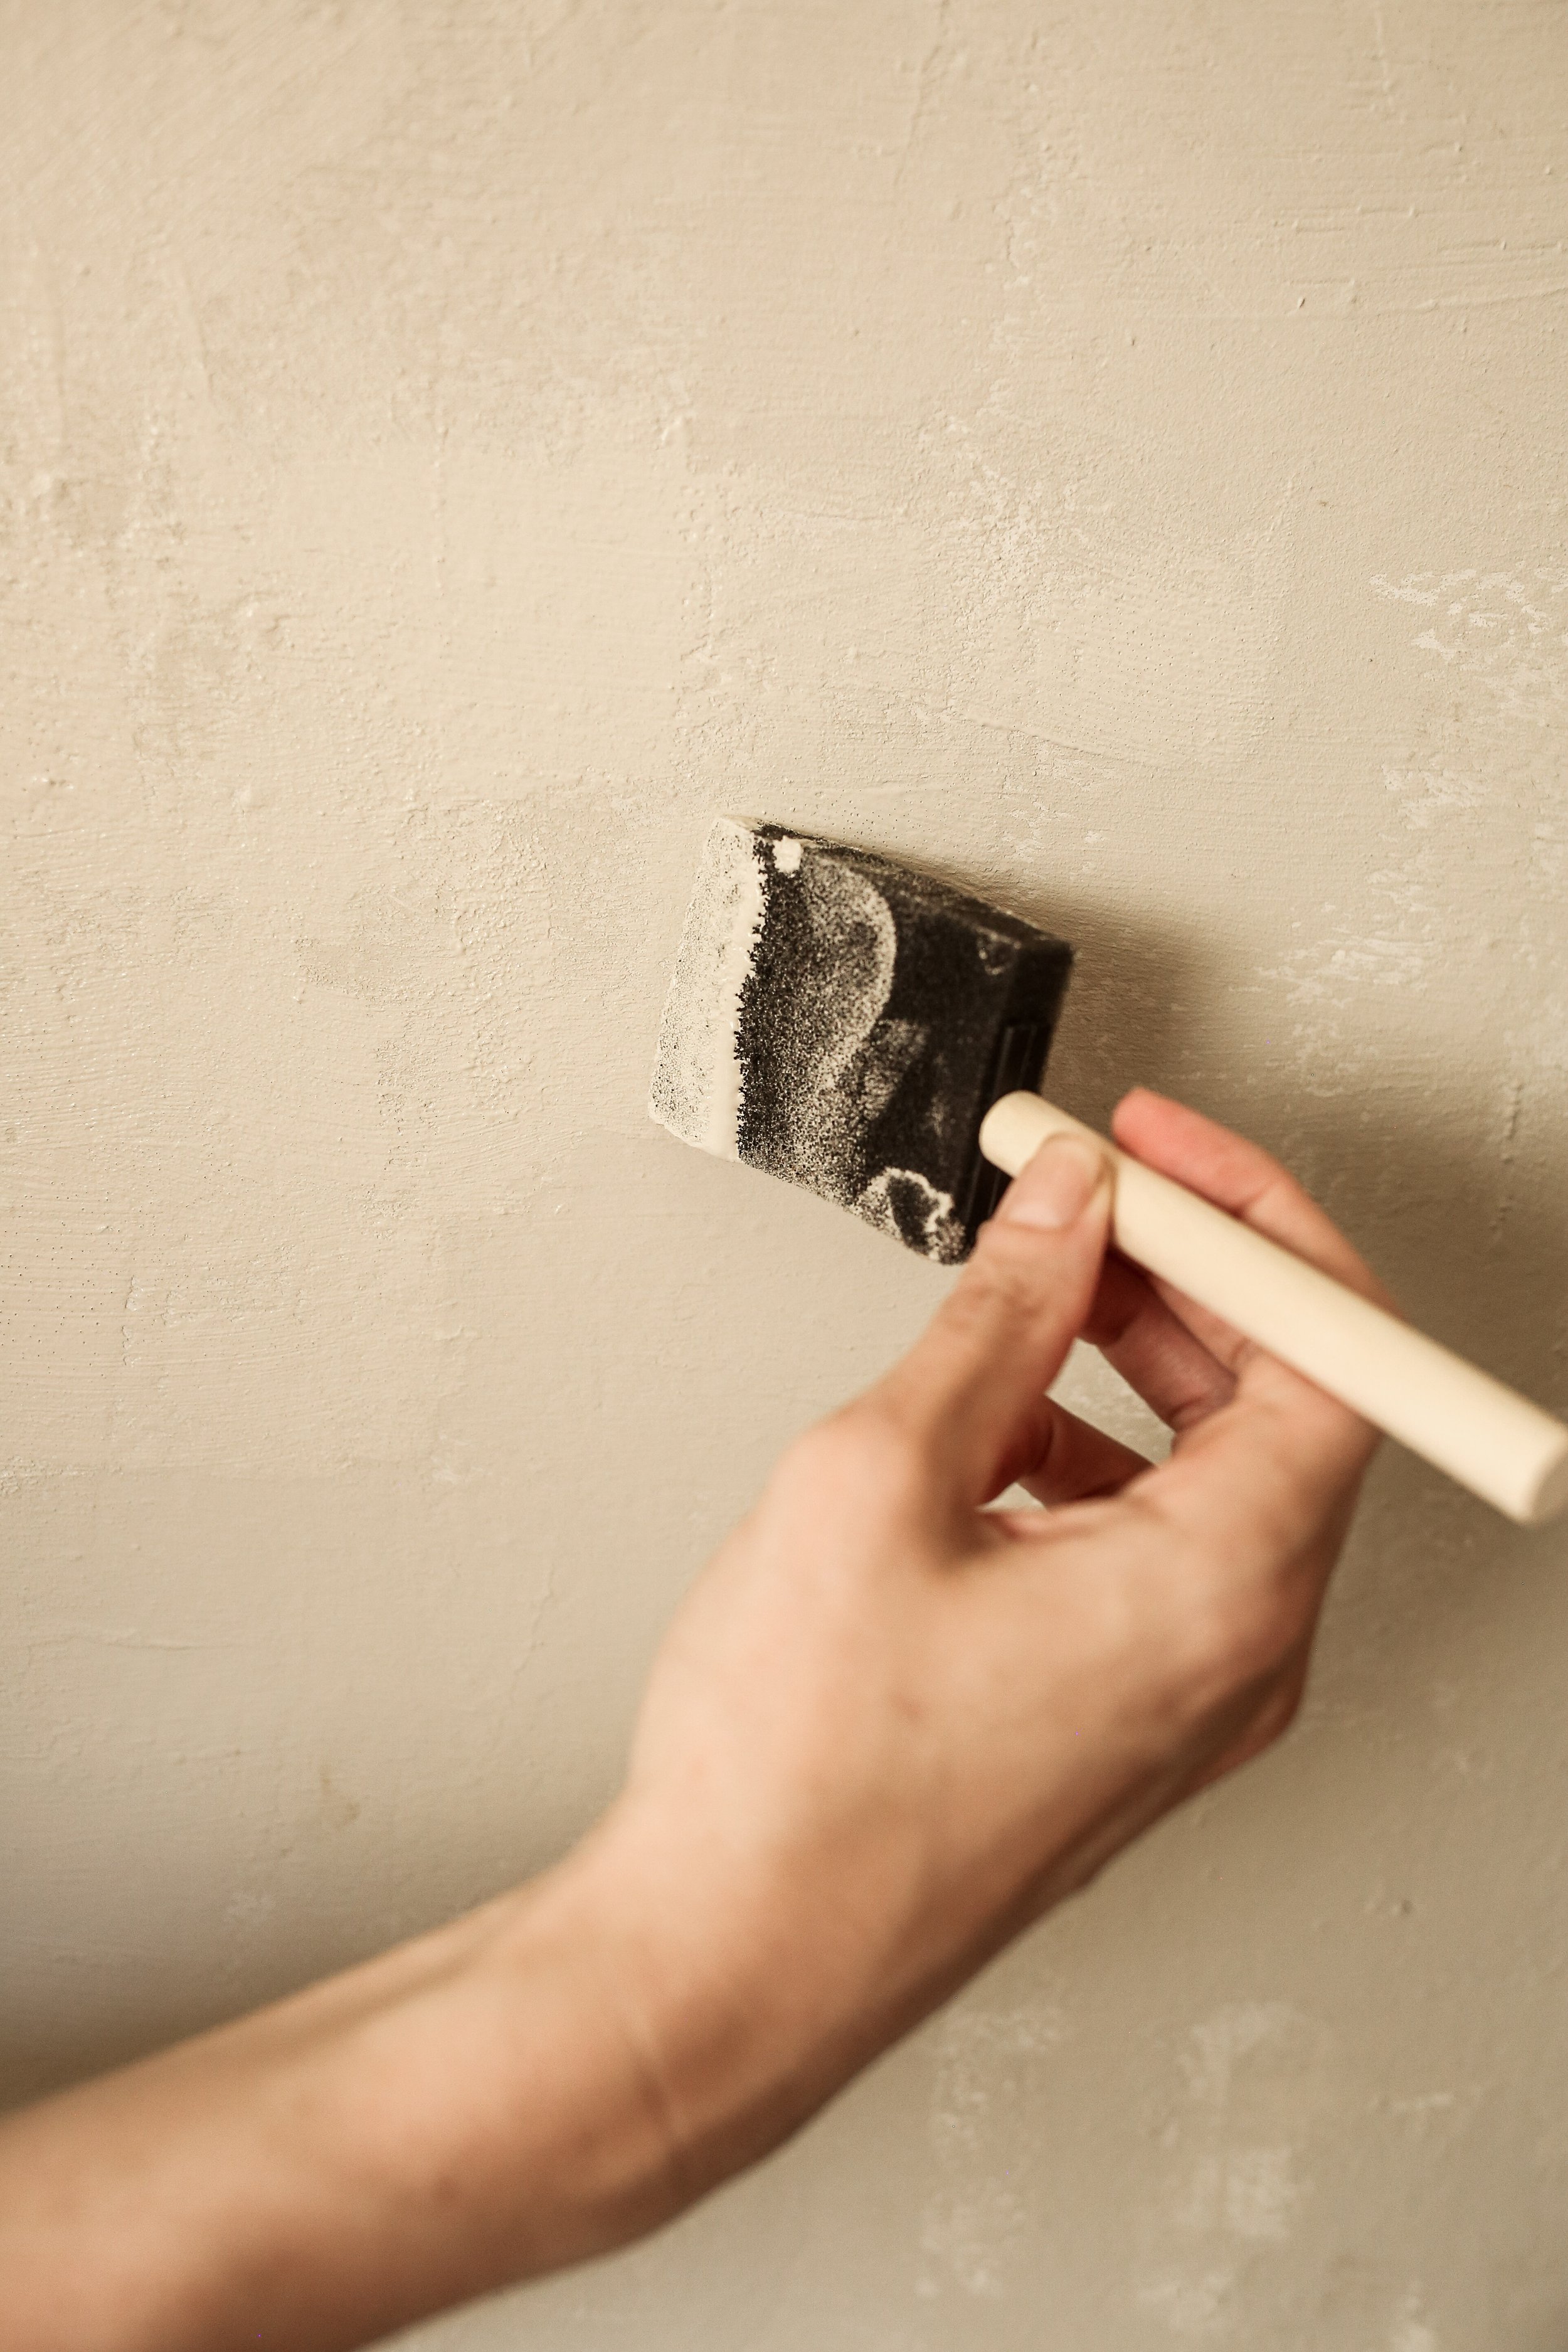
Start painting your walls. There are a few different techniques for applying the paint mixture, depending on the look you want. You can use an old t-shirt/rag, an oversized sponge, a foam paint brush, a block brush or a regular paint brush OR you can do a combo. You can also layer lighter and darker colors of paint (I tested this using Swiss Coffee and ultimately felt like it was too light of a contrast to do all over, but it may work for you depending on your space and paint colors).
For me, I tested how each technique would look on a small patch of wall, and ultimately decided I liked how it looked applied with a foam brush best.


For the actual technique, I found the a mix of paint strokes to work best. Going up, down, criss-cross, mixing longer strokes with shorter, more boxy ones and even dabbing the brush a bit.
Another thing I interchanged with the painting technique was to dab the area with a wet rag after applying the paint, or dip the paint brush in the paint, then the water, then apply to wall to get a lighter, feathered look to contrast the darker paint strokes. I also (very, very) lightly dabbed in some Swiss Coffee here and there to build on the shadows and really emphasis the variation, texture and color to help give that lime wash look.
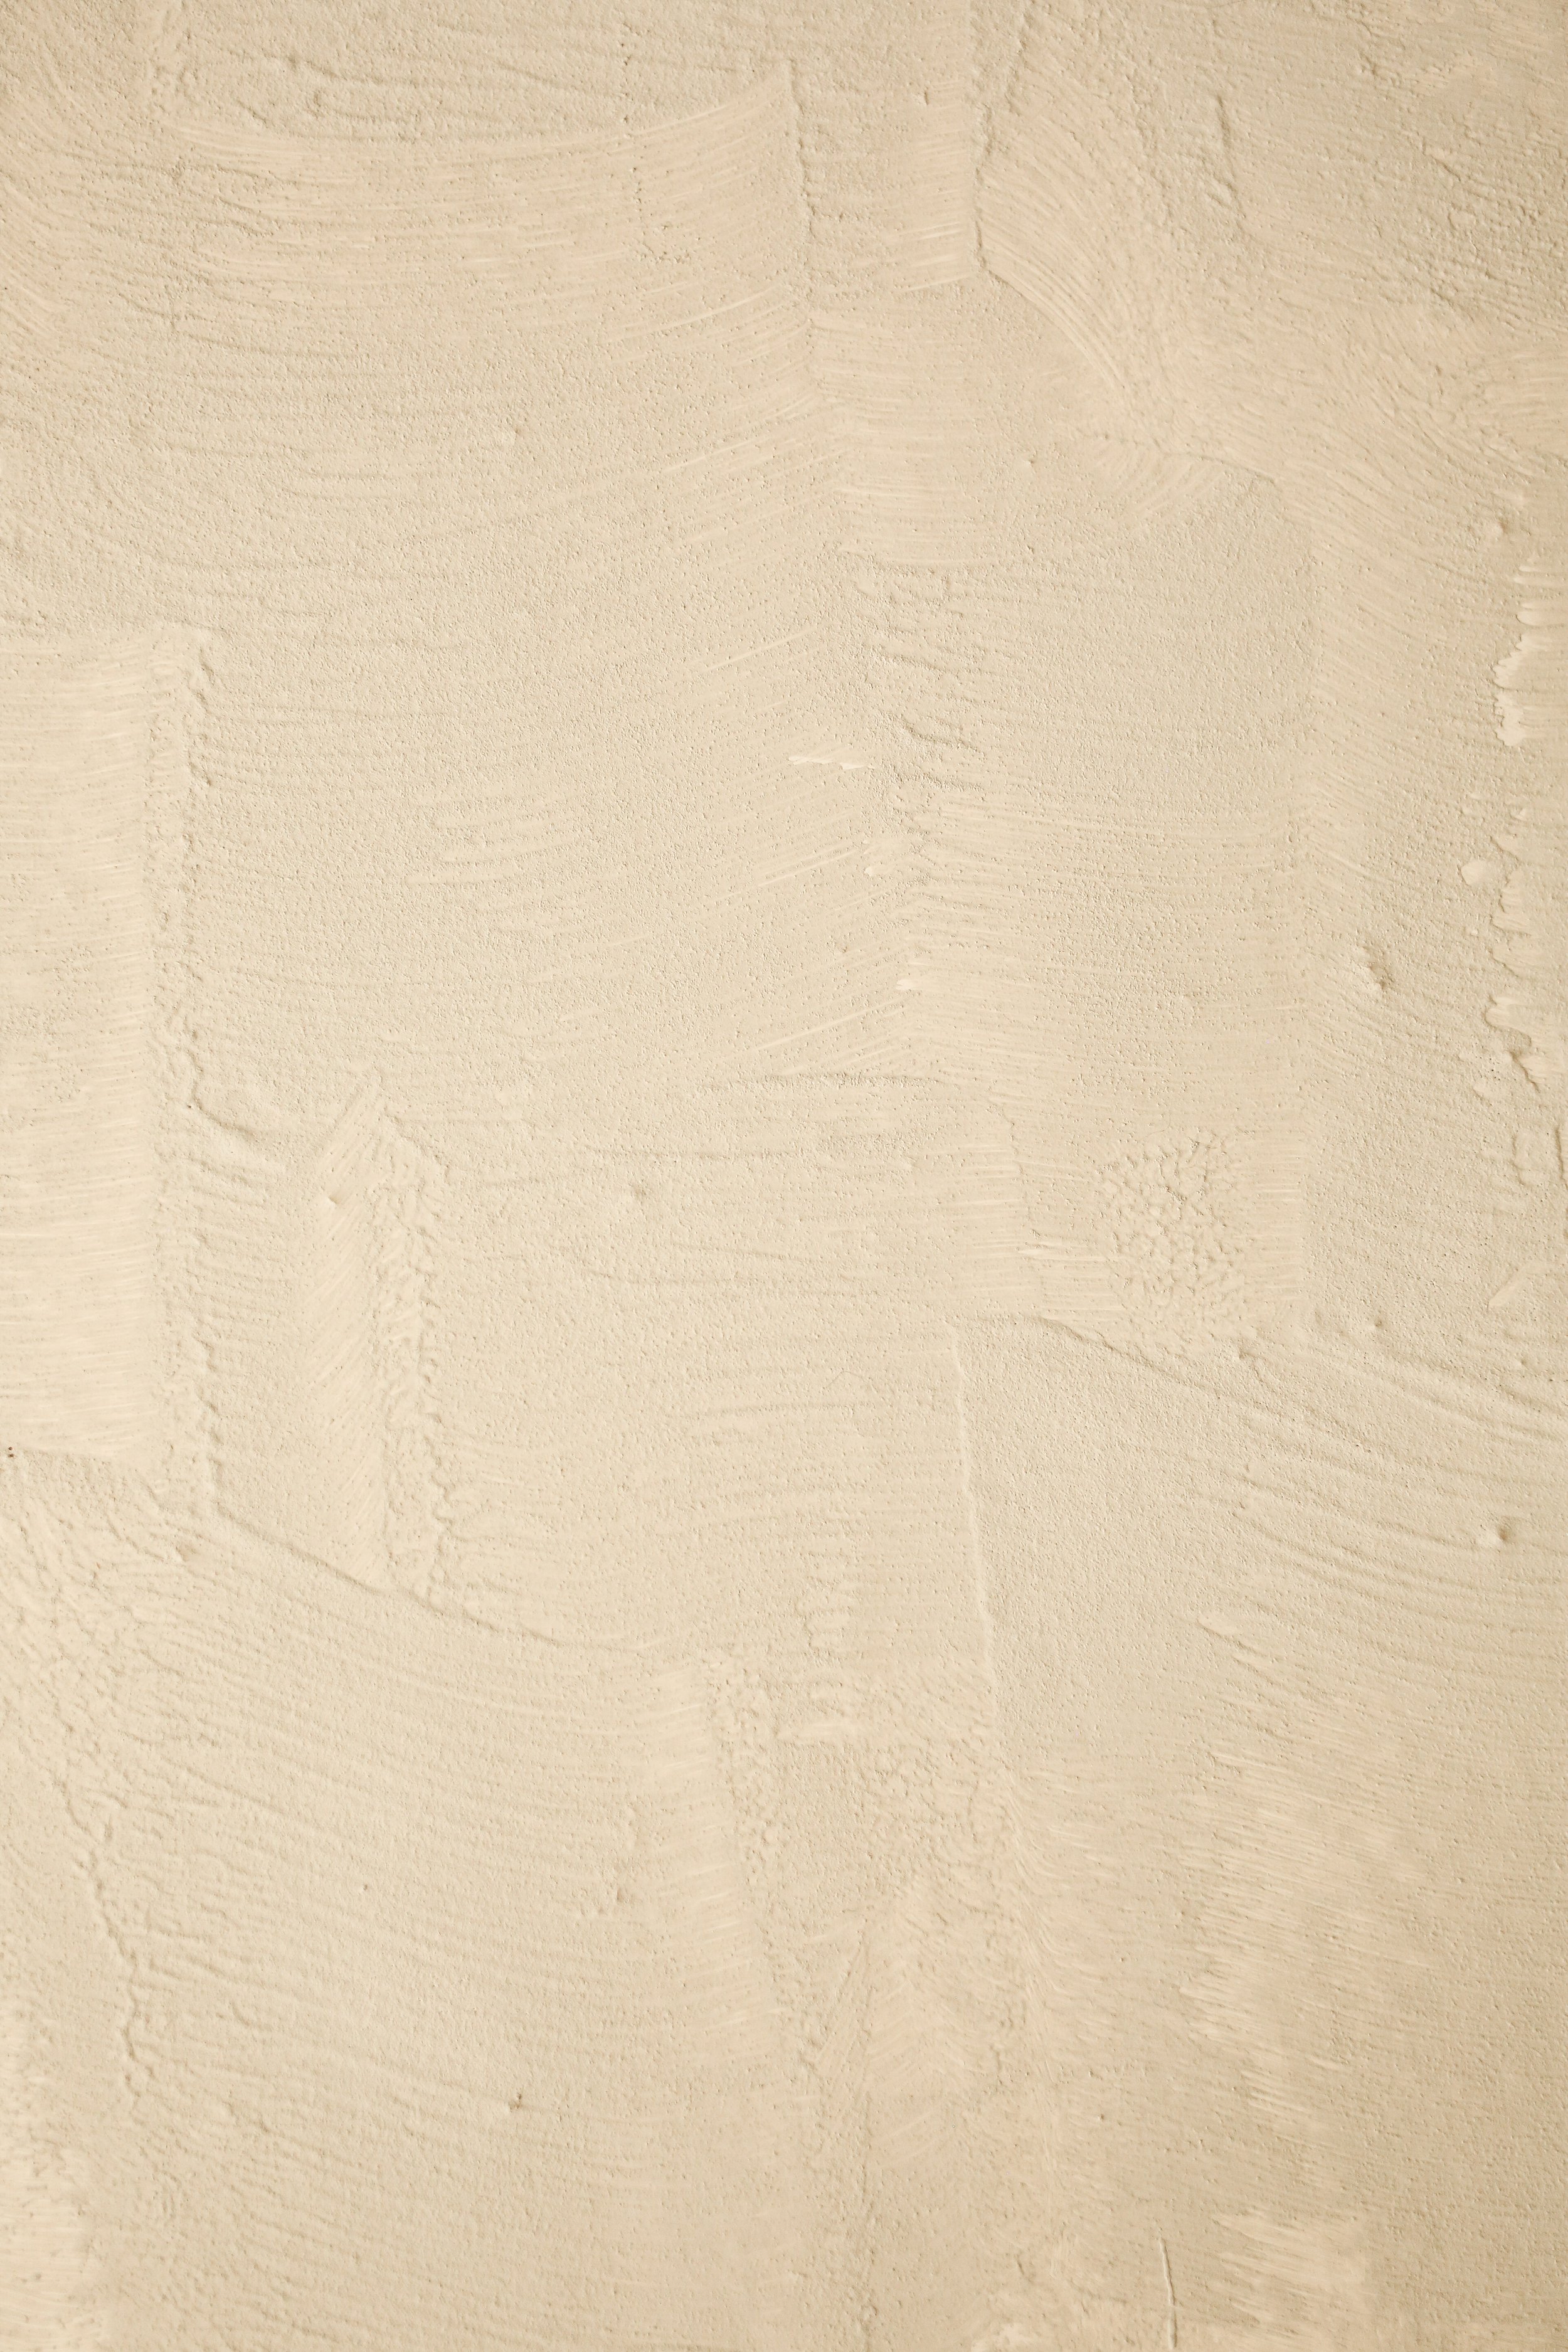
However you choose to paint, ultimately the key is that you have to have a mix of strokes and techniques in order to imitate the natural and organic look of lime wash. This is definitely not your standard open a can of paint, do a few rolls of a paint roller and you’re good to go. Ultimately, the more different techniques you use, the better it looks.

STEP 5
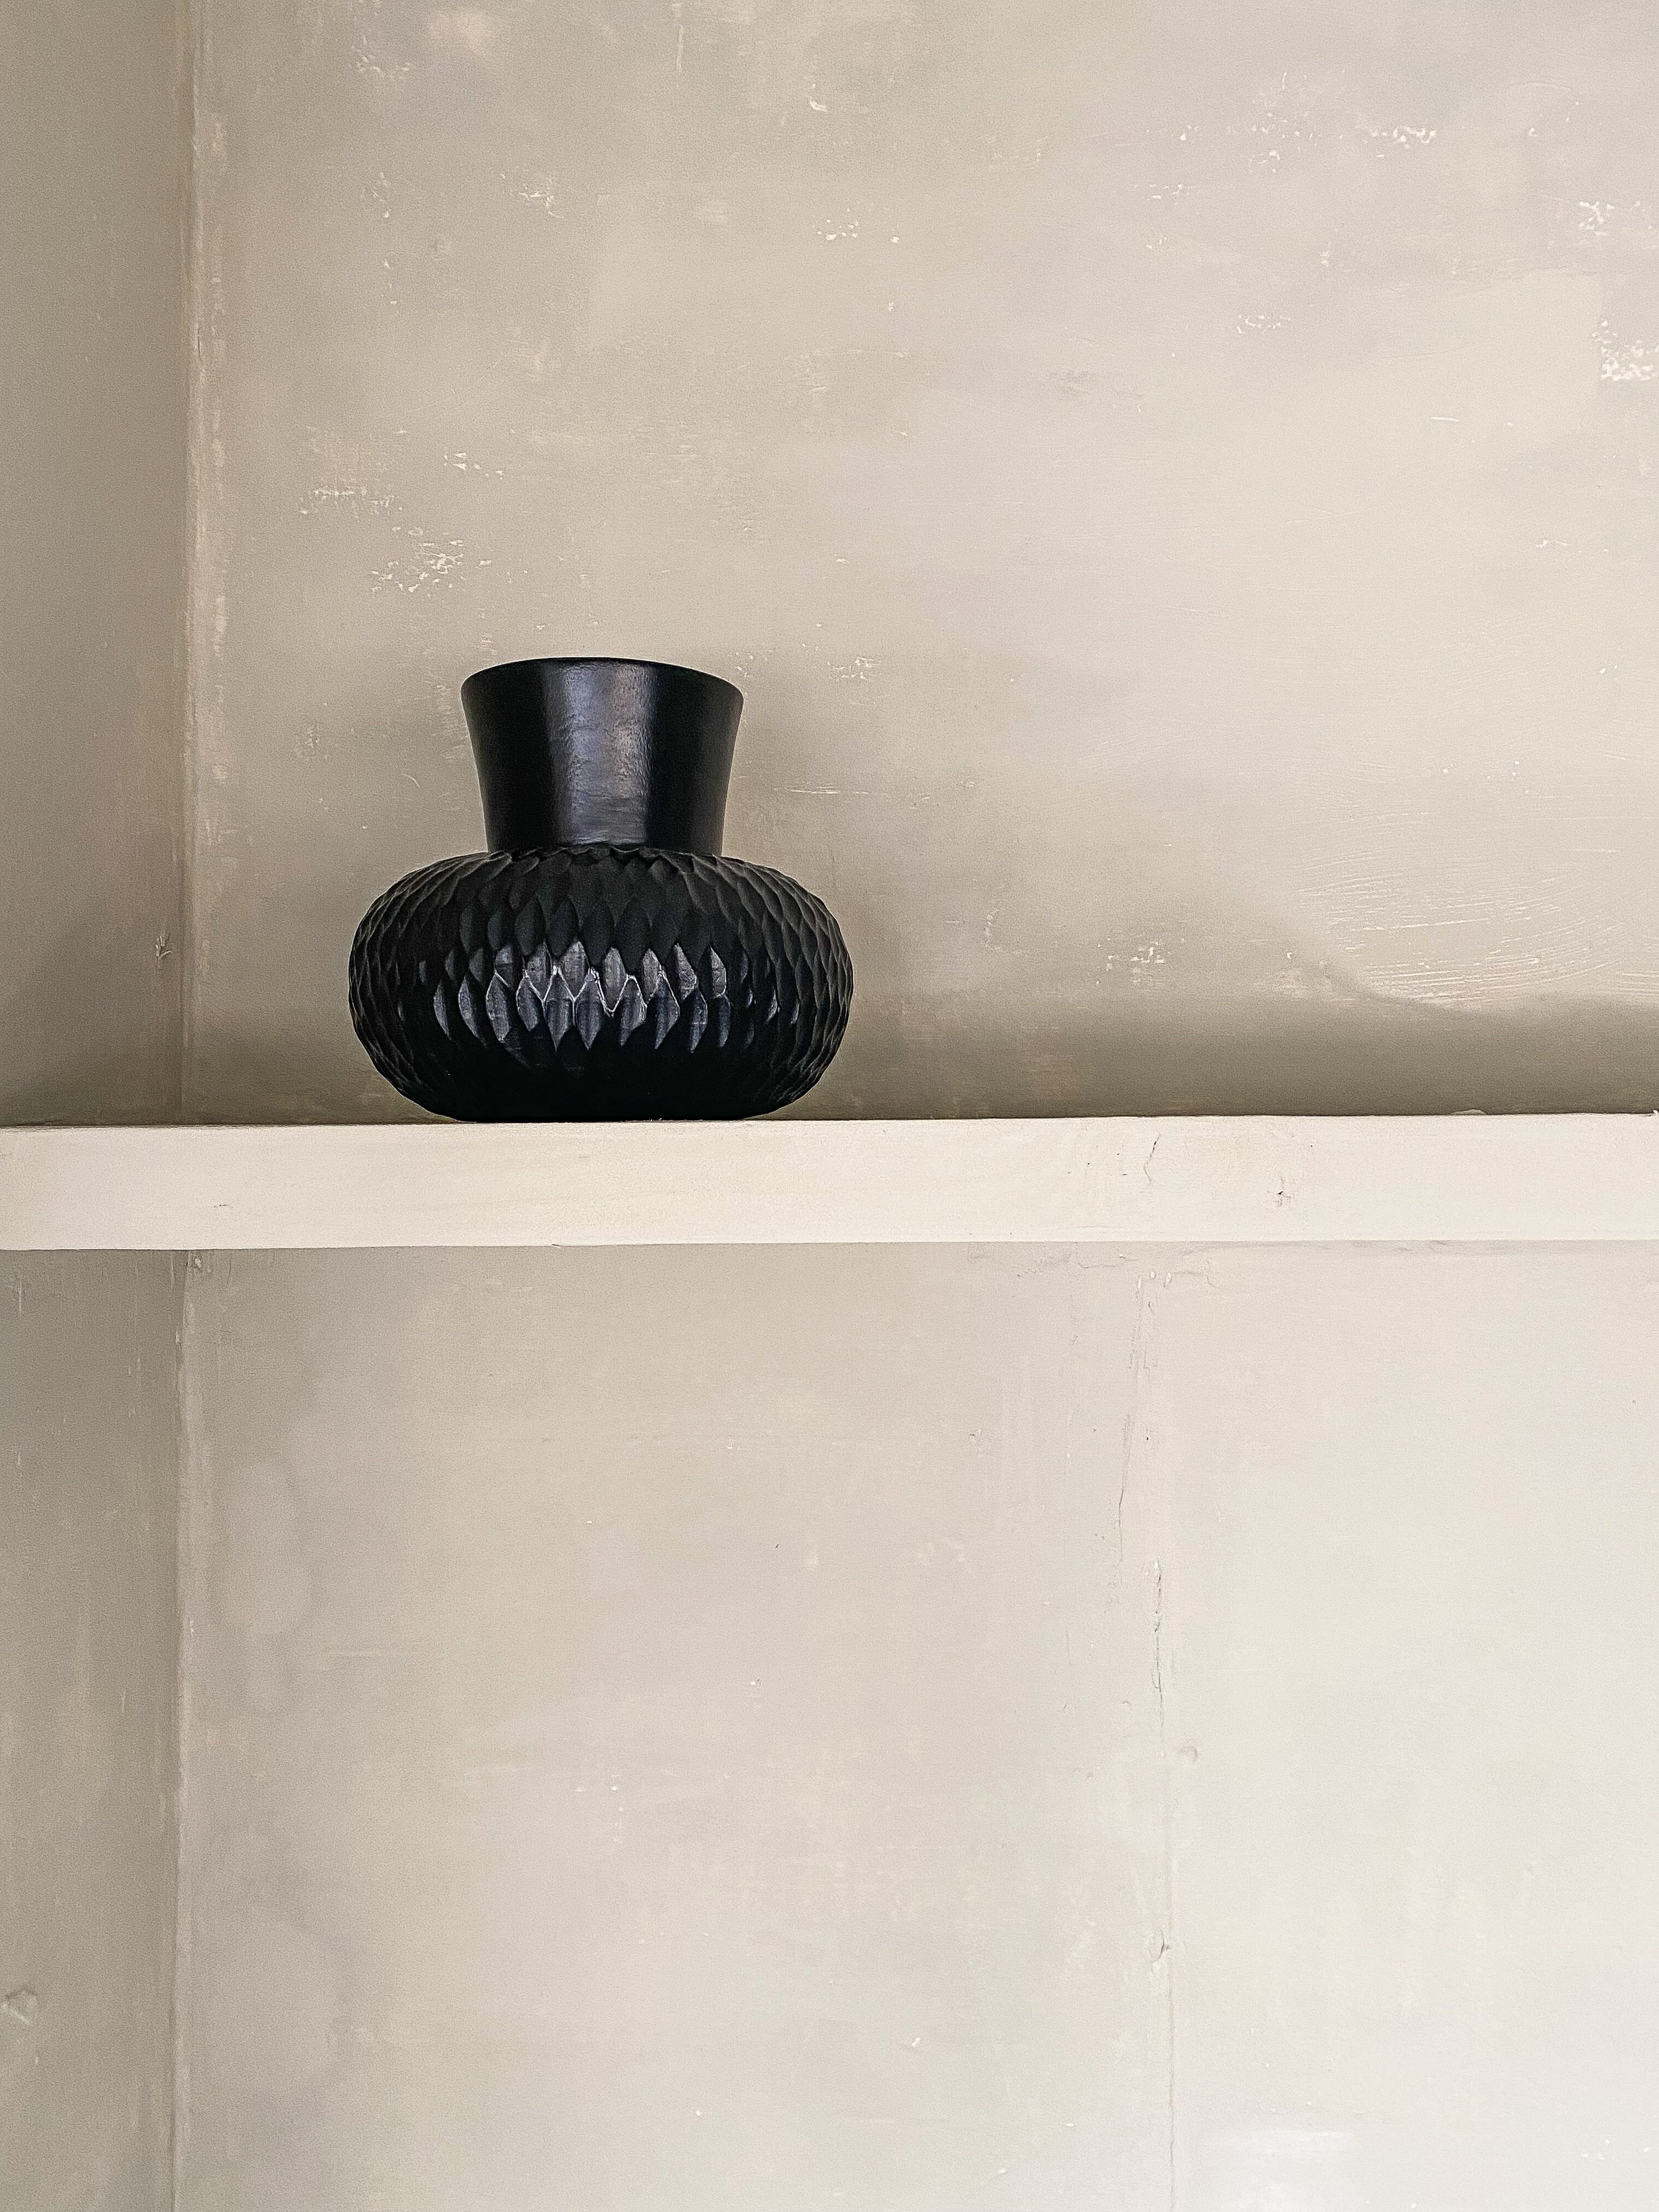
Allow to completely dry, then touch up any spots as needed. If you’re not happy with how one area turned out, sponge on some lighter paint, then re-do the darker paint + baking powder mix in that area. At this point, I would recommend adding a coat of a matte sealant, especially if you’re using it in a kitchen area, like I did here. Otherwise, your walls are good to go and ready to be enjoyed!

NOTES
We have had this paint on our kitchen walls now for about 8 months and it has generally held up pretty well. The walls are still coated nicely, the look has stayed the same, and light and gentle spot treatment clean-ups work just fine. However, I will say if you end up needing to do heavier duty clean-up, say on a grease splatter near the stove, the paint kind of rubs off a bit. Or rather, the baking soda makes it rub off more easily. I have a small can of paint for touch-ups, and I’ve only had to do this in a few spots, but just wanted to be totally transparent in noting this.
I would not recommend this technique for any area that gets a lot of moisture or can be very damp, i.e. a bathroom.
SHOP THE POST
EXACT (OR SIMILAR) ITEMS I USED FOR THIS PROJECT + FEATURED IN THIS POST