PHOTO SCHOOL // CLASS 006 - HOW TO TAKE BETTER PHOTOS OF PLACES
If you take a trip, or explore a place,
but don’t document it through photos, I mean, did you really even go there? But seriously, half the fun of traveling, is getting to take pictures of a new place to give you lots of memories for years to come. Personally, photos are one of my favorite mementos from trips. There’s nothing quite as personal as a picture that you captured in your own unique style and from your own unique point of view to have as a one-of-a-kind souvenir. And no, pictures crowded with tourists, or awkward family group photos, are not what I’m referring to here.
What I am referring to is photos that showcase a place for what it truly is, the locals that make it real, the details that bring it to life. If you have no idea how to do that and you’ve only ever captured travel photos with the help of a selfie stick, don’t worry, I got you. It’s taken a few years and even more trips, but through all the practice of taking photos of places, we’ve picked up a thing or two on how to take better travel photos. Find all our travel photography tips and tricks below.
Previous Classes
Class 001 // The Camera Gear We Use
Class 002 // Phone Photography + Out Favorite Photography Apps
Class 004 // How We Edit Our Photos
Class 005 // How to Take Better Photos of People
Coming Up Next
Class 007 // How To Take Better Photos of Food

CLASS 006 // HOW TO TAKE BETTER PHOTOS OF PLACES


Unless you are specifically trying to capture a night shot, do your best to shoot your photos with natural lighting. Lighting can completely make or break your photo, and good light can make even the worst photo somehow look decent.
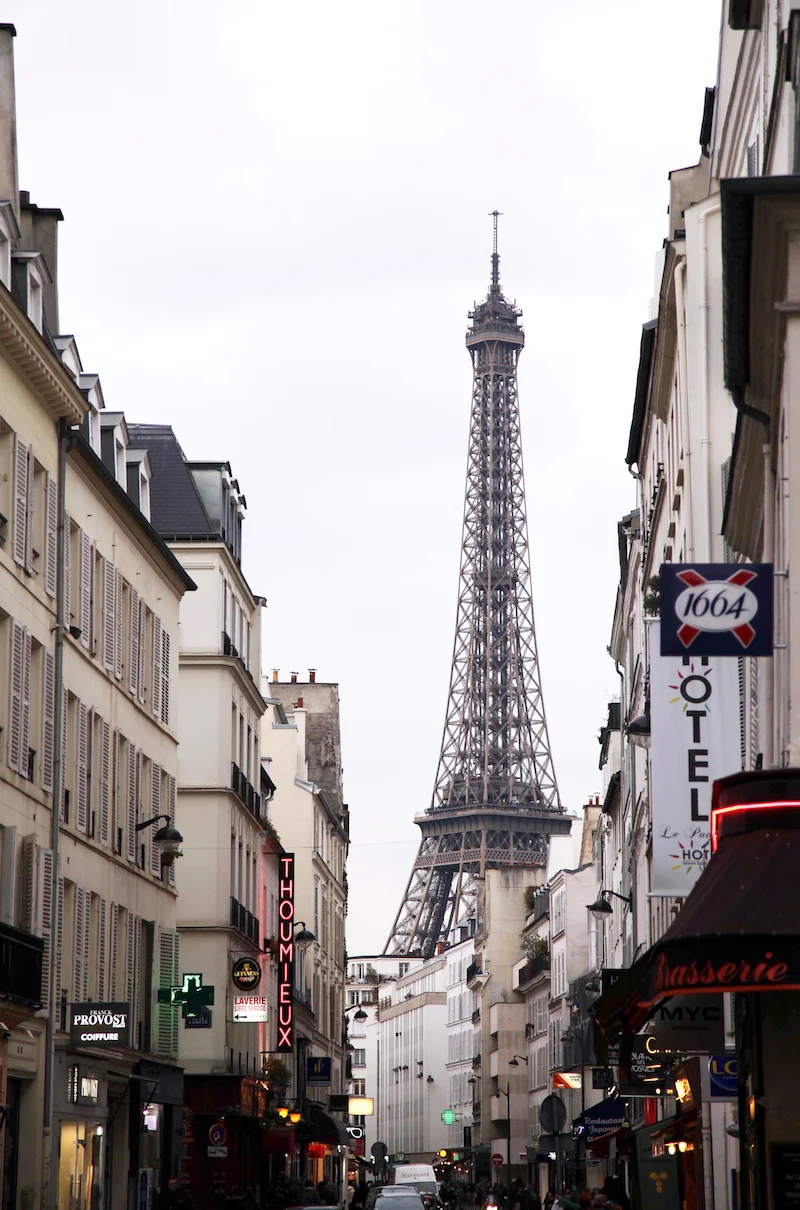
Look for the details that make a place unique and include those. For example, Lake Como is just stunning on its own, but what makes it Lake Como? Is it some of the signage, or the foliage that grows there? Is it the boats going by on the lake? Is it a local that runs the best restaurant in town? Or, how about Paris, where they are known for baguettes and croissants, why not add those to your photos (like I did in the image, below). Think about these things when capturing photos, so, for example, you have a picture of Lake Como with a boat being driven by a local, instead of just a picture of the lake or landmark.
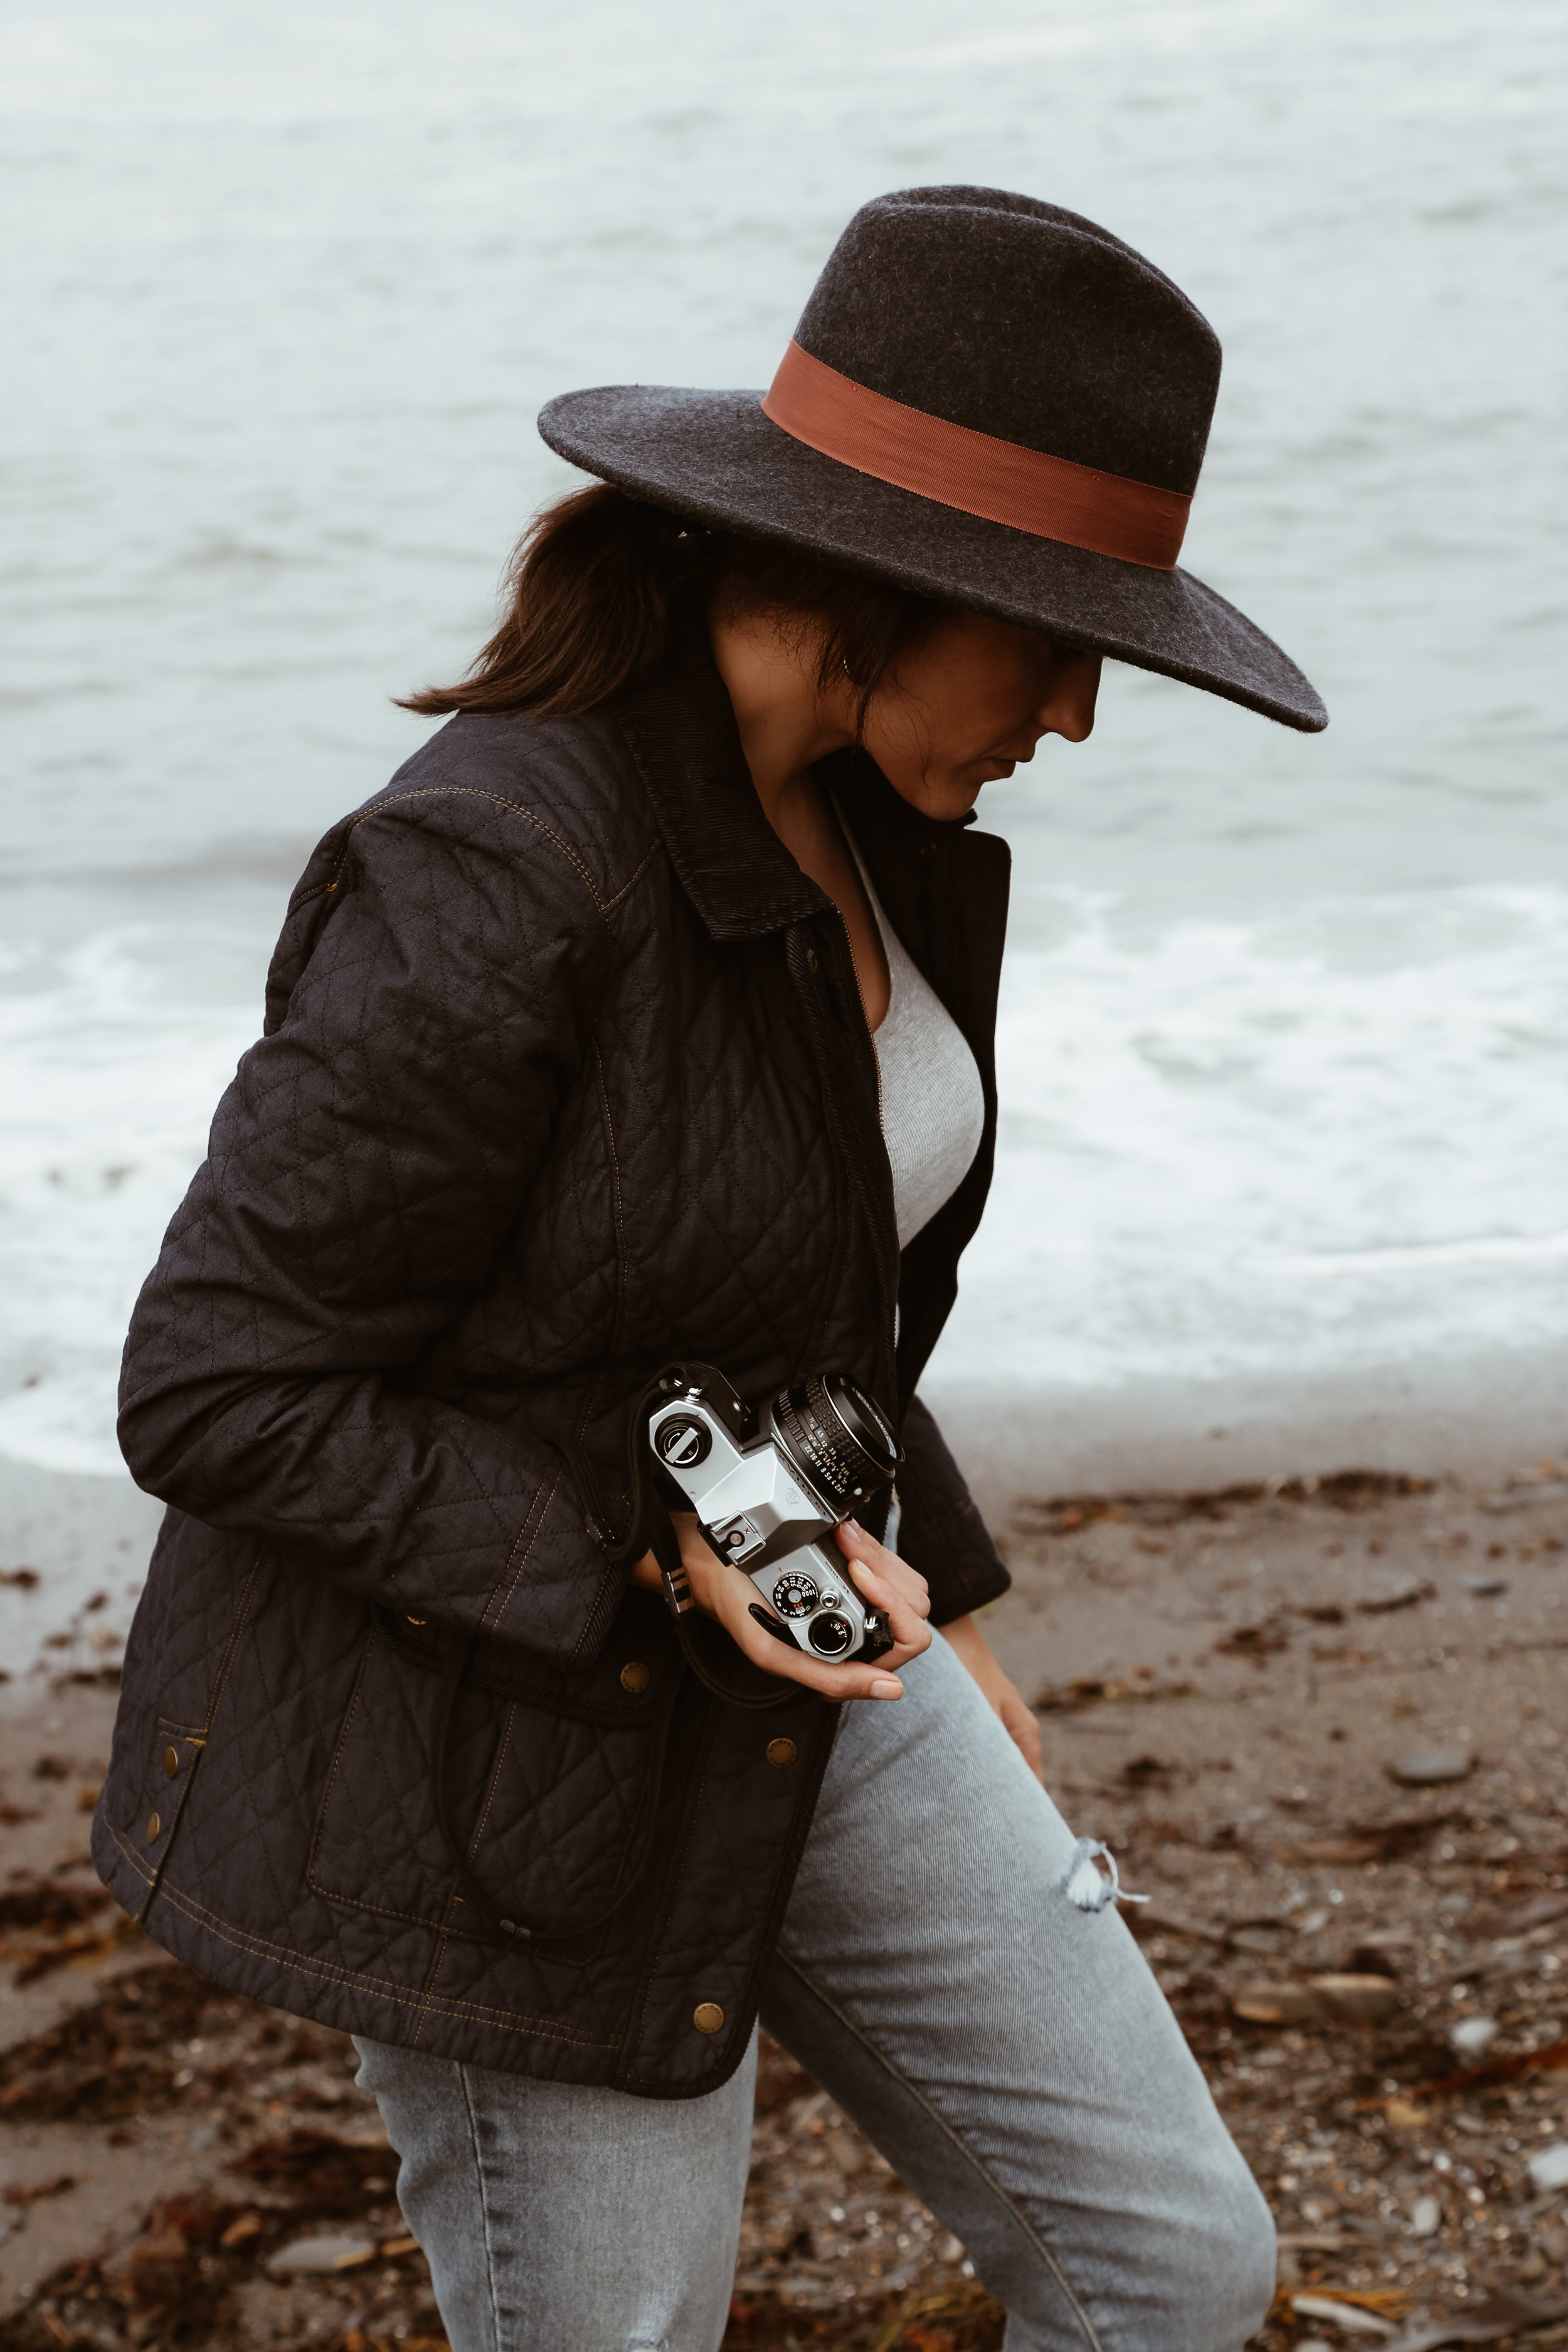
Locals bring a place to life so don’t shy away from capturing them in your photos. Whether it’s the local baker in the shop where you’re grabbing a pastry, or someone crossing a street, or someone picking up a paper at the local newsstand, capture that. It humanizes a location and really brings it to life.
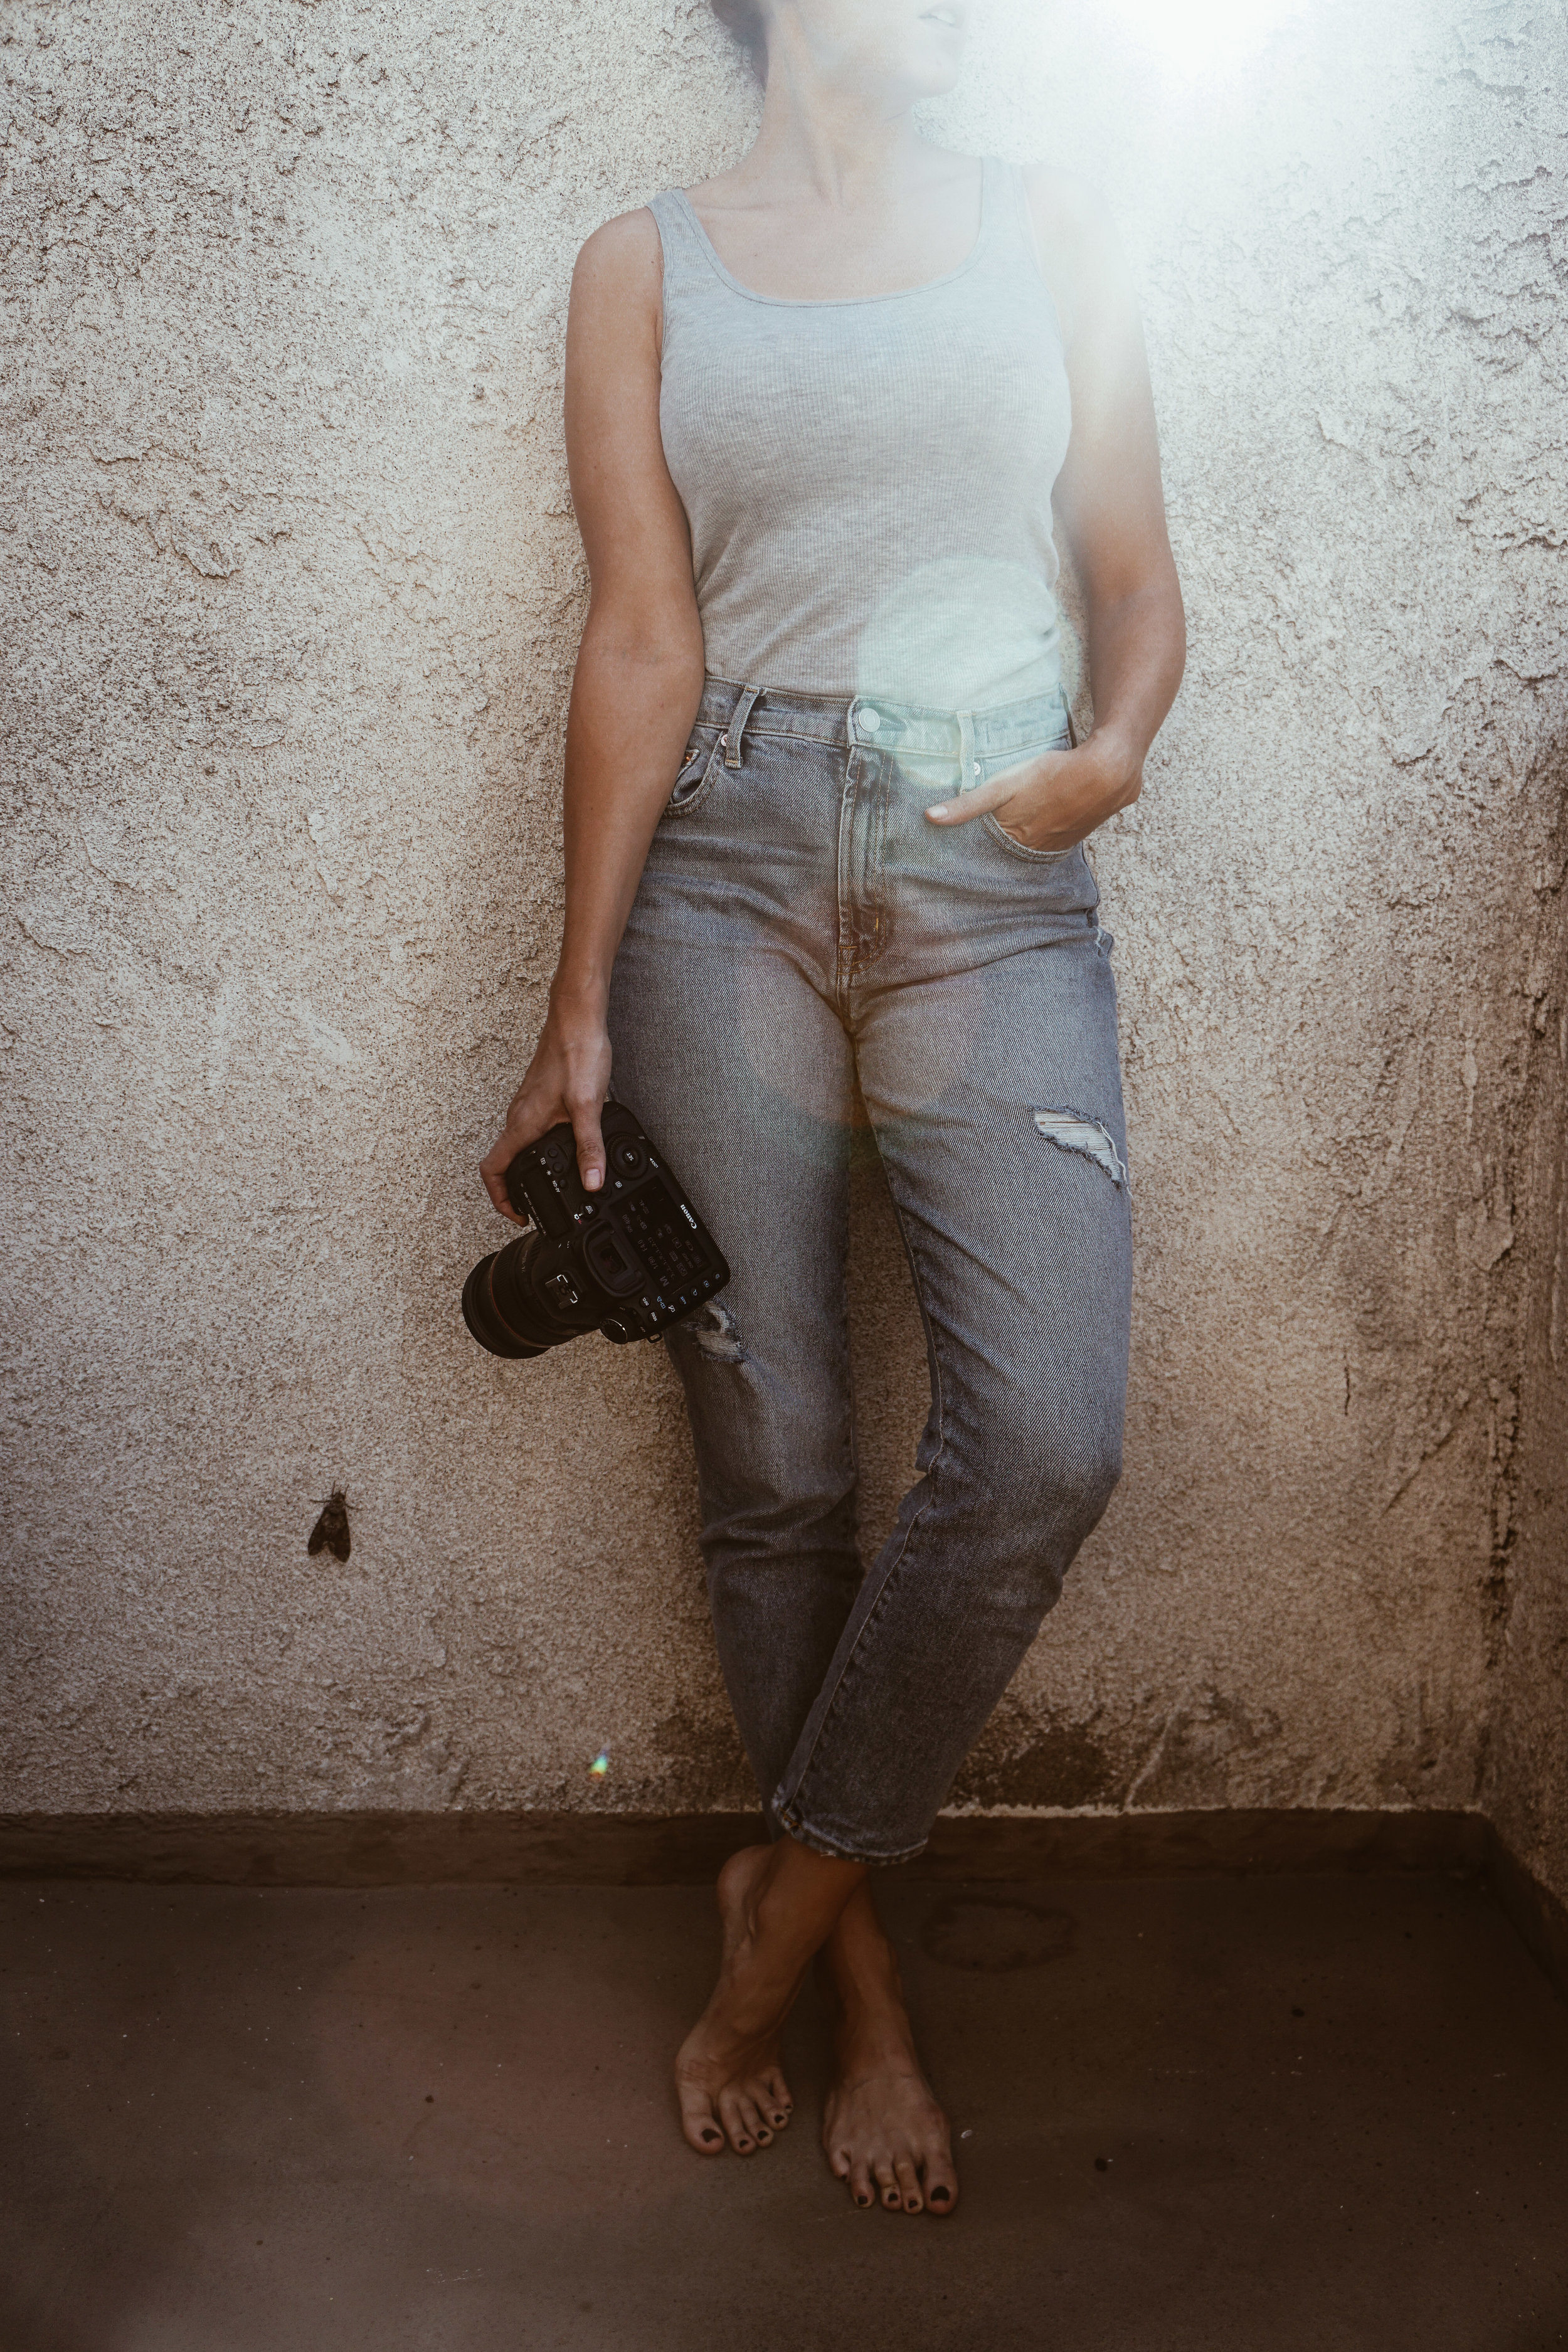
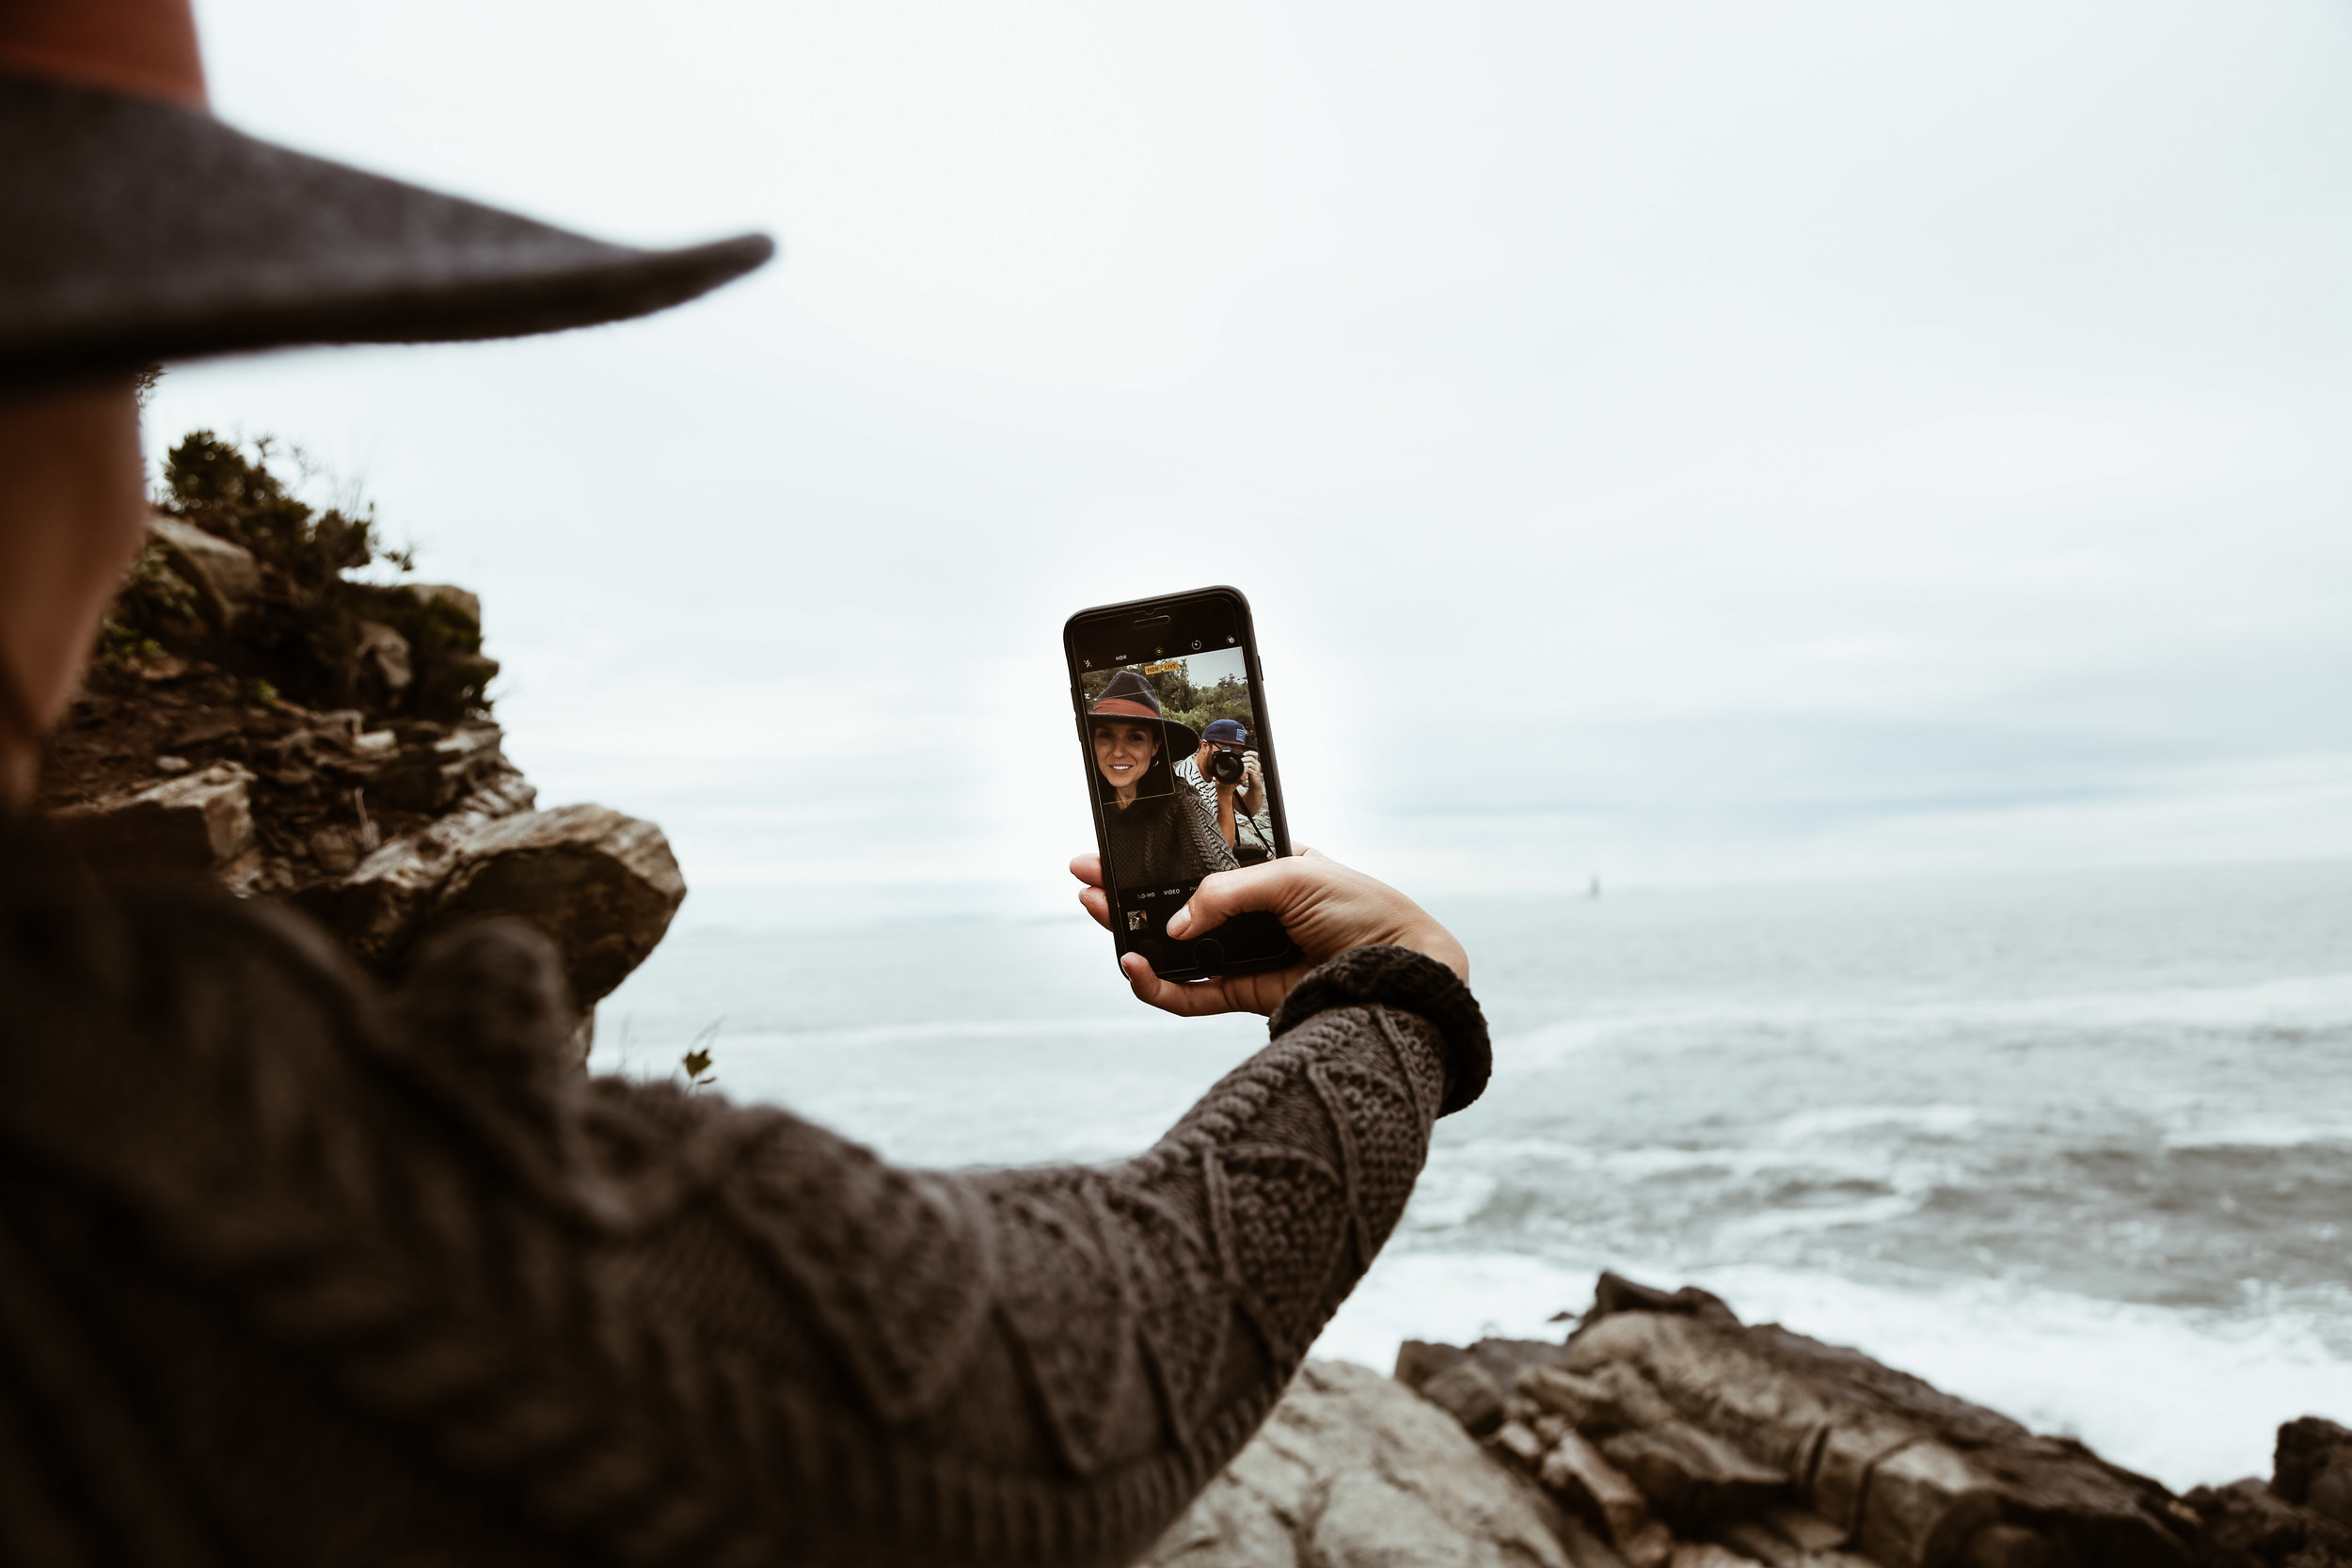
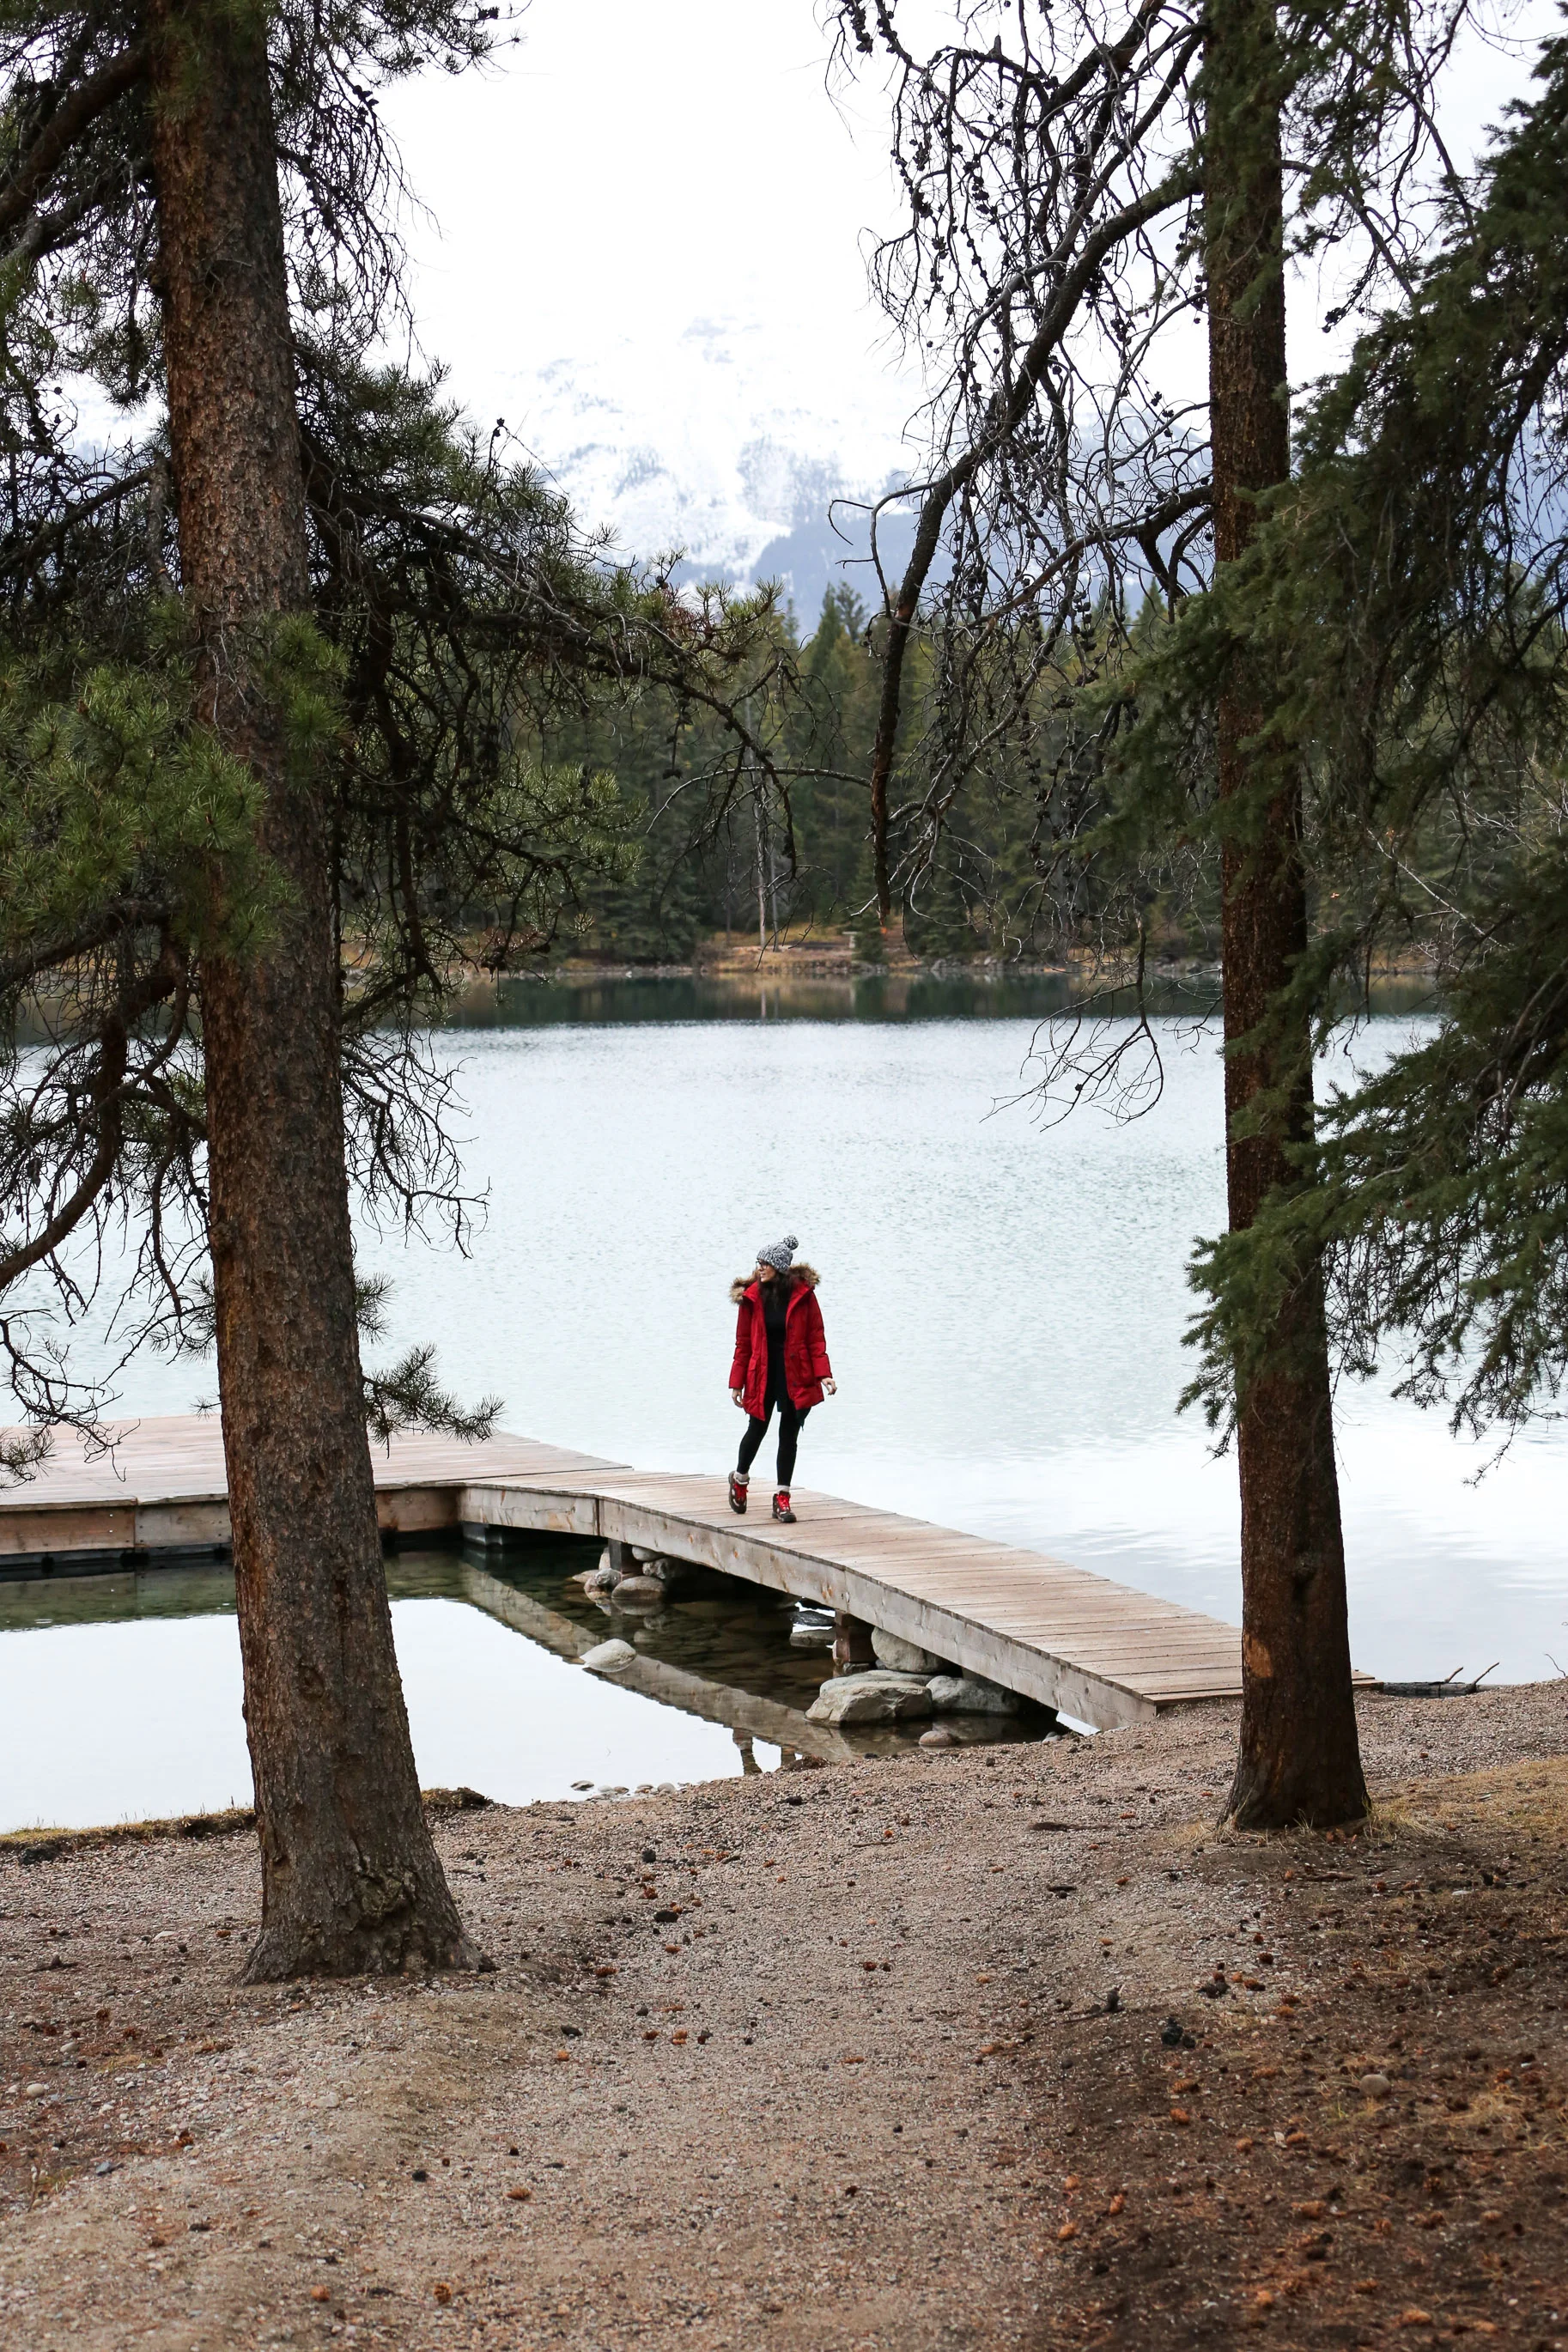
Don’t be afraid to have someone you’re traveling with, or yourself, be a part of your photos. Similarly to capturing locals, including yourself or a friend in your photos, helps bring a place to life and gives it a personal, relatable touch. Whatever you do, though, don’t just stand there grinning. Be real, move around, walk, drink wine, eat food, look out at a vista or up at a monument, and always laugh instead of smiling because it will come across more naturally. Also, I mentioned it above, but consider coordinating your outfits for a specific location. For example, if your shooting a wide open space like a beautiful lake or a dessert, you might want to consider a flowing dress in a bright color, to provide something that stands out and creates movement in a wide open space.


Before you go anywhere, do your research. Look for landmarks, buildings, streets, etc that catch your eye and note their location. Create a Google doc and/or map with each spot so you can easily access it on the go, and add notes of things such as if it’s close to where your staying or if it’s by a place you’ll be eating, times of day that would be ideal to shoot there (i.e. early morning or sunset), and, if you like to be in your photos, note the outfit you might want to wear at that spot. Also, consider creating a folder on Instagram of saved photos from the location to help you discover spots, visualize how they will look in photos and get inspired for the content you might want to create there (Side note- I do this for every trip I take, not only to plan shoot locations, but also to help me plan outfits, figure out where to stay and eat, discover local businesses and events, and find cool things to do.).

You know how they say the early bird gets the worm? Well, never has that been more true than when it comes to getting travel photos, especially in very touristy areas and/or around very popular land marks. So if you want a good photo, you know, one without a lot of people in the background, you have to go early. Like really early. Like think of a time that is early…and then go even earlier than that. It’s a total pain, but the shots are worth it. Plus, it gets photos out of the way early and allows you more time to just enjoy wherever it is that you are.
While it is important to have a list of researched places, it’s equally as important to allow for the unexpected. After all, exploring is one of the best parts of a place, and often times, the best memories and best photos come from the unplanned places and experiences. Plus, you don’t want to be the person that’s going somewhere to only copy all the places, poses and photos you saw on Instagram. Be inspired, but be adventurous and create your own poses and photos.


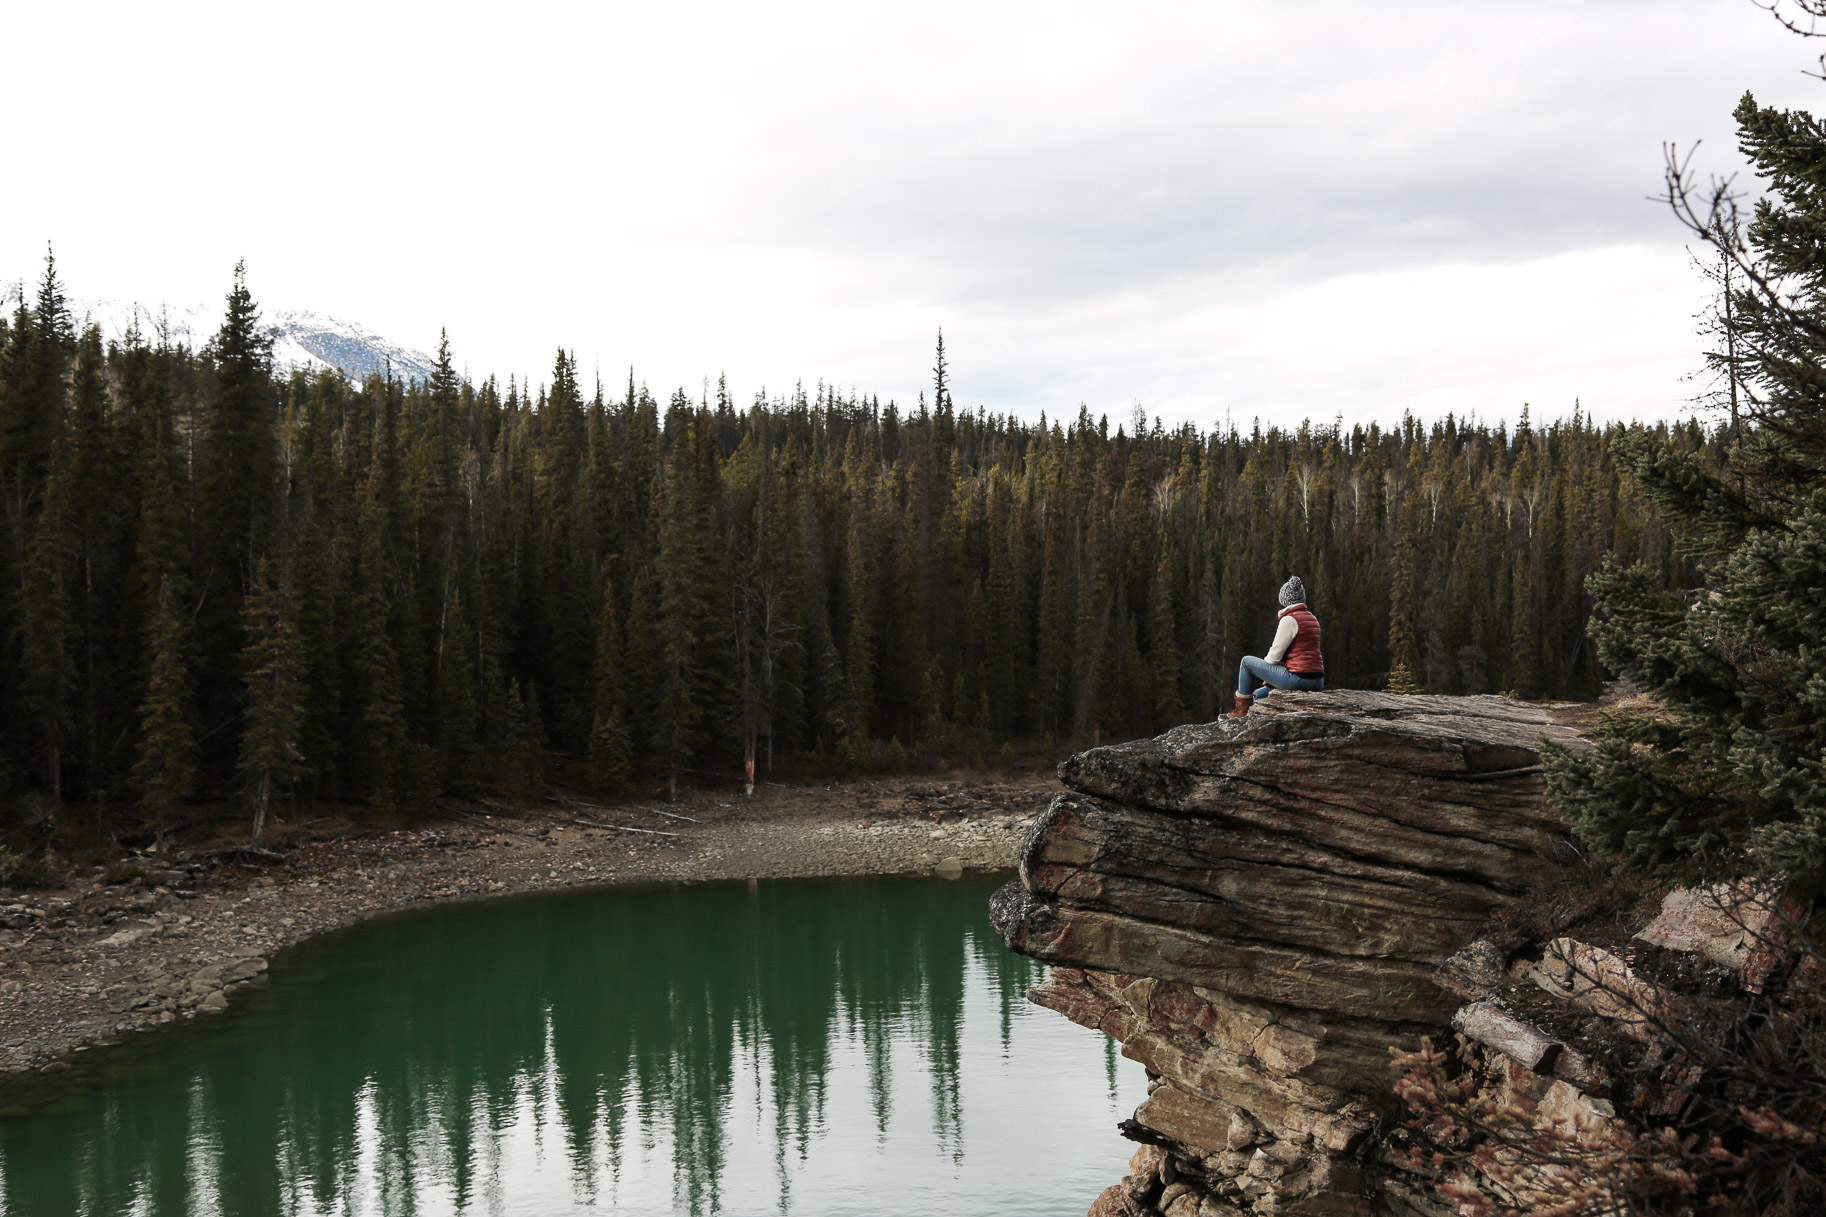
I think, more often than not, instinct is to shoot things straight on, but that doesn’t always make for the best photo. Long story short, don’t be afraid to move around and change angles to capture something unique and different. Examples include getting low and shooting up, shooting something from an angle, getting a close up shot where some or part of the details are cropped out, shoot a mix of horizontal and vertical photos, and climbing up to a view point (a building, a vista, a hike, etc) to get an image looking down.
Nothing will ruin a good travel photo faster than your camera or phone dying. And, since many travel days will often have you out and about for hours on end, it’s important to have back-ups. We like to bring back-up chargers and cables for phones, film for our film cameras, and memory cards and batteries for our other cameras.