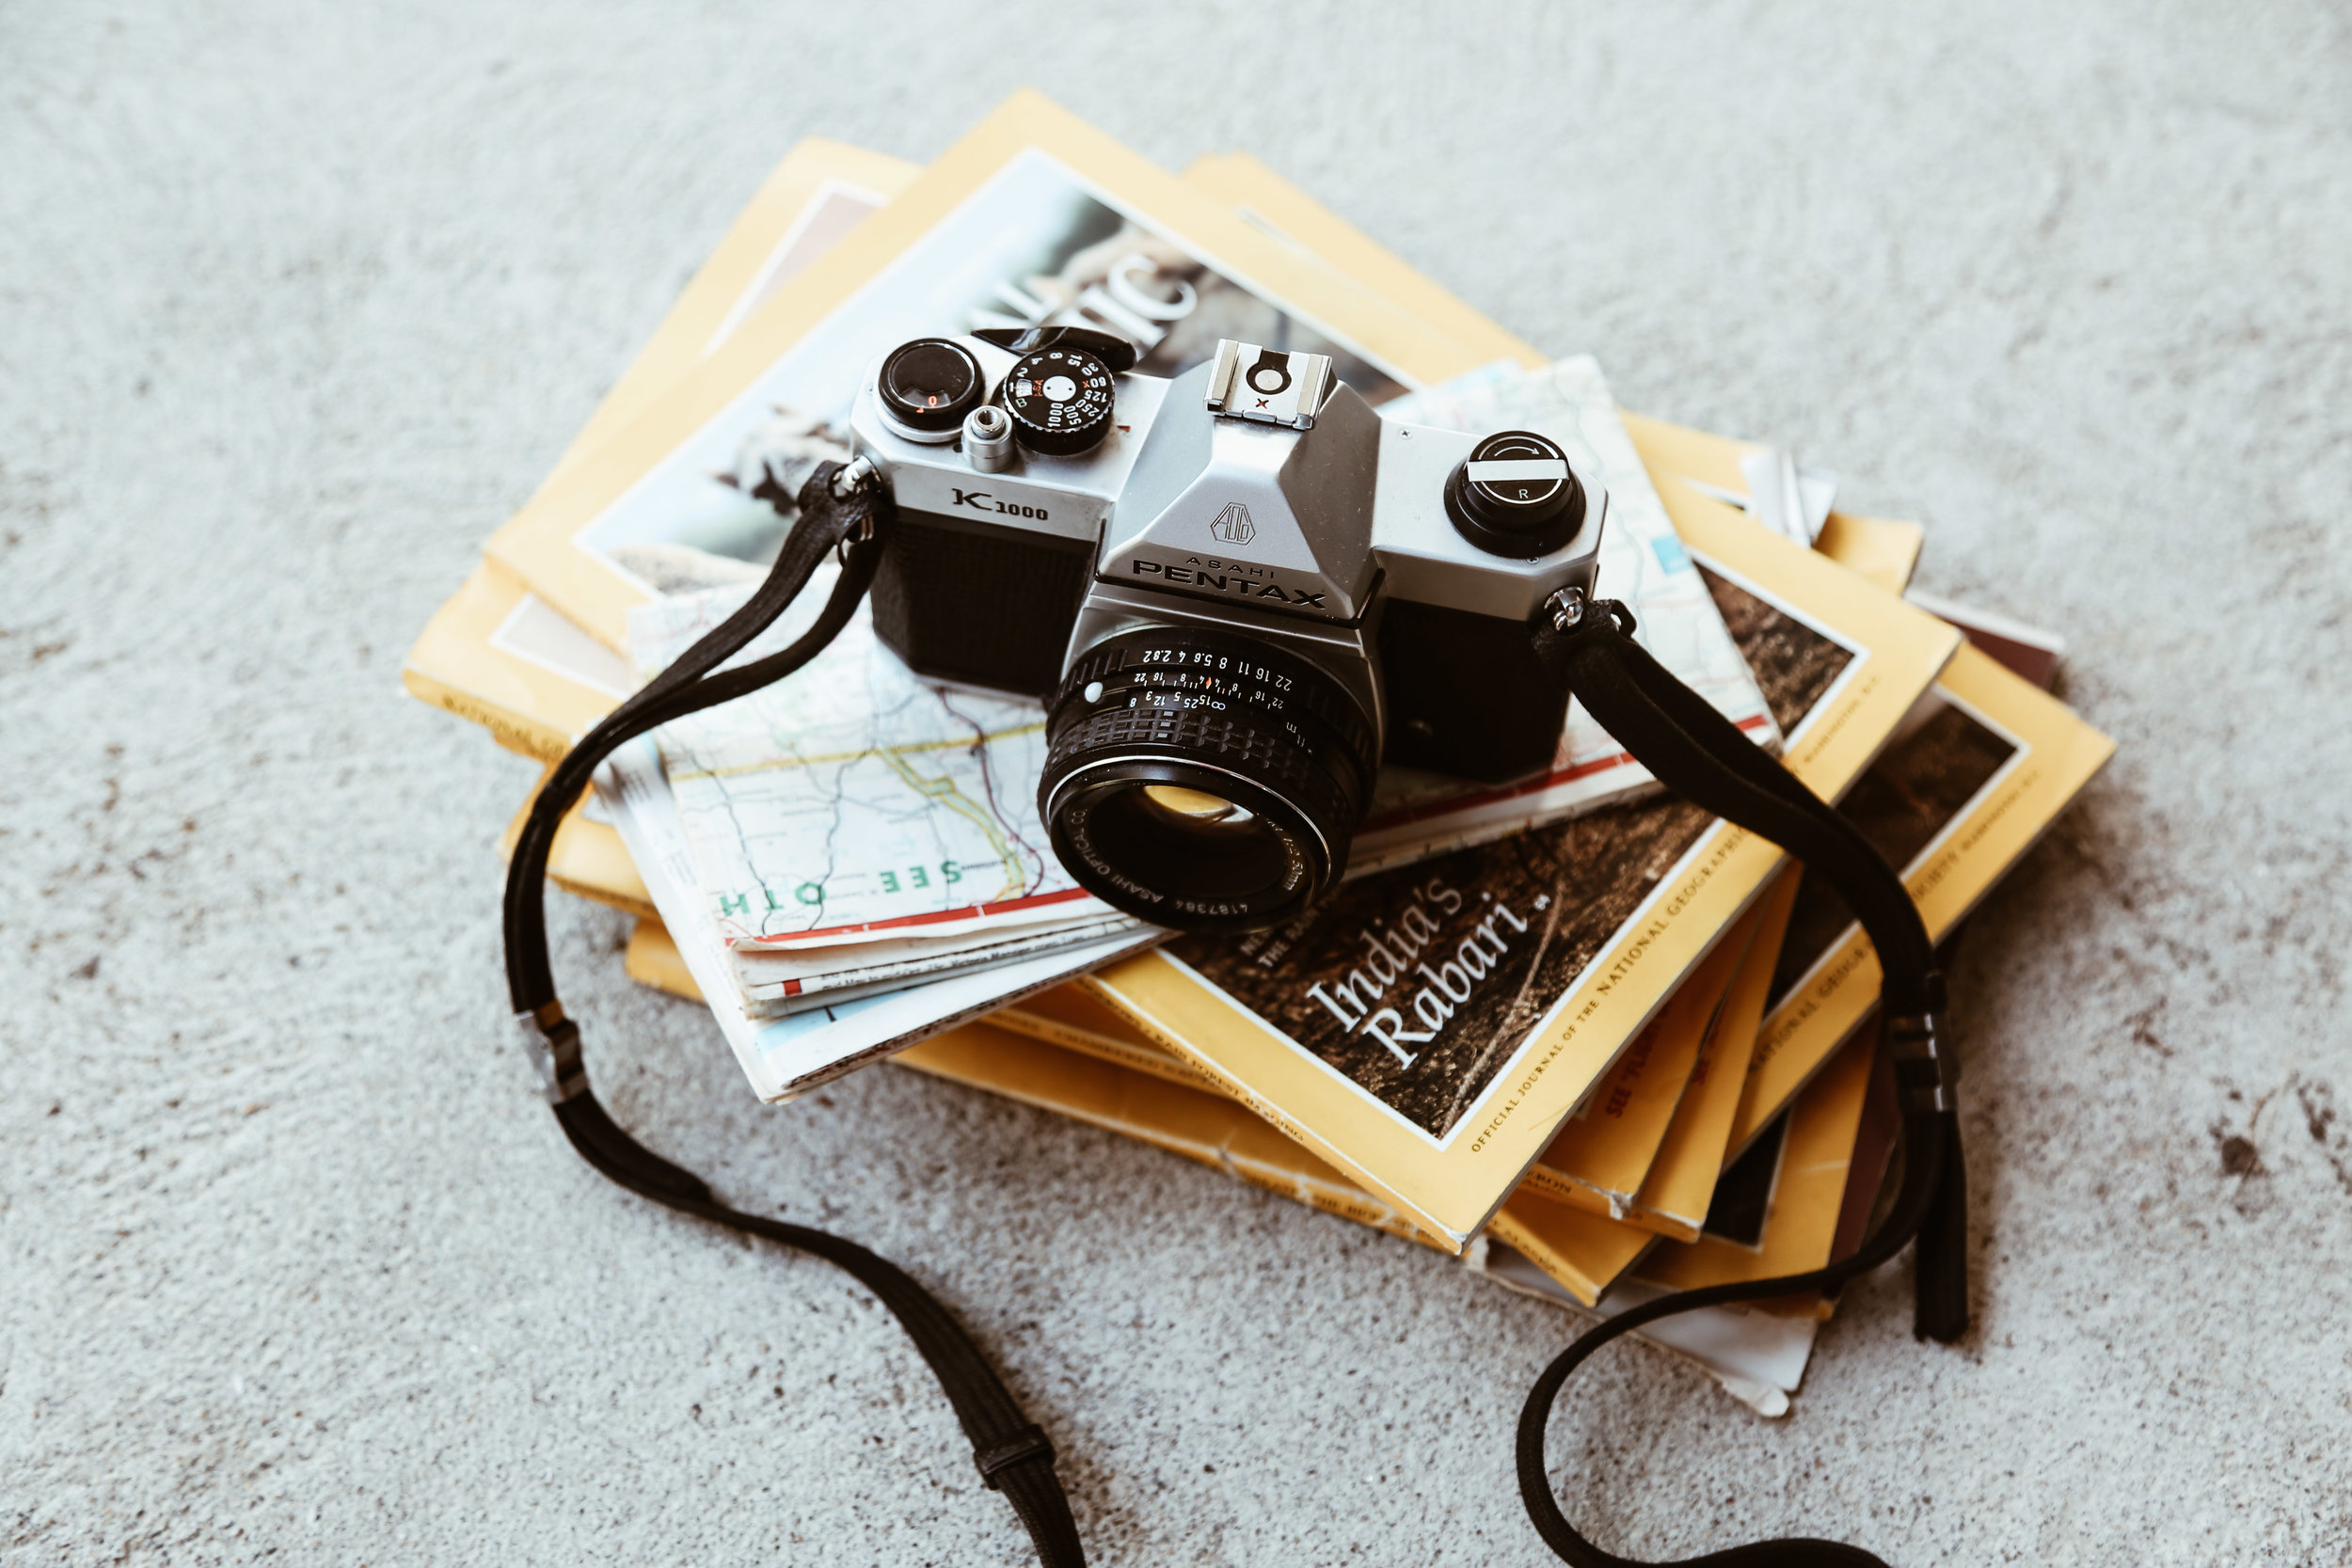
PHOTO SCHOOL // CLASS 004 - How We Edit Our Photos

The last few weeks of our Mini Photo School we have been building a bit of a “cake” of sorts.
Layer upon layer, we’ve laid the ground work for taking good photos with talks about equipment, phone photography tips and discussing how you actually use your camera to, ya know, snap a pic. So now it’s time to finally put the icing on the cake, so to speak, and discuss how we edit photos to make them all crisp, pretty and consistently branded (for both our content and our client’s).
The key to good editing is a good photo. The better photo you take, the more natural light you have, the greater your composition, the easier your editing will be. So, before you start worrying about edits and filters and Lightroom, please make sure you’ve really got your photography basics down pat and you’ve spent a fair amount of time shooting photos. Once you have, then scroll on down below to read my 3 main editing tips + my exact process for getting my photos to look the way that they do
.
Previous Classes
Class 001 // The Camera Gear We Use
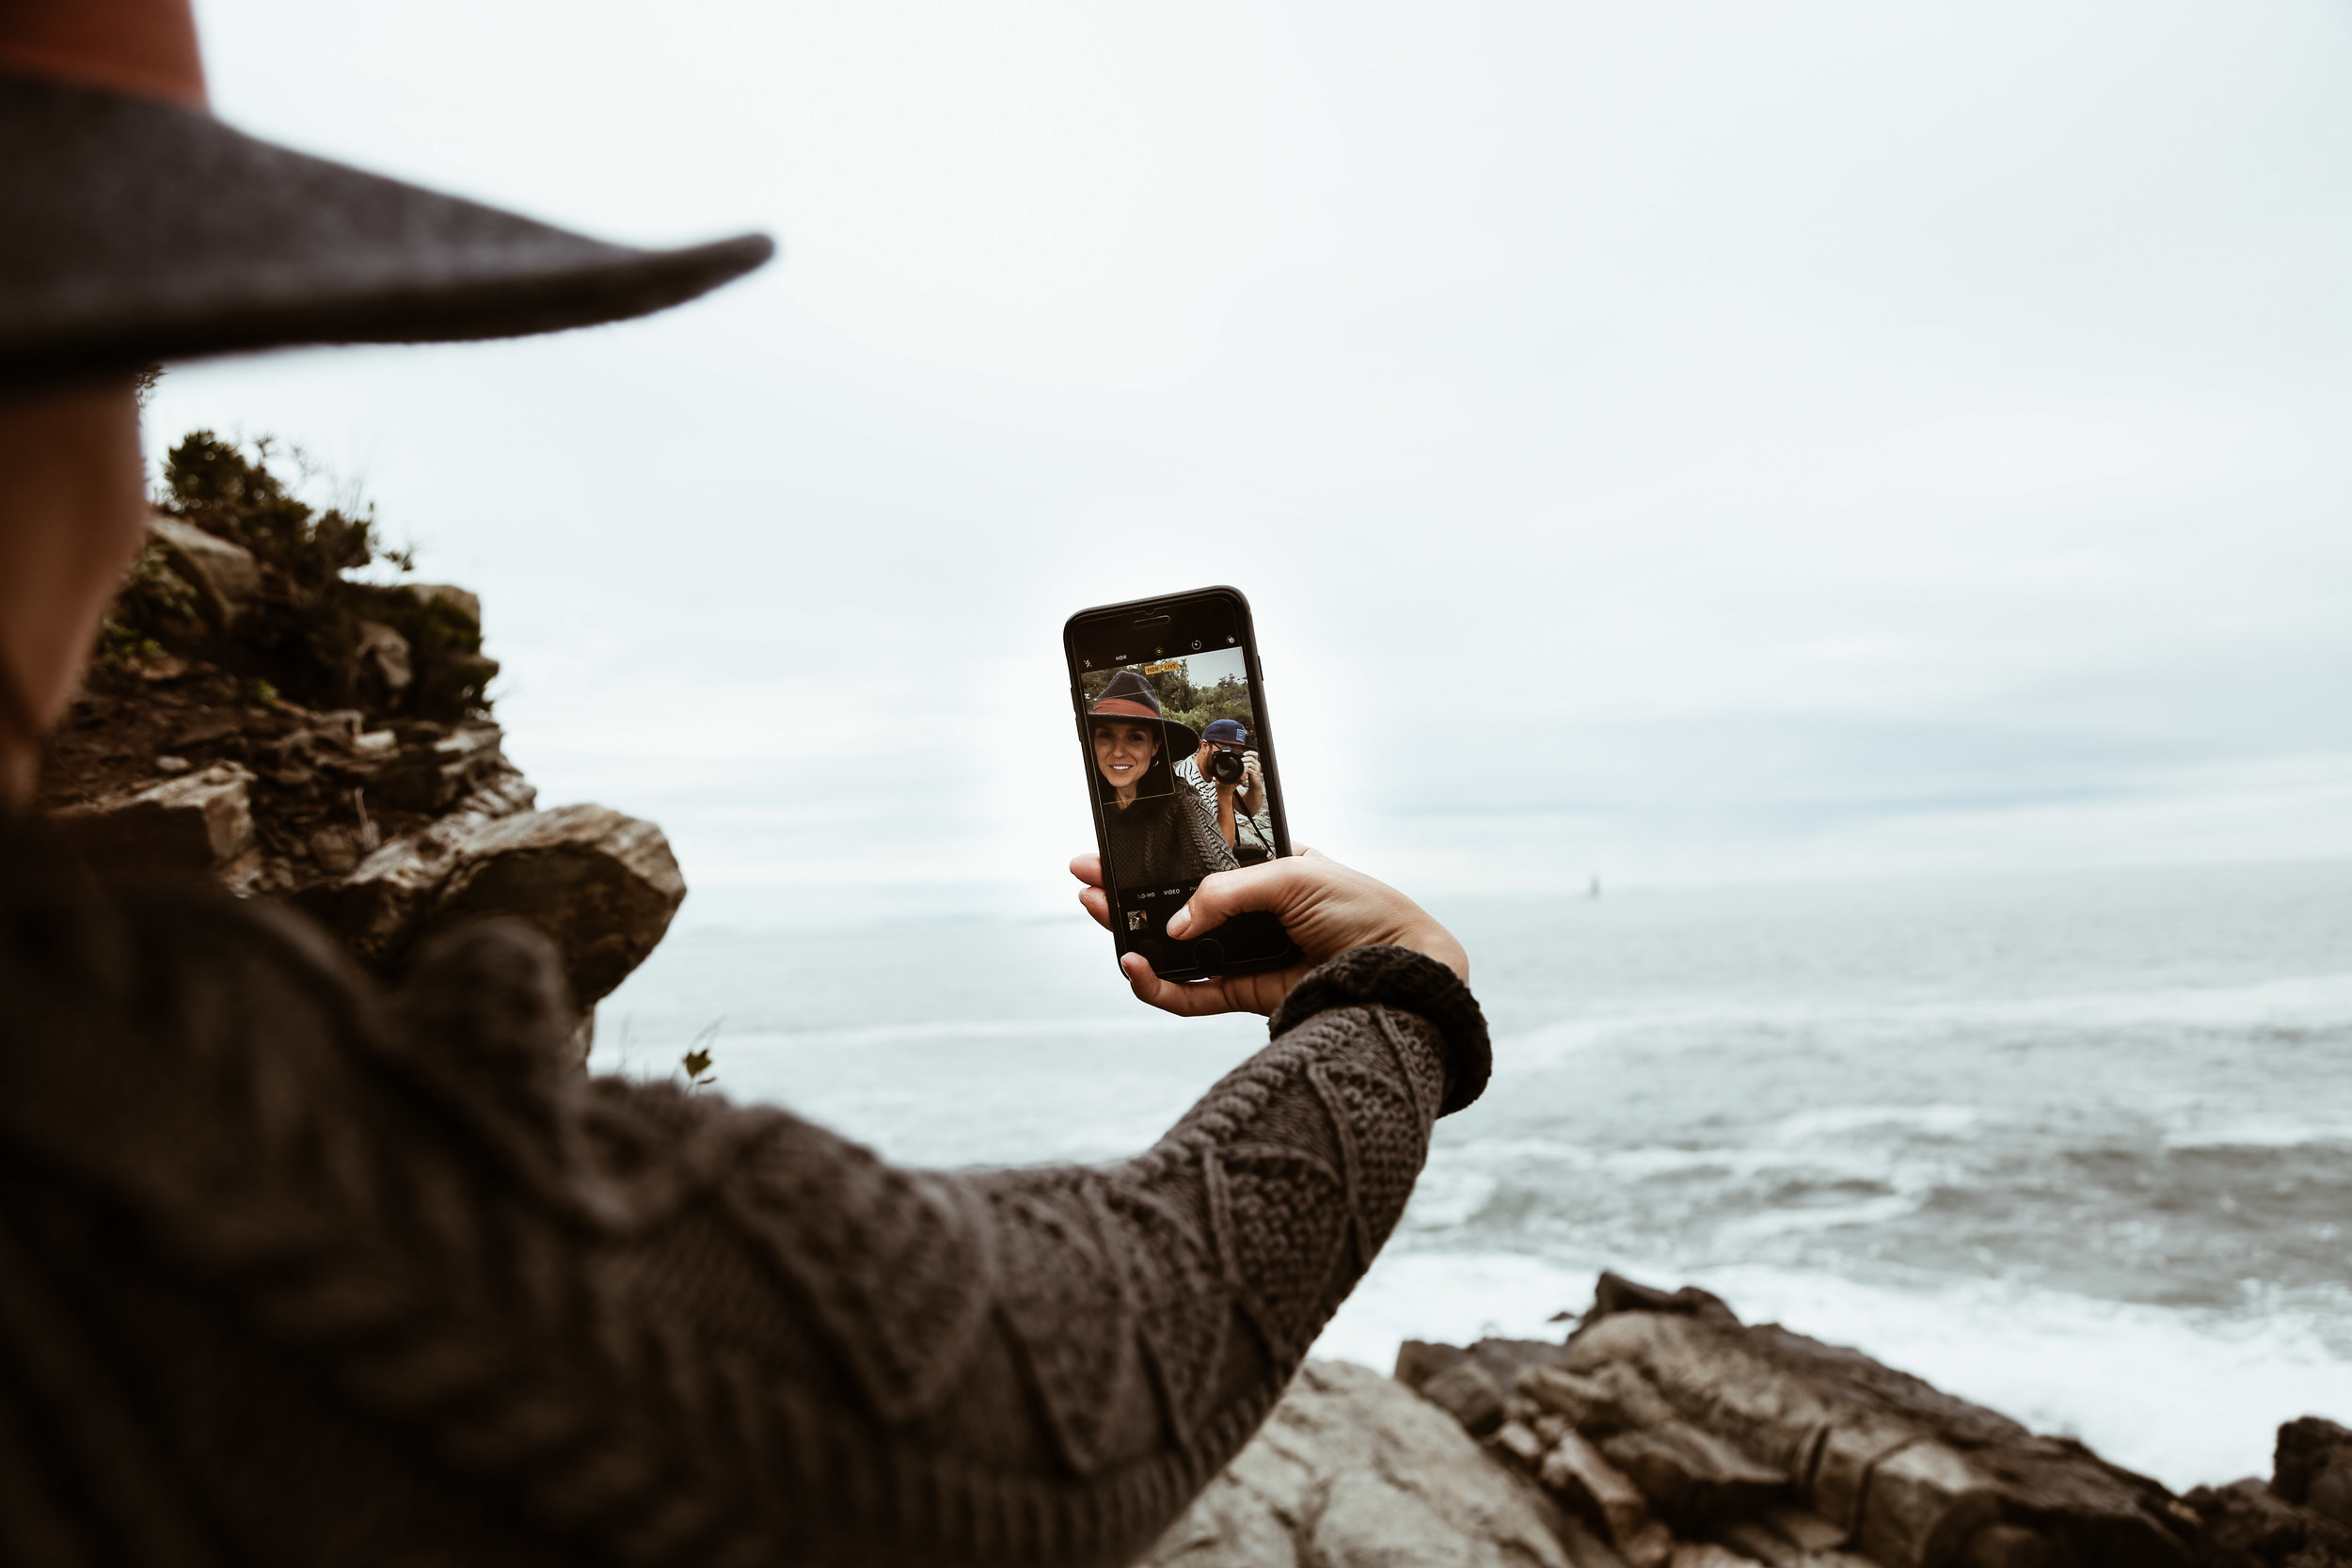
Class 002 // Phone Photography + Out Favorite Photography Apps
Coming Up Next
Class 005 // How To Take Better Photos of People

CLASS 004 // How To Edit Photos

When it comes to editing photos, my THREE BIGGEST TIPS are: practice, understand Photoshop + Lightroom and invest in VSCO filters. Let me explain.
Practice, practice, practice…..and then practice some more. Sound familiar? Then that means you probably checked out last week’s lesson. Similarly to taking photos, where it’s important to just get out there and practice shooting, it’s also important to just start playing around with editing.
When we first started out, we installed both Photoshop and Lightroom on our computers. We would then spend hours Googling things, watching Youtube tutorials, but, most importantly, just playing around and familiarizing ourselves with all of the different tools. In fact, even to this day, in which we now have our editing system down, we still continue to spend time playing around and practicing new techniques. Even if it’s just an extra 5 or 10 minutes once I’m done editing whatever I need to, I’ll play around with a feature I don’t normally use, to just keep myself familiarized with all the different tools and buttons. Because here’s the thing, I think of editing the way I do working out. You either move it or lose it. Just like any other thing you learn, it’s all in the mind, and the mind, just like every other muscle in the body, needs to be continuously trained to grow better, faster and stronger.
Each are totally different platforms. When we first started out, we mainly used Photoshop, because, tbh, I thought it was the professional thing to do, and definitely stuck my nose up at Lightroom, like it was some kind of amateur ‘ish. Really, I was just making my life more difficult than it had to be.
Both platforms have pros and cons, and both are necessary for different reasons, but, for us, we now mostly rely on Lightroom, using Photoshop mostly for cleaning up photos (like random pieces of trash on a street or stop signs) from pictures.

Transfer photos from camera memory card to computer.
Go through an initial screening of the photos, removing any that I don’t like, are blurry, etc. Repeat this process 2 or 3 more times, depending on the amount of photos, to narrow it down to a select group.
Import the selected photos into Lightroom.
Apply my go-to preset (A4) to all photos.
Add a few tweaks, as necessary. Tweaks usually include adding sharpness, contrast, clarity and decreasing blacks and orange luminance. Sometimes I add yellow on the temp scale, then desaturate yellows in the color, sometimes I decrease blues more, sometimes I brighten or darken a photo, sometimes I app the highlights, sometimes I play around with the dehazing tool and split toning and I sometimes I use the curve tool. No matter which tools I use, I really try to use them each minimally. My goal is to create a branded look, not a completely distorted and different image.
Once I have my tweaks done on the first photo, I select all photos, then hit the ‘Sync’ button to apply the tweaks to every image (a true lifesaver, especially if you have a million photos to edit). However, I will still go through and double check each photo individual image, as the results can vary depending on things like lighting.
Next, save and export photos (I usually save mine at 120 dpi.).
Then I go through and narrow down my photos once more to make my final selects.
Lastly, I either send a folder of photos to a client, upload them in blog posts or use them on Instagram.
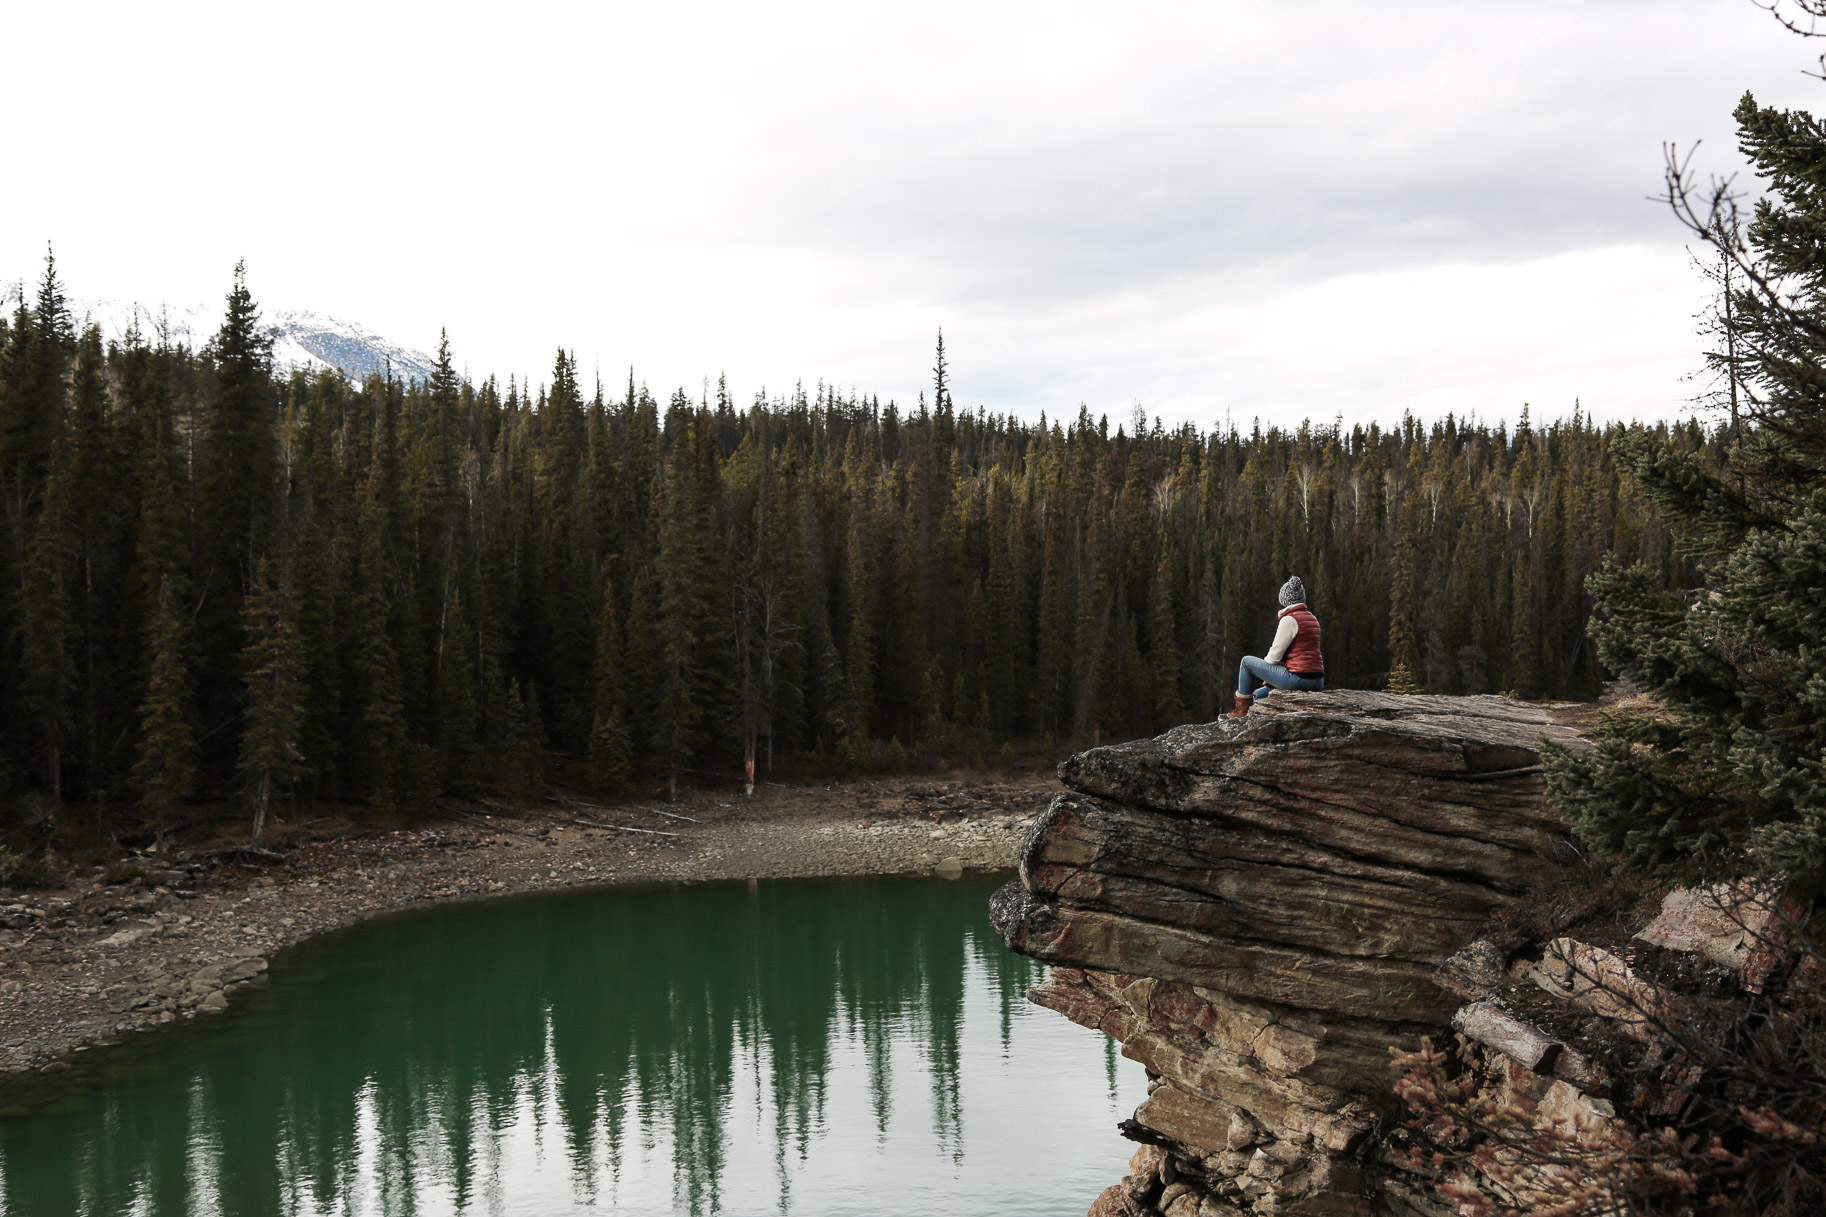
AN EDITING BEFORE + AFTER EXAMPLE, FEATURING ONE OF THE PHOTOS FROM THIS POST


Back in the day (by which I mean like 3 or 4 years ago), VSCO filters hardly seemed like a thing. But these days every single person and their mother is selling this or that preset. That in itself is a whole long discussion to save for a rainy day, but the short of it is this, I can’t stand all the preset sales going around. I think it takes away all creativity and originality, causes every photo to look the same as the last, and, let’s be real, puts money in someone else’s pocket for something that you could easily learn to do…just to have your photos blend right in with theirs. No thank you. In fact, this is exactly why I resisted even buying VSCO filters in the first place. I feared my photos would lose their originality and get lost in the endless sea of Instagram feeds. But eventually, after years of using some of the free ones on the phone app, I realized it might actually do more good than harm. So Dave and I spent hours combing over each pack and what they included before settling on two (We got the mobile pack, to match the ones available on our phones, and pack 6.) . We then spent days playing around with each individual filter to determine which ones we liked best and felt matched each of our aesthetic’s best. I’m terrible at decisions, so, as you can imagine this was a painful process for me. But somehow, some way, I picked a filter. We won’t go into the effects that filter picking had on my Instagram feed (and consequently, my mental well-being), but let’s just say it wasn’t pretty and my feed become a sphizofrenic mess for a hot second while I seriously questioned my style, favorite colors, life choices, who I was as a creative and a basically just overall human existence.
These days, not only do I use a VSCO filter, but I’ve now learned how to build my own custom filter, or recipe, from a base VSCO filter. I’m still constantly tweaking it as I learn new things, or my tastes adjust slightly or depending on the season (I tend to like darker photos in the fall/winter and lighter in the spring/summer), but having that filter has helped tremendously. It gives me a solid base from which to start editing, it ensures my photos look branded and consistent, and, unless I’m doing specific edits for a client, it has cut my editing time down from hours to mere minutes.