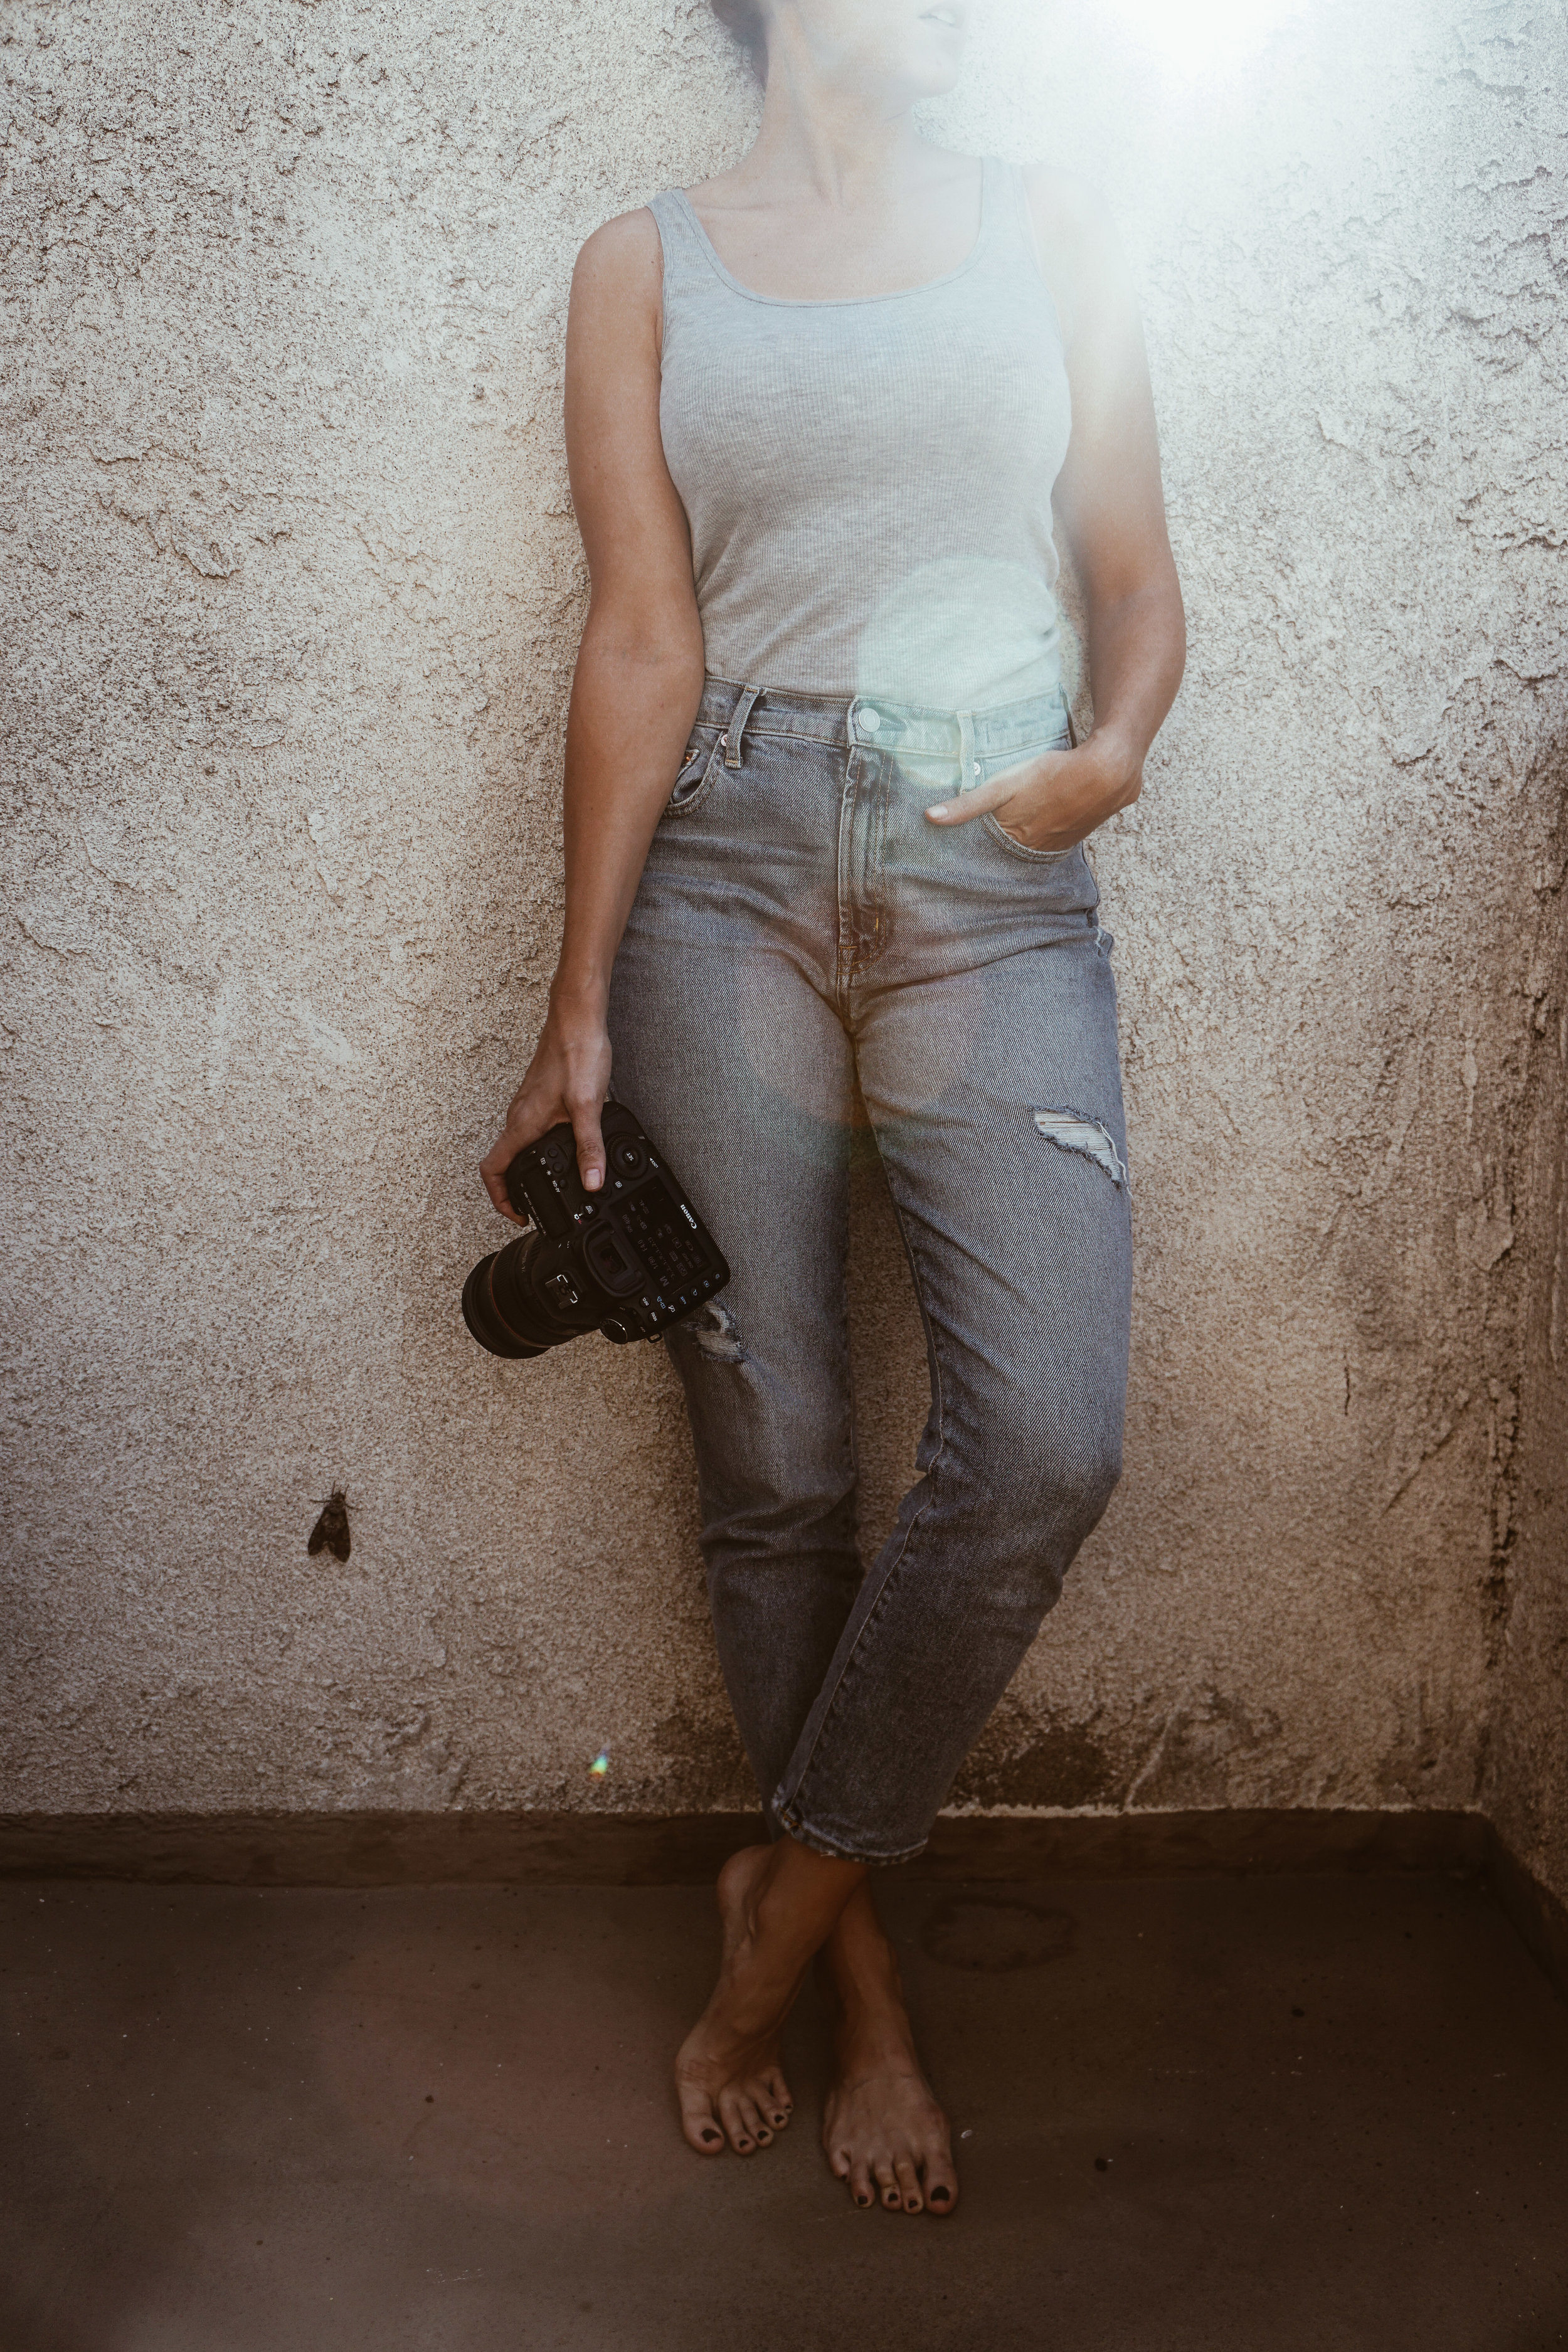
PHOTO SCHOOL // CLASS 002 - Phone Photography and Best Photography Apps to Use
If you missed last week’s intro to our Mini RC Photo School,
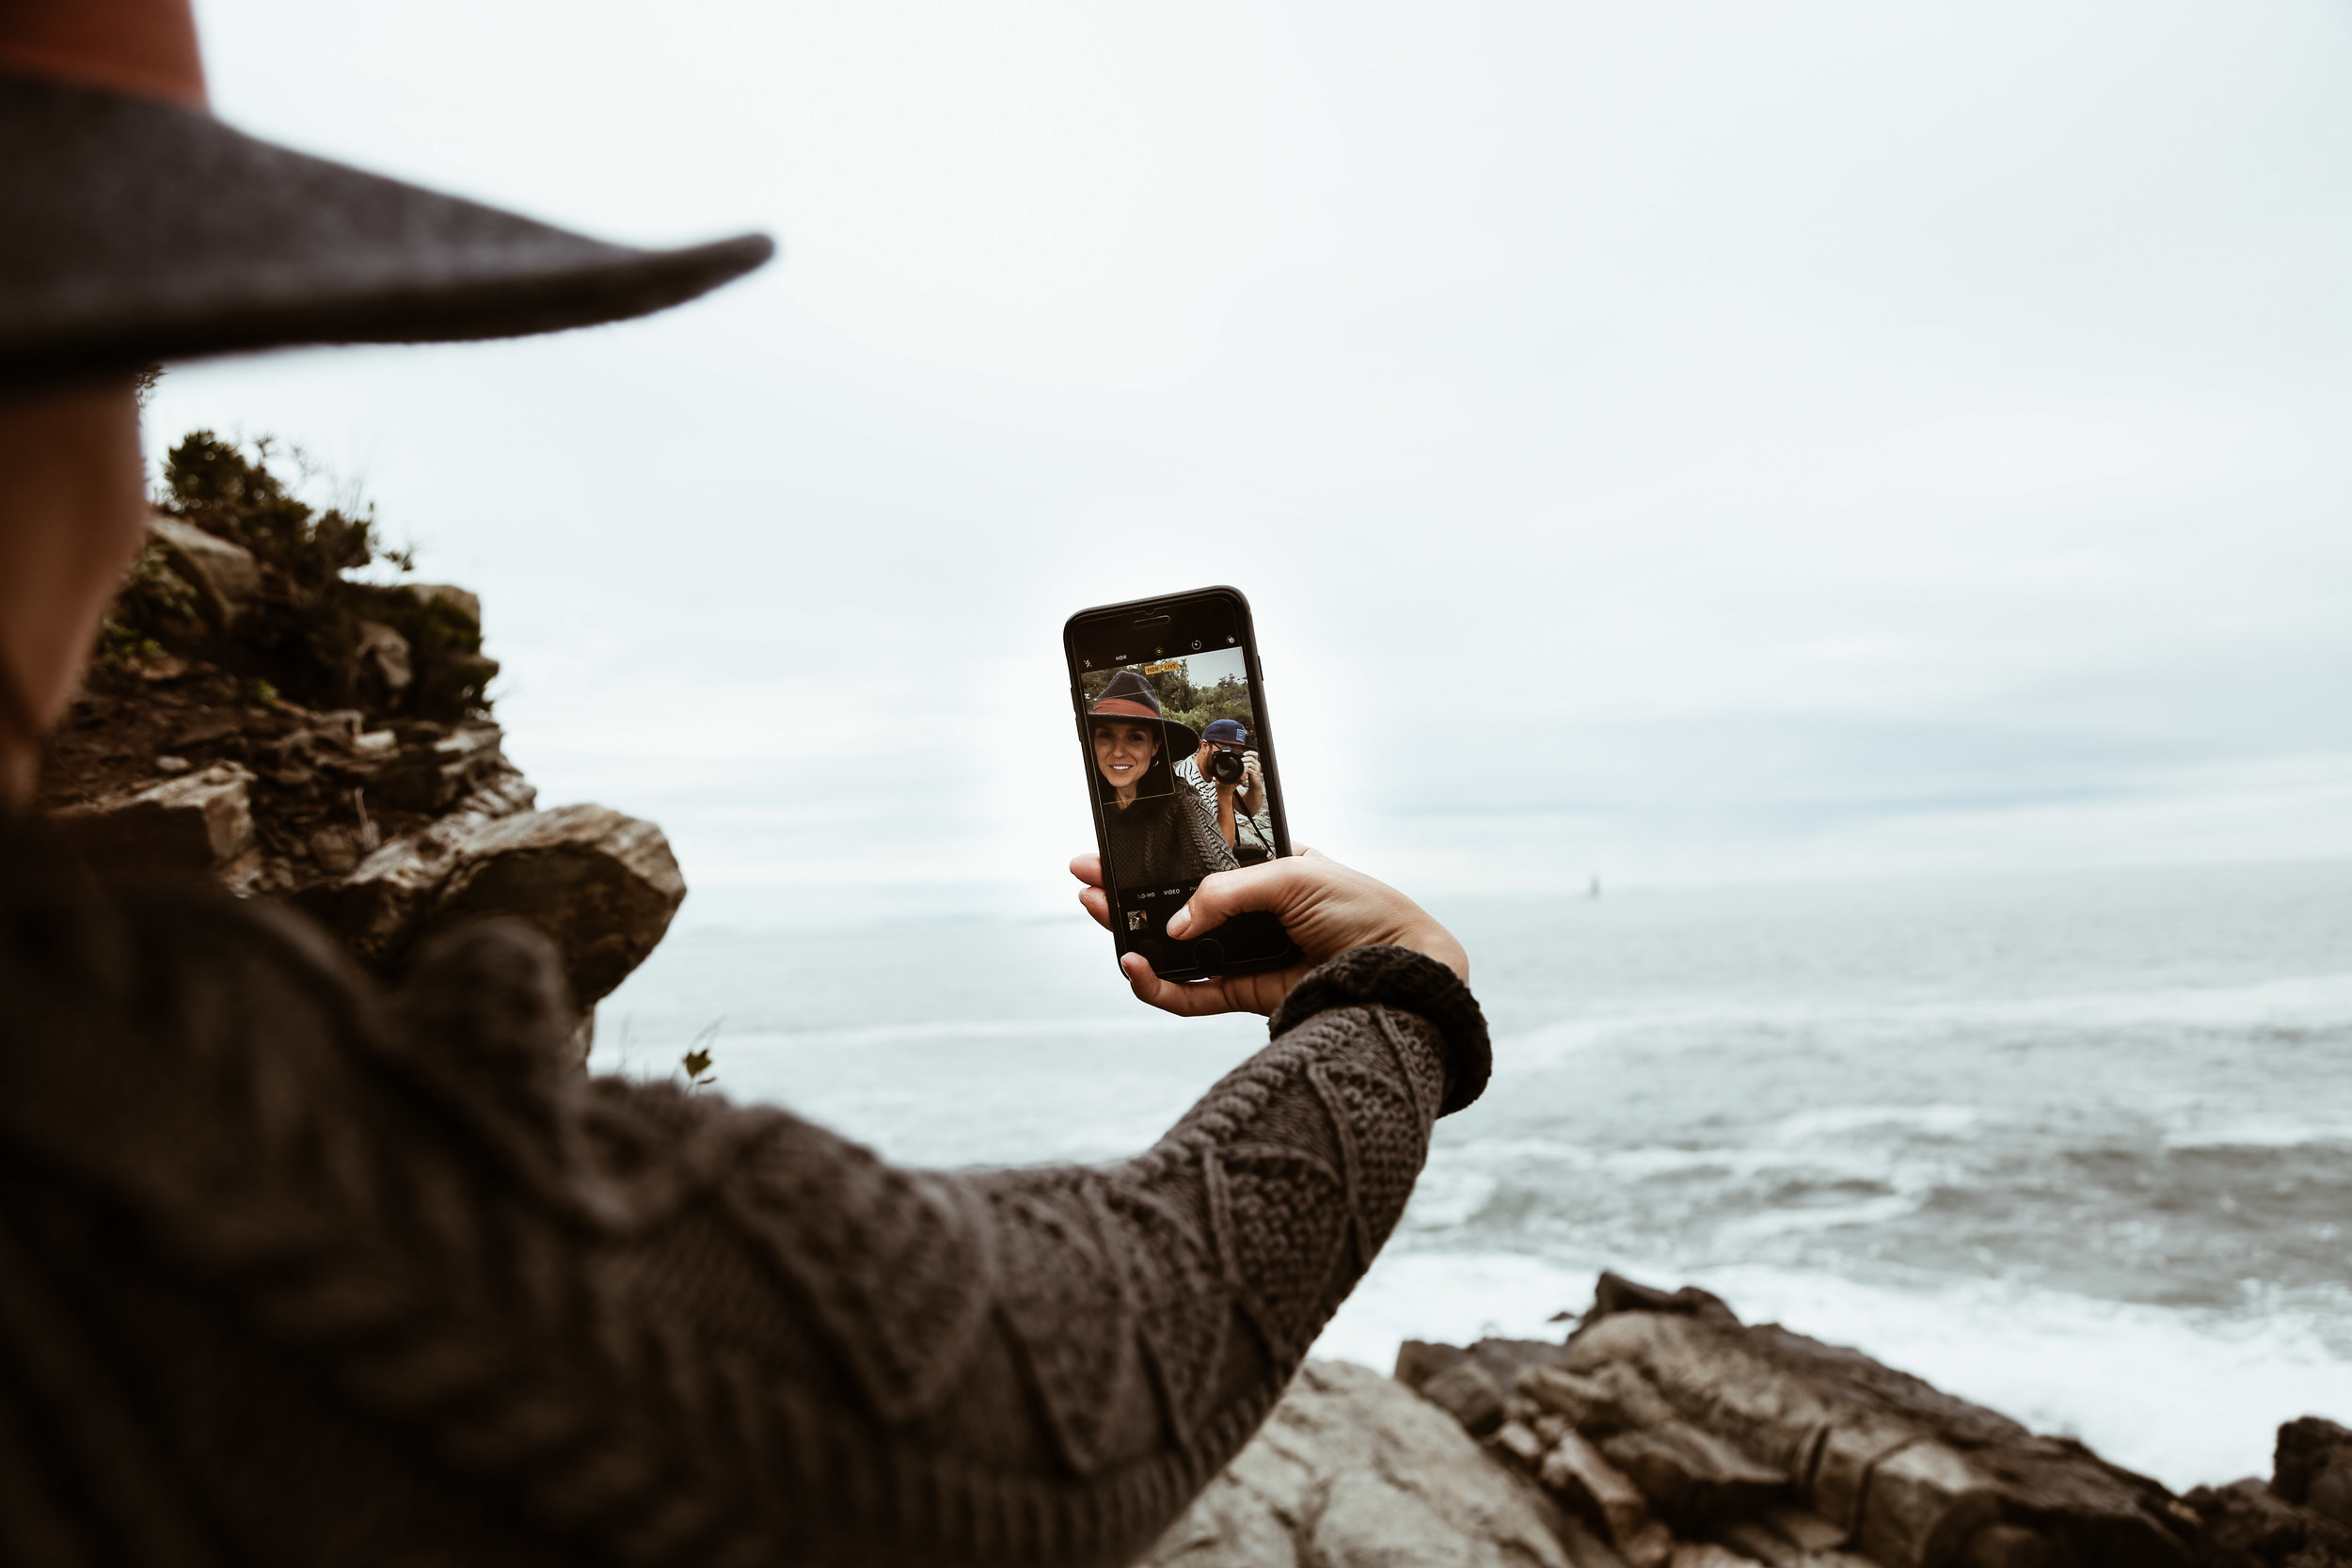
we gave an in-depth look at the photo equipment and gear we use to take our photos and create content. But for this week’s class, we are going to touch on one specific piece of equipment that we (and probably the majority of people out there) turn to frequently for snapping a photo… our phones.
It is no secret that in today’s day-in-age, it is easier than ever to document a place traveled to, snap a quick pic of a delicious meal, or take a photo with friends and family, thanks to our mobile devices. They have truly become an extension of us as a society and that doesn’t seem to be slowing down anytime soon. That being said, we are going to share some tips on how to take quality images using just your phone, as well as the apps we use to edit and prepare the images to share online, with friends and family, or on social media platforms.
Please keep in mind, as with everything we share in our RC Photo School classes, our opinions are subjective to what has worked for us as well as the equipment and applications we use. We use Apple iPhones, however, the tips we will provide are broad-based and the apps we recommend should be, for the most part, available for both iOS and Android devices.
Previous Classes
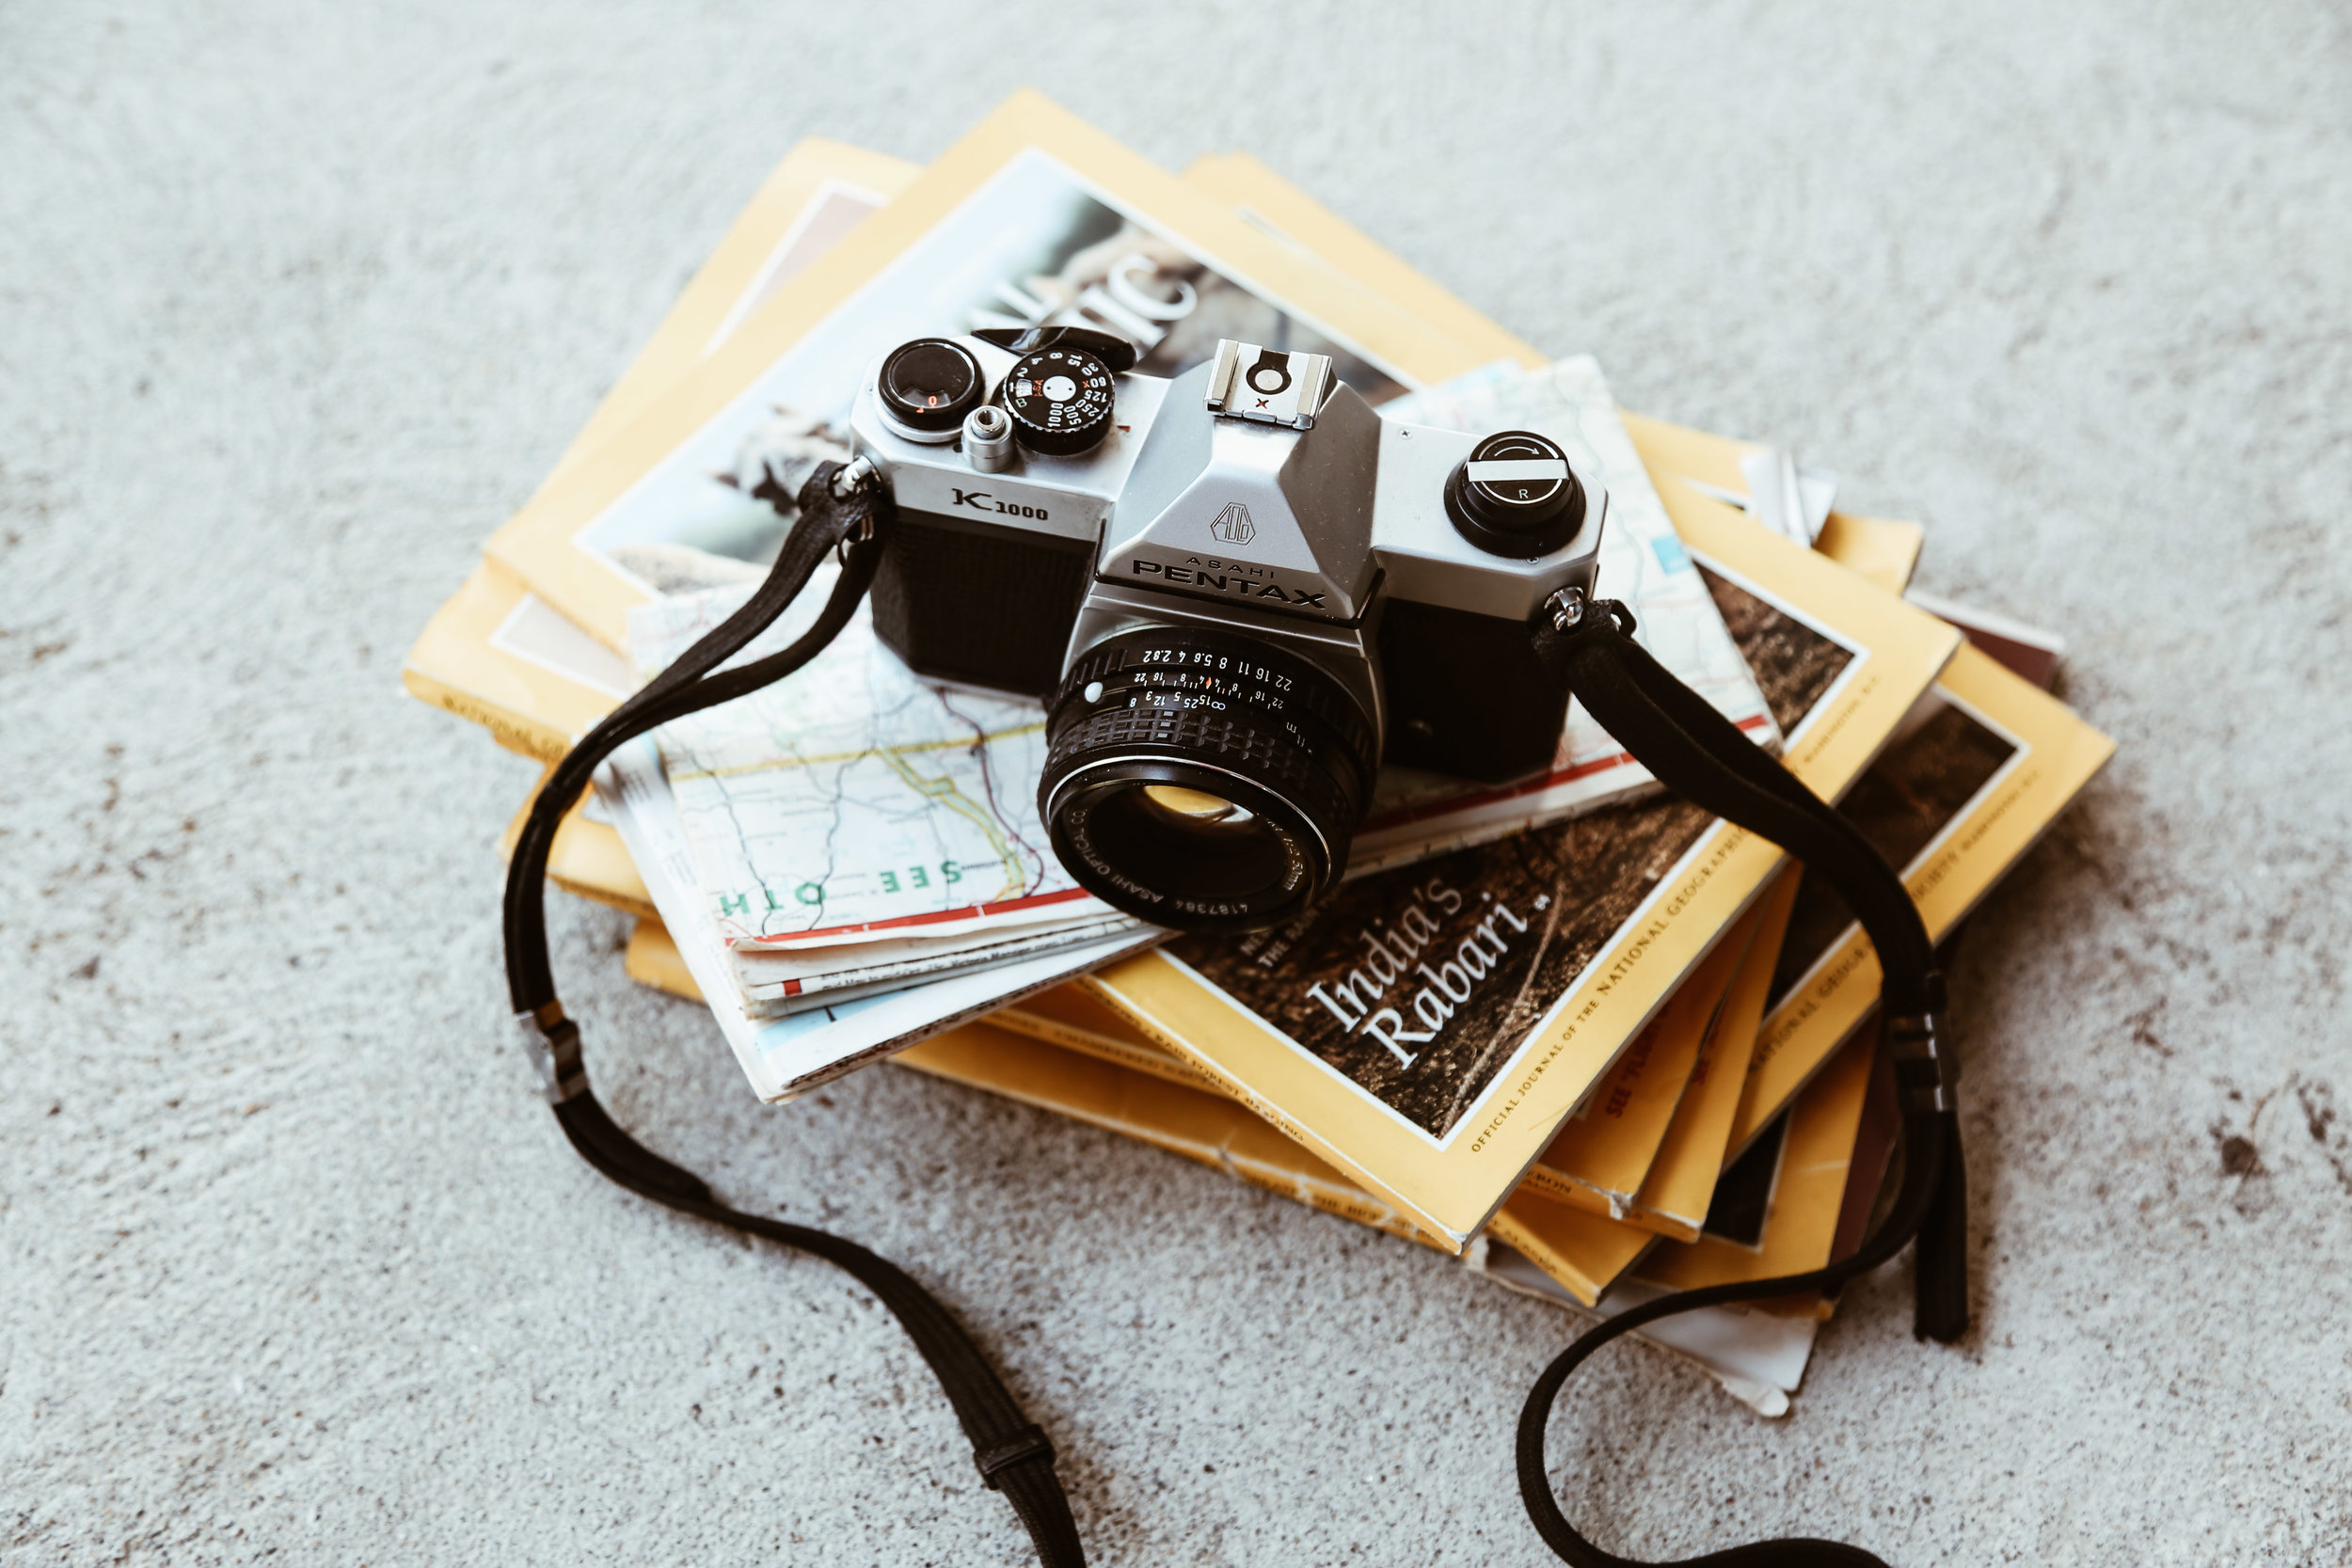
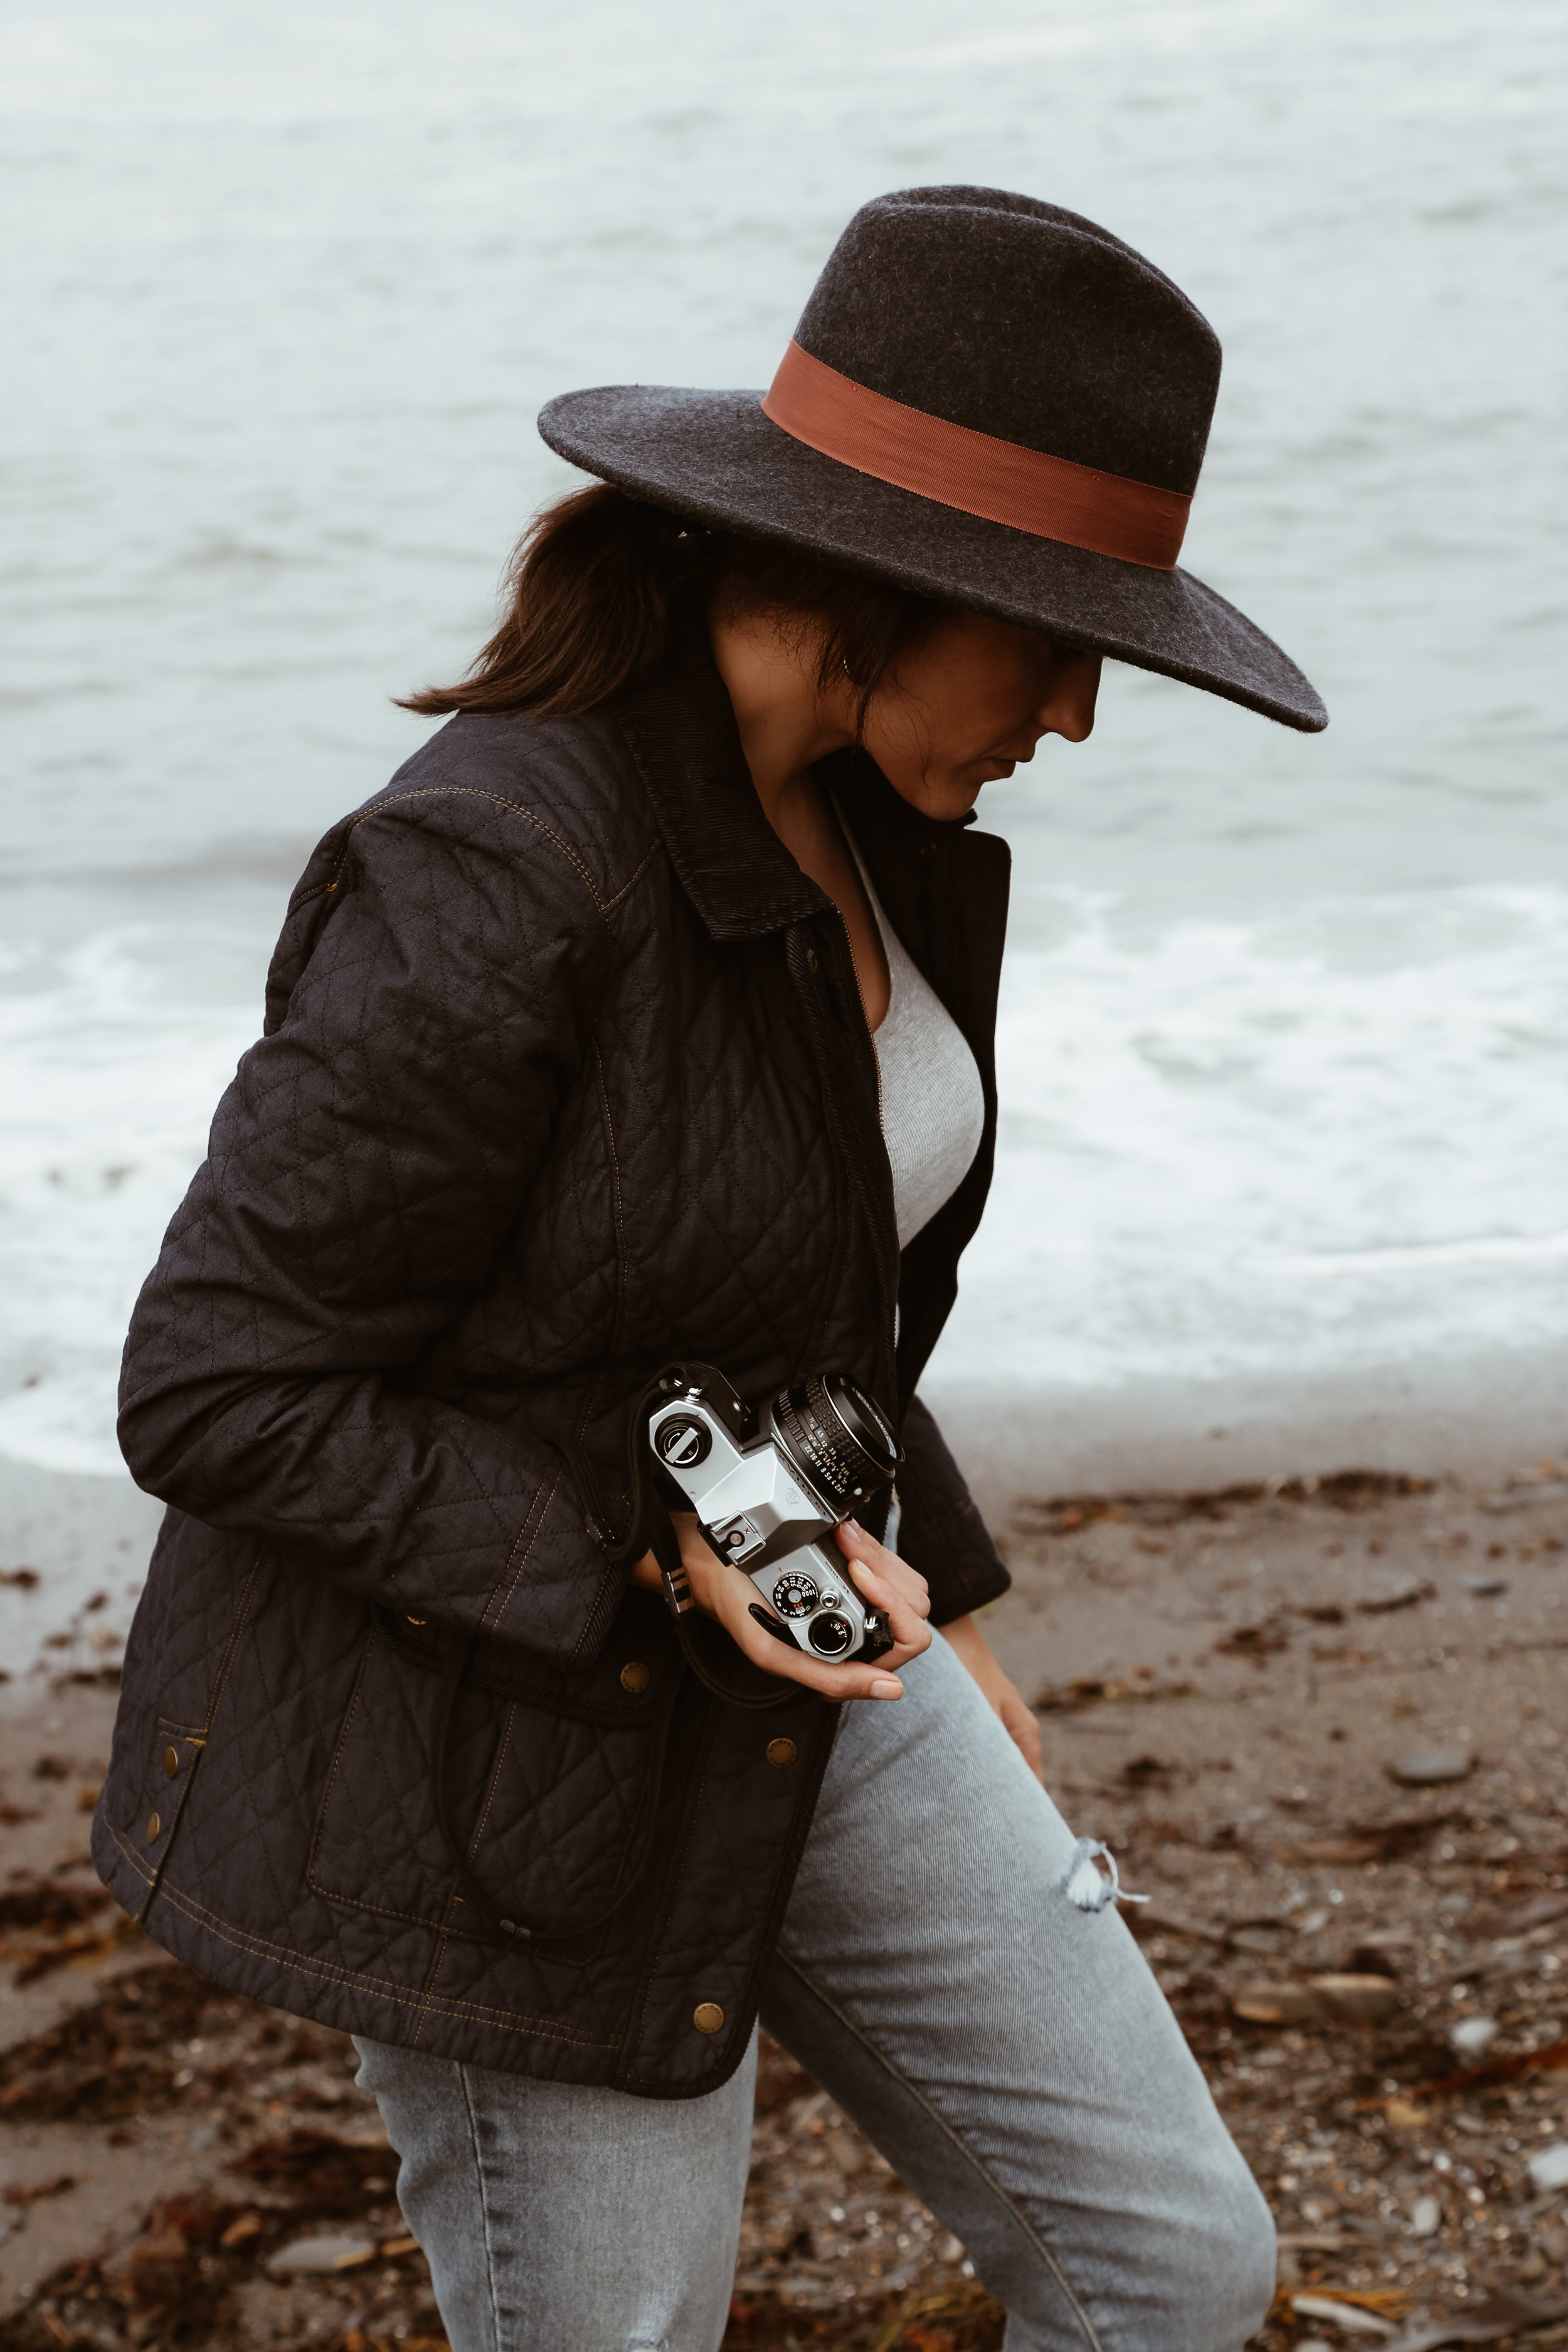
Class 001 // The Camera Gear We Use
Coming Up Next
Class 003 // The Basics of Camera Photography

CLASS 002 // phone photography + apps

Now this might sound like a no-brainer because your phone a flash setting, so why would it matter about lighting. The truth is, the flash on your phone is so harsh that it can actually wash out your photo and the subject you are shooting, so about 99% of the time, we make sure the flash is off. The risk of doing this of course, is in low-light situations, images can appear grainy or blurry. This is where the manual focus can become really handy. As mentioned above, when you tap on your screen to focus on what you want to capture, that yellow square will pop up. On an iPhone, next to the yellow square you will also see a small icon of a sun with a vertical line above and below the icon. This is a brightness meter. Think of it as your aperture and ISO, as you can drag your finger either up or down next to the sun icon and you will see the image you want to snap get lighter (dragging your finger up) or darker (dragging your finger down). This feature is very helpful for a variety of reasons in your composition, whether you are dealing with low-light (such as a darker room or arena), over-exposed light (such as a bright sunny day or sunset), or if you are looking to add some mood to your photo by playing with highlights or shadows.

Lightroom // This mobile version of our favorite desktop editing software is our number one photography app. While we still prefer to edit our photos on our computers as much as possible, the app has all the same edits we typically use, so it’s perfect for small tweaks, or for the times we have to edit while we’re on-the-go. If you only get one photography app for your phone, let it be this one.
VSCO // After Lightroom, VSCO is our favorite app. While you can edit in it (and Dave sometimes does), we both primarily use it to finish our photos with a filter/preset that gives our photos a look that is distinctly ours. VSCO provides a few filters for free, but you can also purchases packs of filters (something we did) or you can create your own recipe for a filter (something we also have done). We also have the VSCO filters on our desktop version of Lightroom so we’re able to sync everything for a cohesive look across the board, whether we’re editing on our phones or on our computers.
Snapseed // Another editing app, but this one is especially good for specific details and spot editing. A few of our favorites our the healing brush that we use to edit things out of our pictures (i.e. trash, stop signs, etc), the brush feature to do things like de-saturate or brighten certain areas of a photo, and the selective tool to edit one specific spot of a photo. You can also use this app to do any and all basic editing needs (contrast, brightness, etc), fix white balance, add grain to a photo, place text or a frame on the photo, bring certain parts of a photo in or out of focus, and add filters (they have some pretty cool retro and black and white filters).
Facetune // Alyssa uses this app for spot editing to remove things from a photo (i.e. pieces of trash) as an alternative or in addition to the Snapseed healing brush (ok, and sometimes to brighten up a smile).
Bokeh Lens, kirakira, 8mm, Momento // Apps for fun effects for photos or videos, i.e. 8mm creates content that looks vintage and you can use Momento to create Gifs from still images
InShot // For creating collages, or adding a background to photos (Alyssa uses this primarily for Instagram stories)
Thanks to the technology built into the camera on your phone, odds are when you decide to take a photo of a particular object, the camera will auto-focus on that object and will do most of the work for you (i.e. if you are taking a picture of a person, the camera will auto-focus on that persons face). However, there might be certain instances, where the auto-focus might not be able to pick up on what you want to capture (i.e. lighting, which we will touch on later), or there might be too much happening in the the foreground or background for the camera to know what you want to focus on. For us, when taking a phone photo, even though the camera will auto-focus for us, we always tap the phone screen as to what we want the focal point of the image to be and a yellow square will appear over what we tapped on, telling the camera to focus on what we want to capture, rather than what it assumes we want.
Most cameras built into phones now have a dual-lens capability or a mode in the camera settings for portrait feature. Using the manual focus tip shared above will help you using this setting and give your photos a DSLR-like look by blurring the background behind the object you focused on.

This one truly is a personal preference as everyone has a different eye for what want to photograph or see in an image. Some might prefer more negative space in an image where others might want to zoom in on a particular object. The one tip we would want to provide regarding zooming into an object, is be aware that your camera on your phone does not have high-quality telephoto capabilities, so your image will quality will be compromised the further you zoom in. At the end of it all, shoot what makes you happy and you will be satisfied.