Photo School // Class 003 - Camera Basics
Welcome to Class 003 of the Mini RC Photo School.
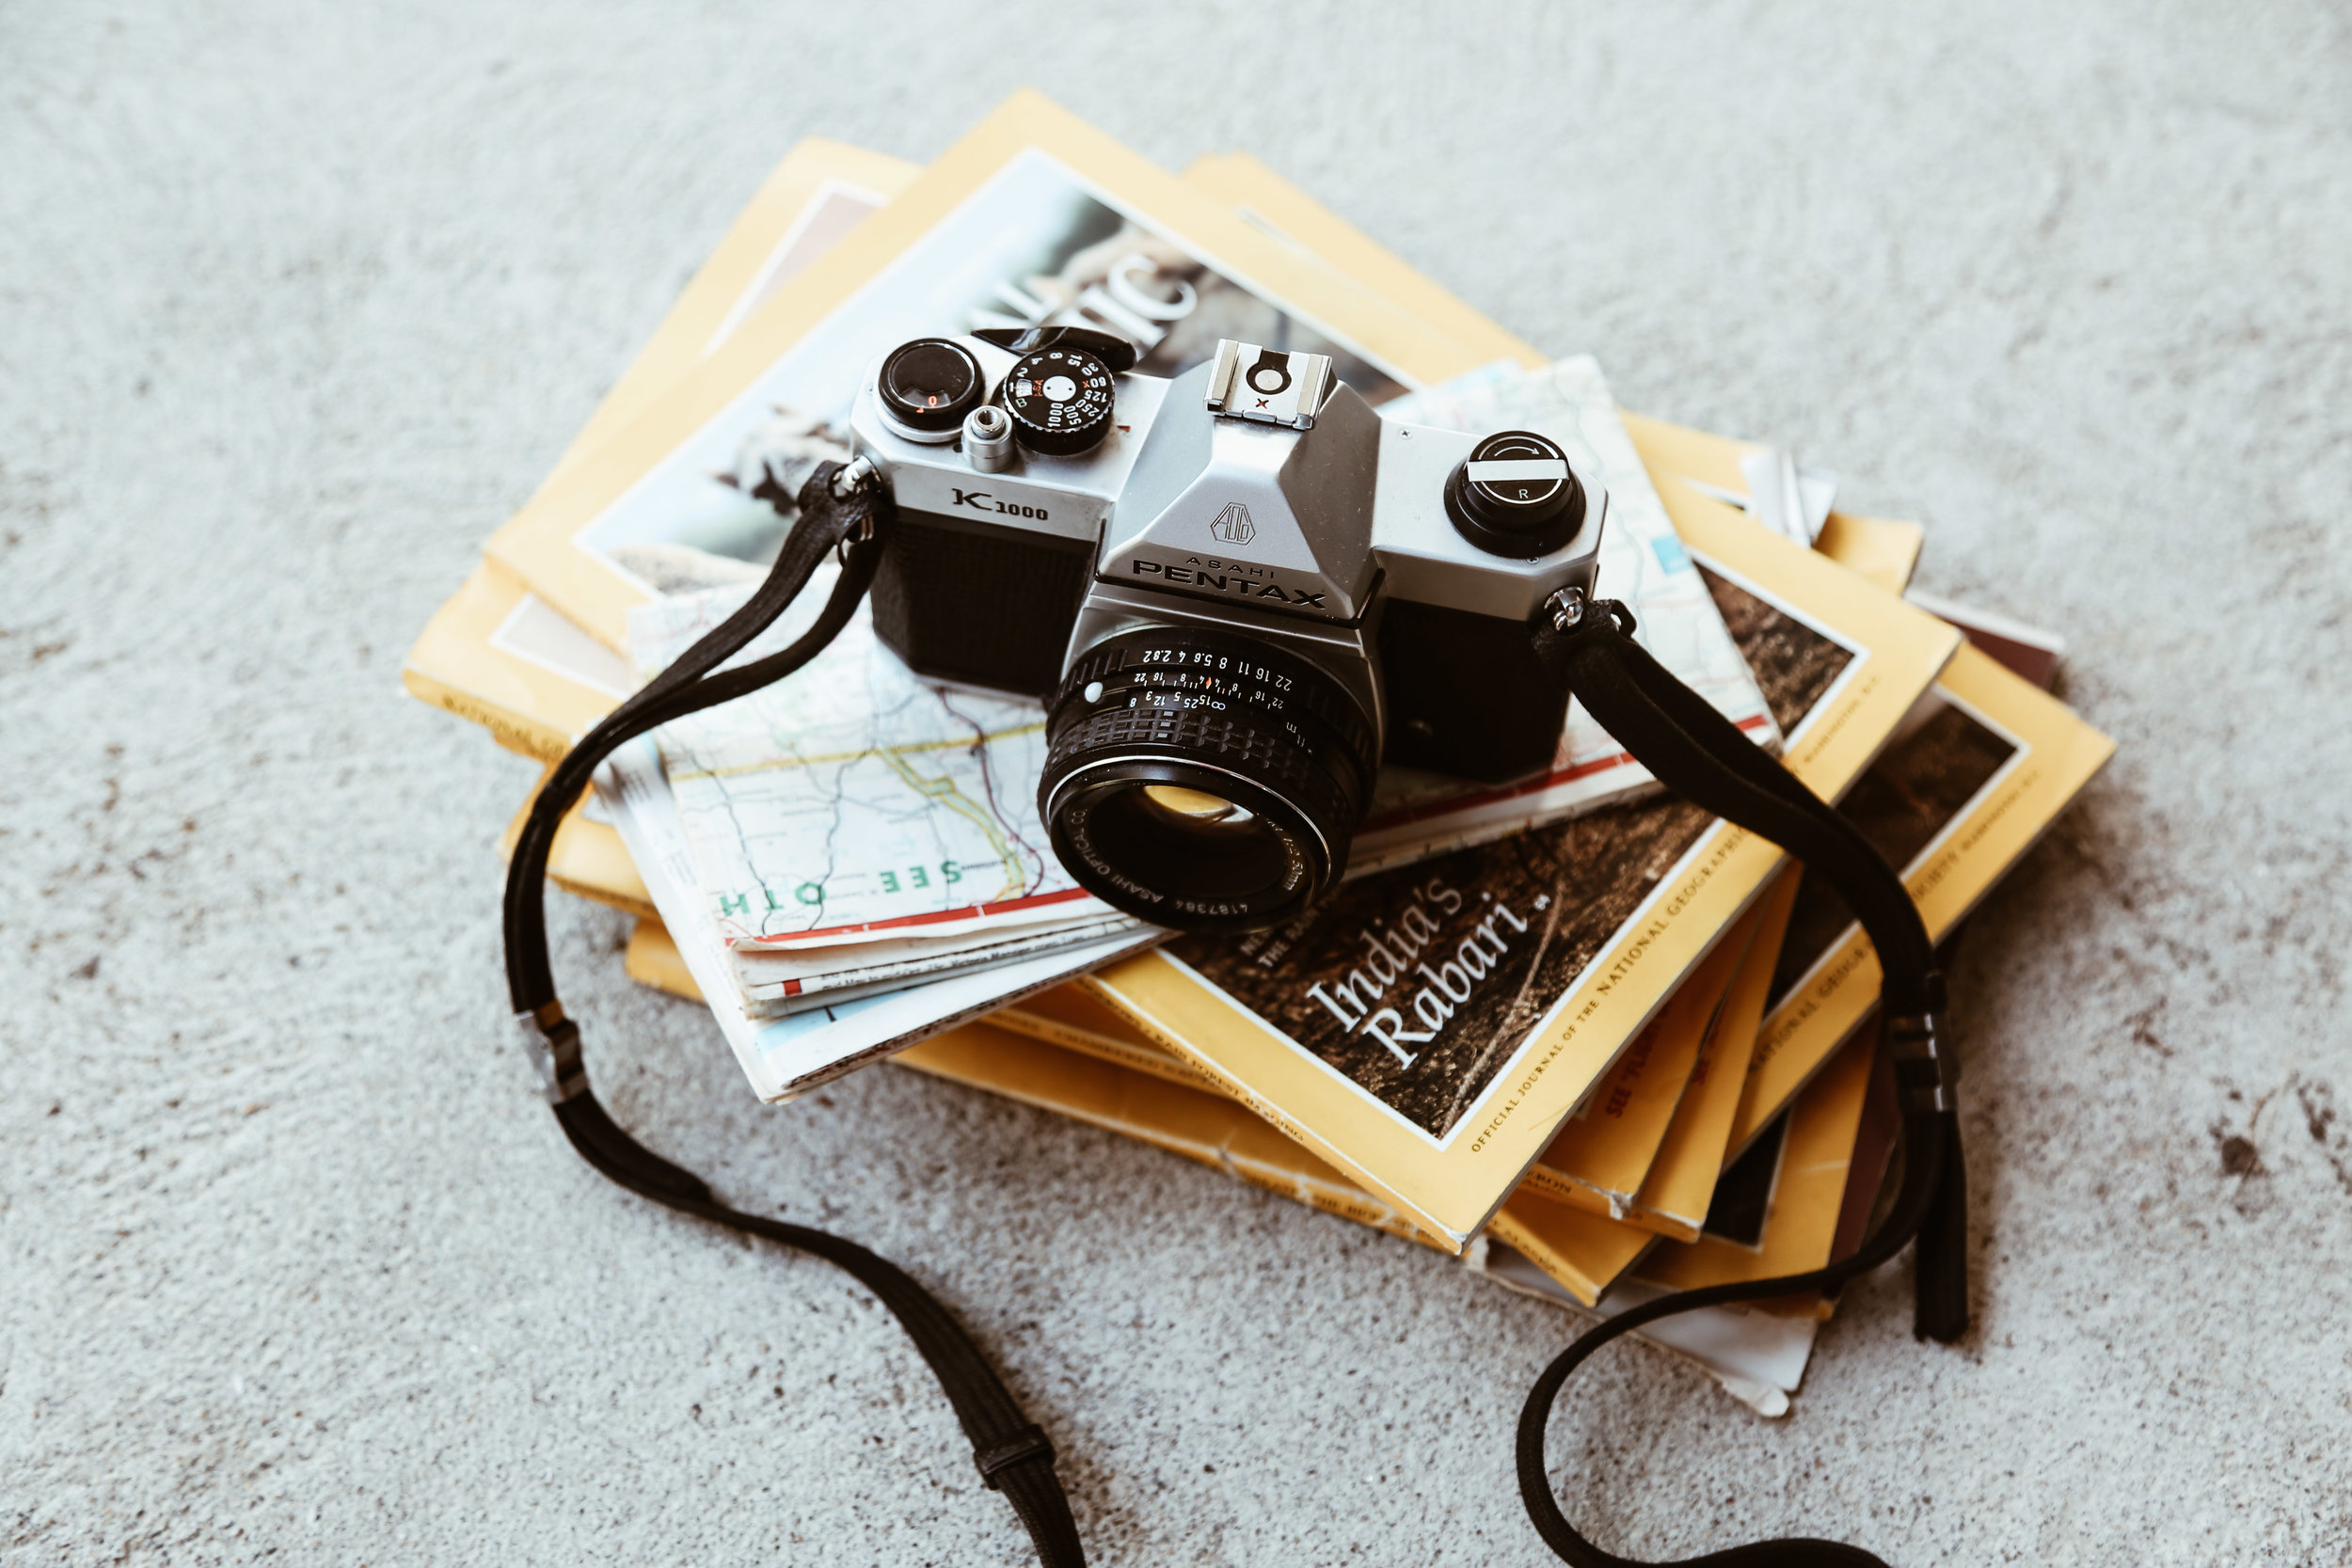
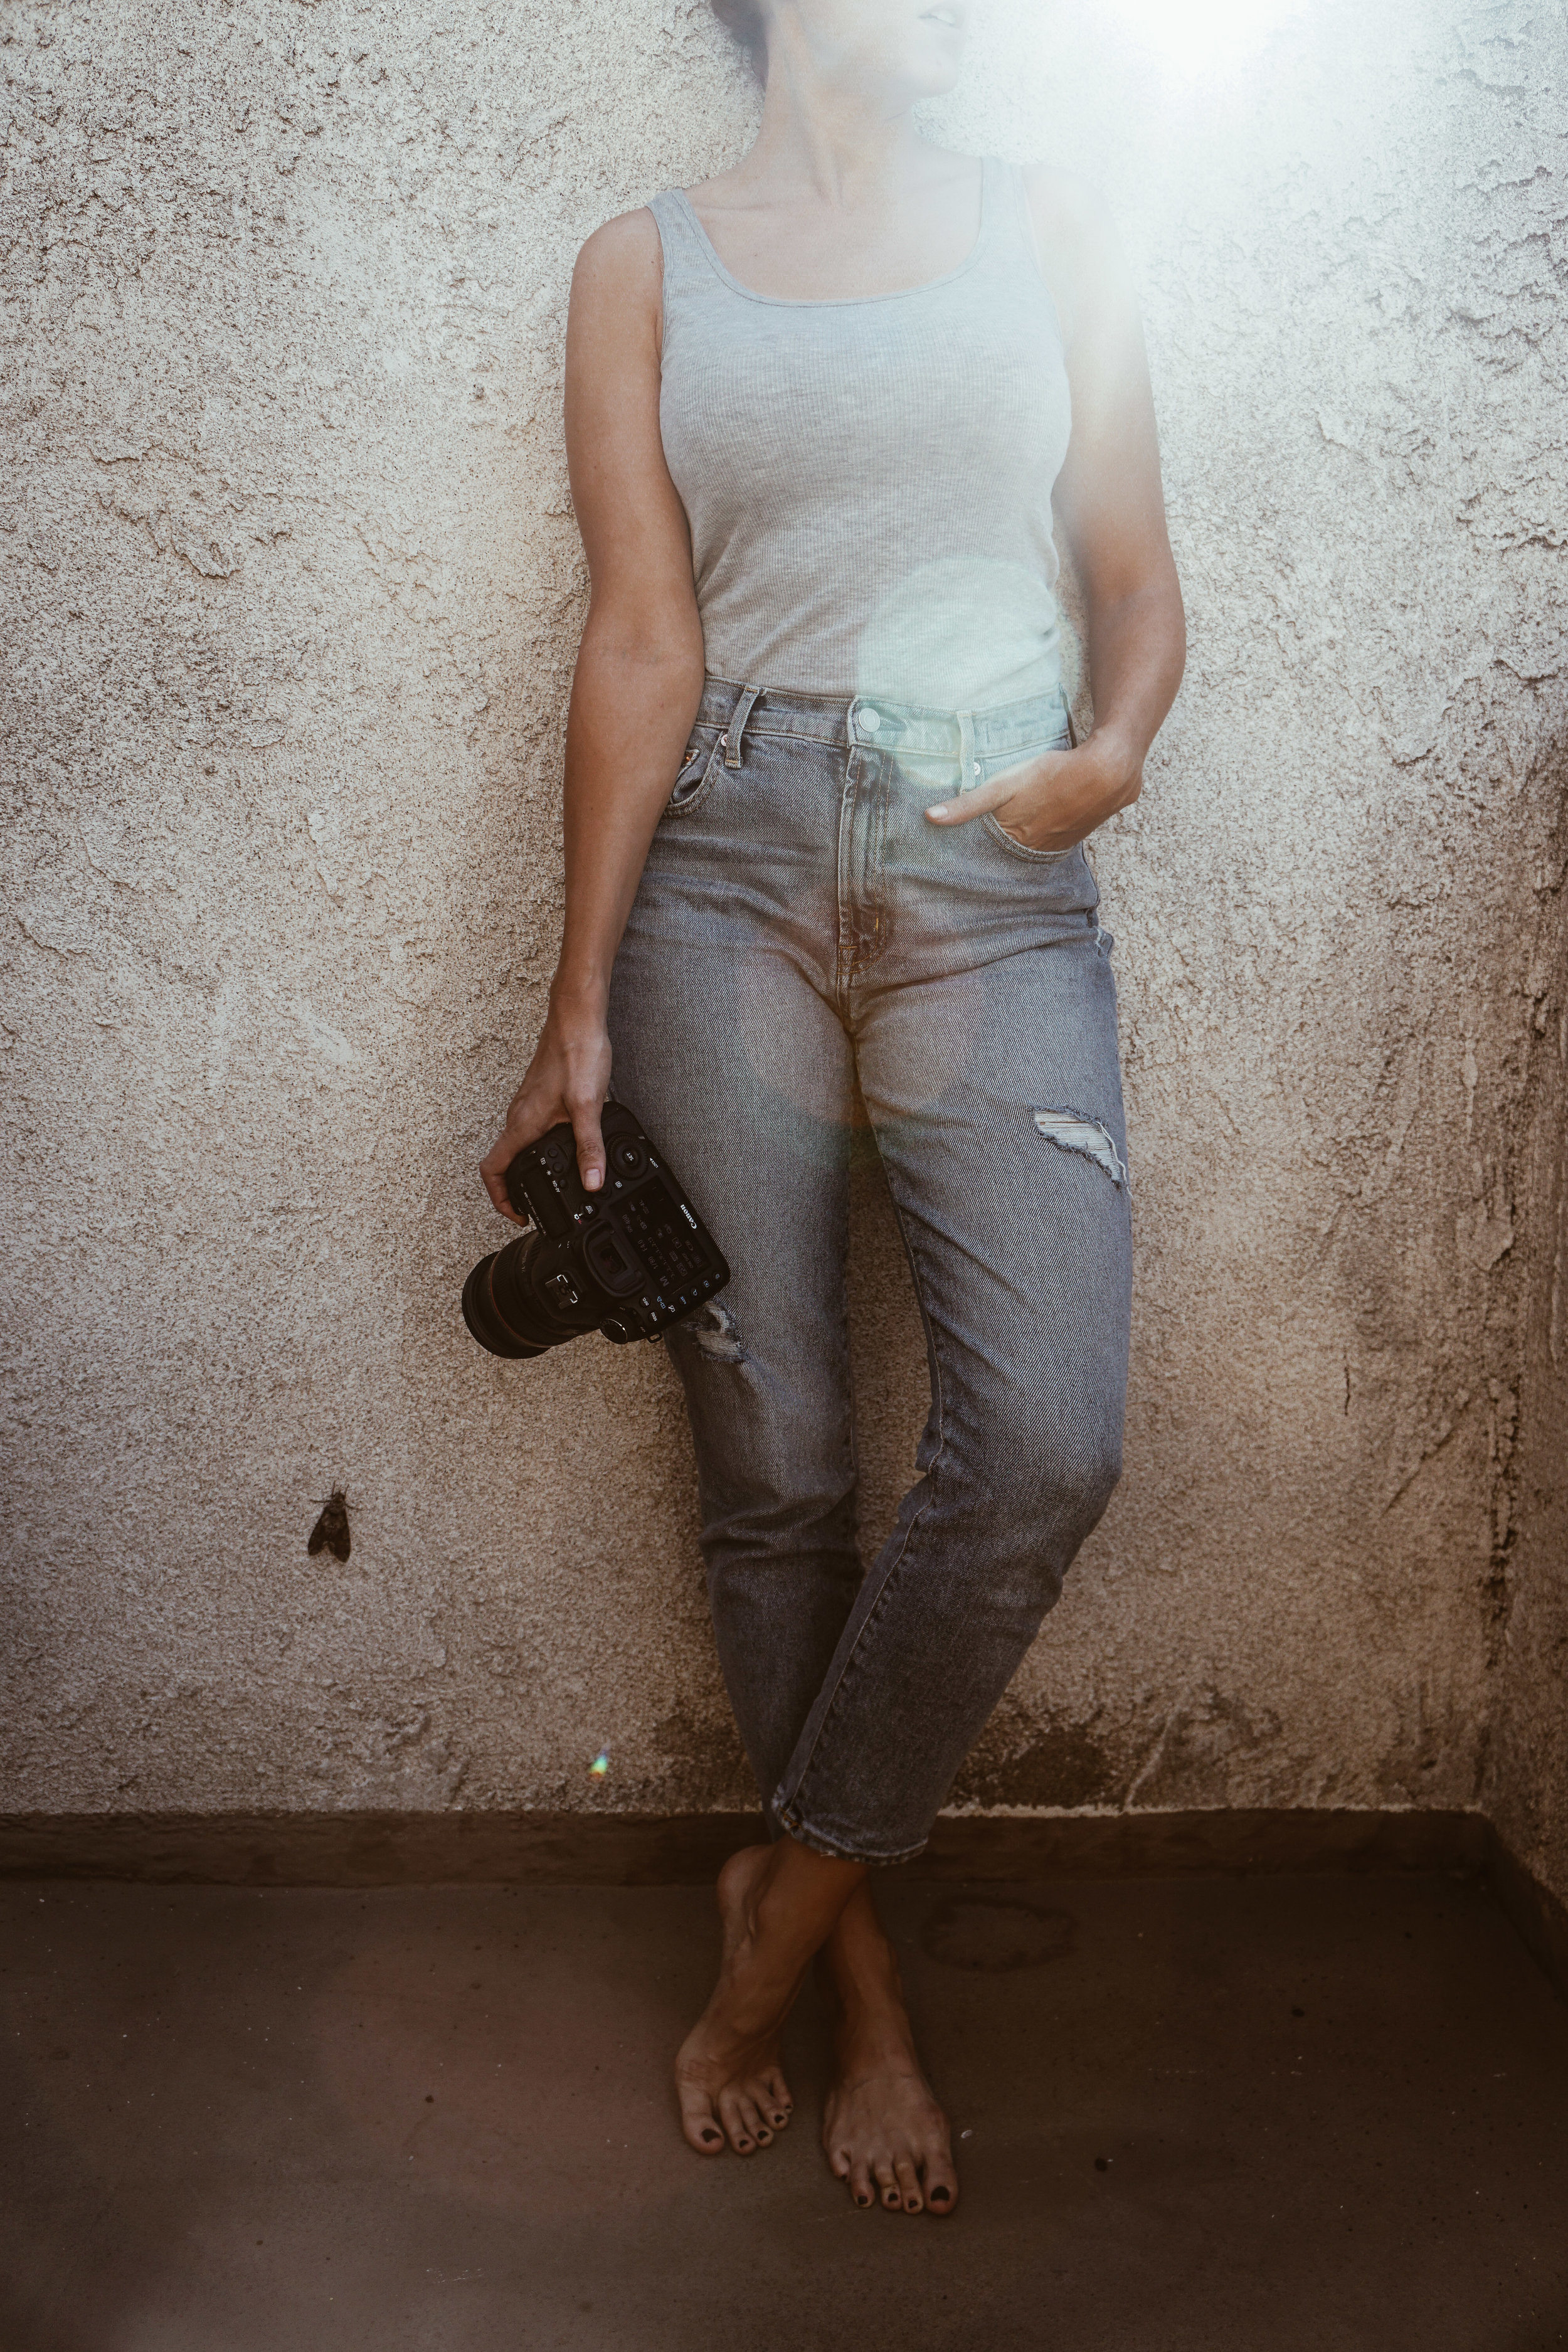
Now that we are solidly under way with this series, we are going to get a little more finite with the details of our leading lady, aka the camera we shoot with the most, our Canon EOS 5D Mark III. Dave will be diving into some basics on camera settings, as well as which settings we prefer for shooting indoors versus out.
And, I know we have said it on previous posts, but everything we do is self-taught through trial, error, good ol’ Google search, more Youtube tutorials than I can count, and just picking up the camera and getting out there and snapping shots. So, in other words, we may not do everything by the book, but it is what works for us. And we’re sharing it because we’re hoping it might work for you, too. Trust me, if we can learn to take good photos, you can definitely learn to take better photos of your travels, family gatherings, a fun outing with friends…whatever it is, we’re hoping to make photo taking just a little bit easier for you. We’re certainly not trying to make anyone into a professional photographer (There are lots of better resources, classes and schools for that.), but we do think the basics of photography and taking a basic good photo shouldn’t be something reserved for people with thousands of dollars of equipment.
So on that note, let’s gear up and get down to work!
Previous Classes
Class 001 // The Camera Gear We Use
Class 002 // Phone Photography + Out Favorite Photography Apps
Coming Up Next
Class 004 // How We Edit Photos

CLASS 003 // Camera Basics

Aperture, or sometimes referred to as f-stop, is the hole (or space) that allows light into your camera through the lens. Depending on which lens you are using, some might have a larger aperture capability than others, so these lenses will allow for more light when the aperture is open. They will also have a closer depth of field, meaning the object you choose to focus on will be sharper and the background will be more blurred. The confusing thing about aperture is that the larger the aperture, the more amount of light that will go in, but the lower the f-stop number will be on your menu screen. An easy tip to help us remember how to adjust the aperture is, the bigger the room, the more light there will be, therefore the smaller I am.
Below is a diagram that we have used in the past to help us remember aperture for when shooting.

Diagram from The Photography Project
Pro Tip: Shooting in low light is almost a given for having a higher f-stop to allow for more light to feed into the sensor and mirror. Try tweaking the shutter speed and ISO to balance out the light being let into the camera. This will still allow the object in focus to be sharp and have the depth of field behind to have that nice bokeh (out-of-focus) look.

ISO is the final piece of the camera trilogy, if you will. ISO’s importance goes back to the pre-digital era of photography when film was the medium to shoot on. With that historical reference, ISO was very useful to photographers as it was a gauge to determine the sensitivity of light relating to film. With digital, ISO is still very important as it will either allow you to brighten or darken the image you are looking to capture, and, staying true to its roots in film photography, it measures the amount of light sensitivity to the cameras sensor. So depending on the environment you are shooting in, you may need to adjust the ISO to compensate for how light or dark a place may be. For example, if you are photographing outside in bright sunlight, you would want your ISO to remain at 100 (the lowest setting for your ISO). But, shooting inside/in lower light/in the evening will require a higher ISO to achieve a brighter photo.
Pro Tip: Playing with ISO is key if you are in a situation where there is not enough light and it is either darker or overcast. Just keep in mind, if you turn up the ISO too much it can cause images to come out grainy or white-washed. Be sure to compensate the aperture and shutter speed when adjusting the ISO. A concept that has been helpful for us in achieving this is by working in multiples. For example, if we are shooting in a low light area, and we have our ISO set at 400 and shutter speed set at 1/80. If we decide that we need more light for the image and turn the ISO up from 400 to 1600 (that is 4x on the ISO; 400x4=1600), then we would lower the shutter speed by 4x to 1/20 (80/4=20). We would also want to expand the aperture to let the light in.


One of the most common questions we get from others regarding our photography is “What do we shoot on?” Now we covered this question on a higher level in our intro post a couple of weeks back, and it pertained specifically to the types of equipment we used. This week’s version of that question is less about the type of camera or equipment we use, but more aligned with the setting we like to shoot on.
Naturally, when we first started out our answer was always AUTO (even though our cheeks would blush from embarrassment to admit it), but that answer, especially when you are starting out is 110% acceptable! Nowadays we shoot on MANUAL, but please know it was not an instantaneous switch. It happened over time, experimenting and through continuously shooting that we became more familiar with the settings and features to be able to shoot completely on manual.
Long story short- don’t be overwhelmed. When you break it down, it’s really quite easy. Regardless if you are using a Canon, Nikon, Sony or any other brand, at the core, there are only 3, yes 3, things you need to be concerned with when using a camera. Let’s dive into them!

This might sound self explanatory, but shutter speed is another crucial pillar in camera photography. Similar to how aperture allows more or less light into the cameras sensor, shutter speed determines how long or how short the shutter will be open for, or how much exposure your shot is getting. For example, say you are shooting something that is in motion, like a car. If you have a longer exposure (lower shutter speed), that car will come out blurry and the background will be in focus. Having a shorter exposure (higher shutter speed) will have an opposite effect, where the object in motion will be in focus and the background will not.
Pro Tip: Be sure to adjust your aperture and ISO when changing the shutter speed. Because your aperture has to do with how much light is being let in, your shutter speed determines how fast/slow and how long/short that amount of light let into the cameras sensor will be. This means if you have a longer exposure, be sure to compensate for a lower f-stop. This is especially helpful when photographing stars or moving water. Also, when processing a long exposure shot, it is recommended to use a tripod and a shutter remote to reduce camera shake, which will cause a image to come out blurry.

And lastly, since this is a lot to digest all at once, here is some general, overarching advice that we would give to anyone picking up a camera:
1. Get comfortable with the camera itself and let the camera do the work
2. Shoot, shoot, shoot and shoot some more. The key to taking better photos is to just keep taking more photos.
3. Try changing only one setting for the duration of a shoot. So, for example, one time try playing around with only ISO (and don’t touch any other settings), then another time try only adjusting aperture. It will help you get comfortable with understanding each of those settings individually, and make it less overwhelming to learn everything all at once.
4. Get out there and just shoot.
3. Don’t be afraid to experiment! Try adjusting the aperture, shutter speed, ISO, lighting, your angle, etc. You never know how something will look until you try it, and if you don’t like it, just delete the photo and move on to trying something else. You might even like it enough to make it your distinct style.
6. Keep shooting!
7. Keep shooting!!
8. Keep shooting!!! (We think you get the hint…)
So there you have it, the 3 pillars to using your camera. There are other settings that you can always adjust, such as White Balance (we usually keep ours set to Auto) or exposure composition (we don’t adjust ours on our camera, as we keep exposure adjustments to our post-photo processing in Lightroom), but we leave that to you to explore and see what you feel comfortable with.
As always, if you have any questions don’t hesitate to reach out and ask!