DIY Wedding Makeup and Hair
Full disclosure- I never set out with the intention of doing my own makeup or hair for our wedding. It just kind of happened. I was so busy getting all the other details in place, I completely forgot "Hey, I might want not want to scare people when I walk down the aisle!". I went on a trial with a makeup artist (who should be renamed a make-up witch)...she was rude, condescending, frequently got annoyed with things I said or did, she poked me in the eye with an eyeliner pencil (which was somehow my fault, according to her), she asked me to buy several hundred dollars worth of makeup for her to use at my wedding, oh and to top it off, she wanted to charge me $700 dollars. Thanks, but no thanks! I quickly realized doing my own wedding makeup would be far more reasonable and a lot less painful.

Here are my DIY wedding makeup tips (with all product details listed at the very bottom)-
Prime- It should go without saying, but make sure that you are taking good care of your skin. Washing, toning, removing makeup, and lots of moisturizing are all key to having a great base for the rest of your makeup. One of my favorite moisturizing/get-even-toned-skin tricks is to simply rub a few drops of Vitamin E oil on my face. Facials, peels, masks, scrubs, etc are all great ways to get your skin in tip-top shape, but just be sure to do them at least 1 1/2-2 weeks out. If your skin reacts badly, you will still have enough time to heal up before your big day. And don't forget about your lips when you're prepping your face; get your wedding ready with a quick sugar and olive oil lip scrub or even a little brushing with your toothbrush.
Prep- In addition to caring for your skin, make sure you do other prep work before you're big day. Get your brows plucked, shaped and groomed. If you choose to get a spray tan (I did), do so two days in advance, so the color has time to settle and look natural. Another huge trick that helped me in doing my own wedding make-up was getting eyelash extensions. I have naturally invisible eyelashes, not to mention mascara can be a pain (especially with all those tears of joy), and since I had gotten my lashes done in the past, I knew I would like the results. It was definitely worth it, both for the sake of my wedding and my honeymoon afterwards.
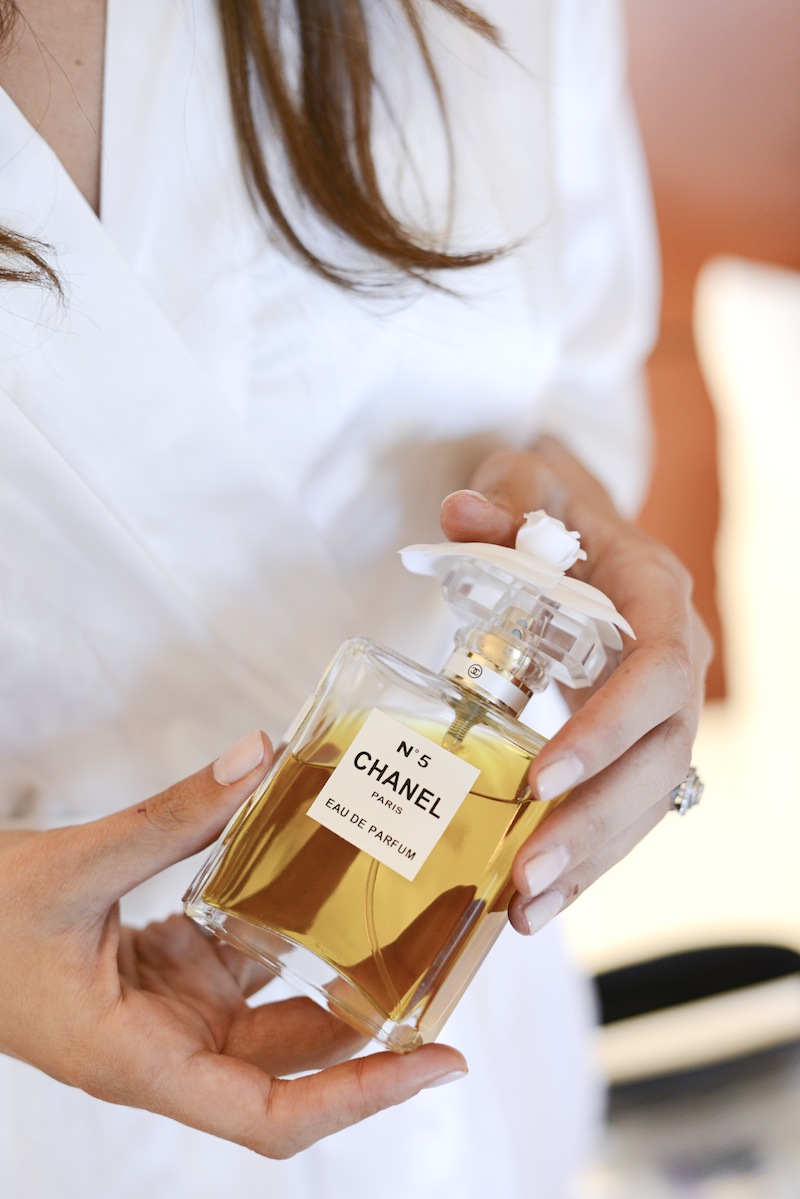
Base- Another important step is making sure you have a good foundation, one that stays in place, doesn't look oily, covers evenly, and doesn't look caked on. I don't wear foundation, so finding one I liked wasn't an easy task. Since I wasn't paying to get my make-up done, I decided to splurge on a really good foundation, and I ended up getting Chanel's Perfection Lumiere. That stuff is a total dream, and completely changed my foundation-hating heart. If you already have a foundation that you use, great! But if not, I recommend either going to a beauty store or a makeup counter and having a professional help you pick your shade and the type that is right for your skin.
Going along with foundation, I would also recommend having a good under eye concealer (I like bareMinerals), cover-up, a primer, a make-up sponge, and a foundation brush. Once your foundation and concealer layer is on, set everything with a thin veil of translucent powder.
Eyes- Next, you'll want to focus on your eyes. Because my ceremony was during the day and my reception wasn't until later, I went for a lightened up smokey eye. I primed my eyelid with Lorac's "Behind the Scenes" primer. Then I used a combination of the pink and light brown from Chanel's "Mystic Eyes" as my base. I filled in the crease with the brown from Chanel's "Lilium" topped off with Chanel's "Illusoire". Next I used an eyeliner brush to line my eyes in a combination of the dark brown from the "Mystic Eyes" and the black from Lorac's "Movie Star" topped with a waterproof liner. I finished the look off Chanel's "Emerveille", focusing it on the corners and my brow bone. My biggest tip for eye make-up is to do what you normally do, then add just a touch more. You don't want it to look like you have a ton of makeup on, but, keeping lighting and photography in mind, I would recommend things like accenting your crease more or lining your inner lid and corner with a shimmery, lighter shade. Also, this is not the time for experimenting; stick to neutral colors and use shadows that you already have and are familiar with. All the shadows I used were ones I use on a regular basis so I knew exactly how to work with them and exactly how they would look. Of course, don't forget your eyebrows- brush them, fill in spots with a pencil (use an eyeliner pencil one shade lighter than your brows), and keep them in place with a coat of clear mascara.
Face- I finished off my face with a pop of blush, a dusting of bronzer, and some highlighter to help contour my cheekbones. Again, use shades that you are familiar with and don't put extreme amounts on. You want to look like you, not like a clown. As with my eyes, I used all products that I knew and had been using on regular basis.
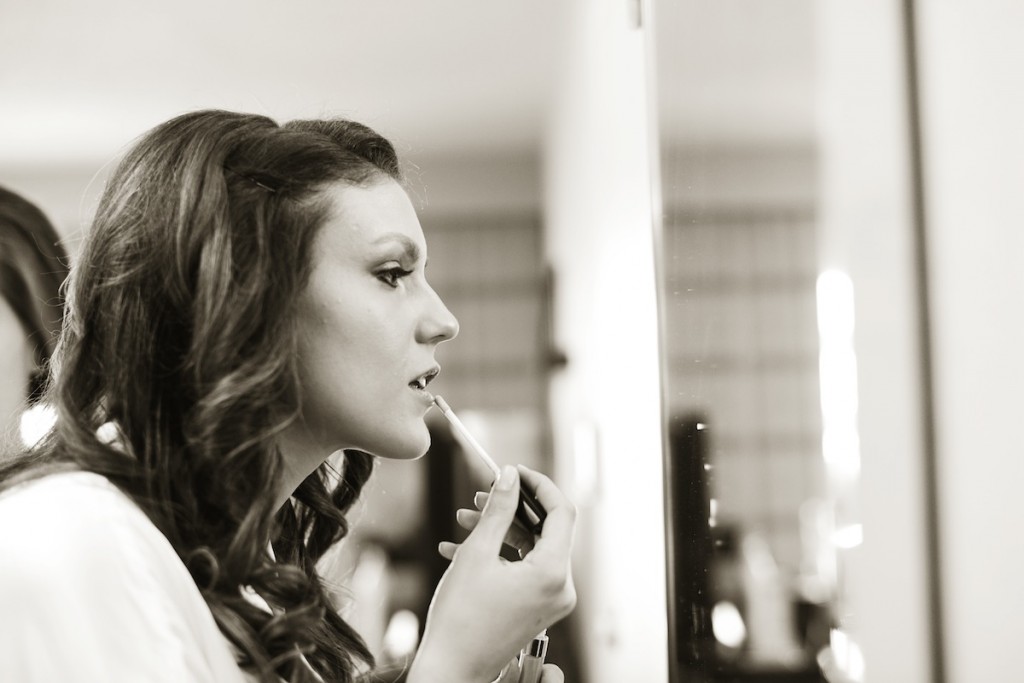
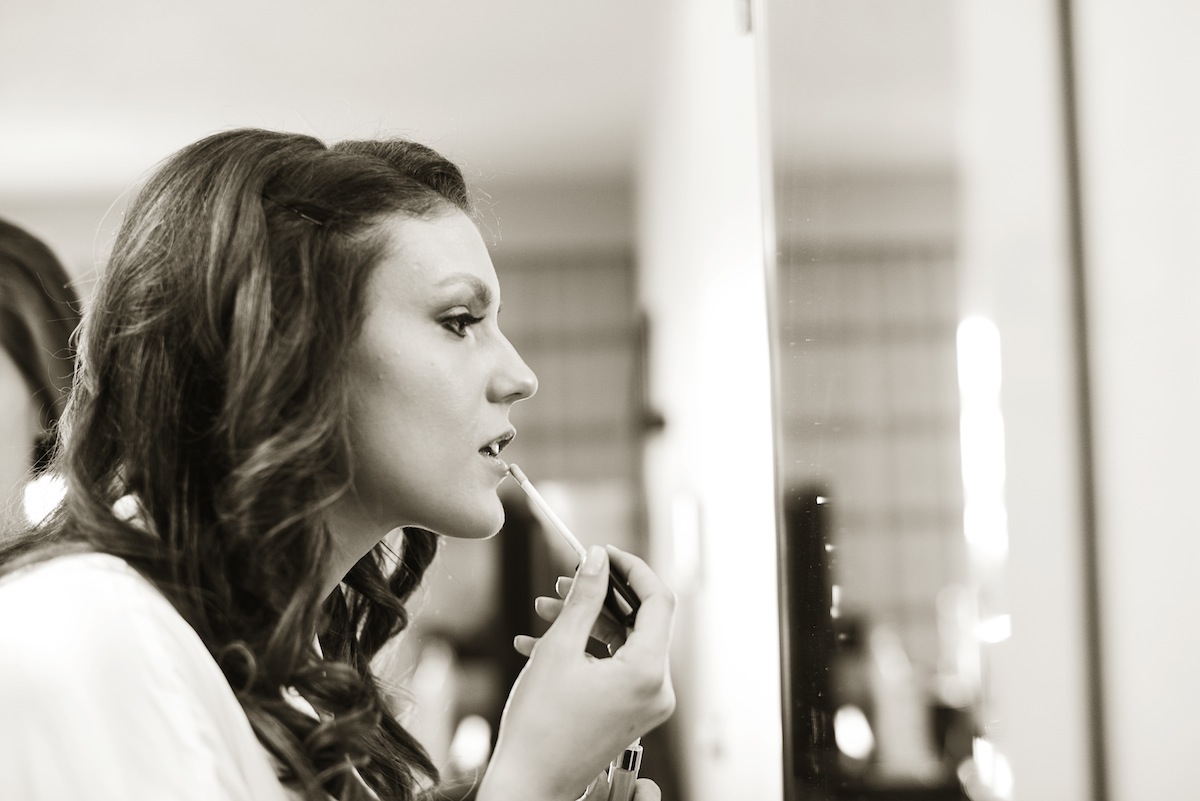
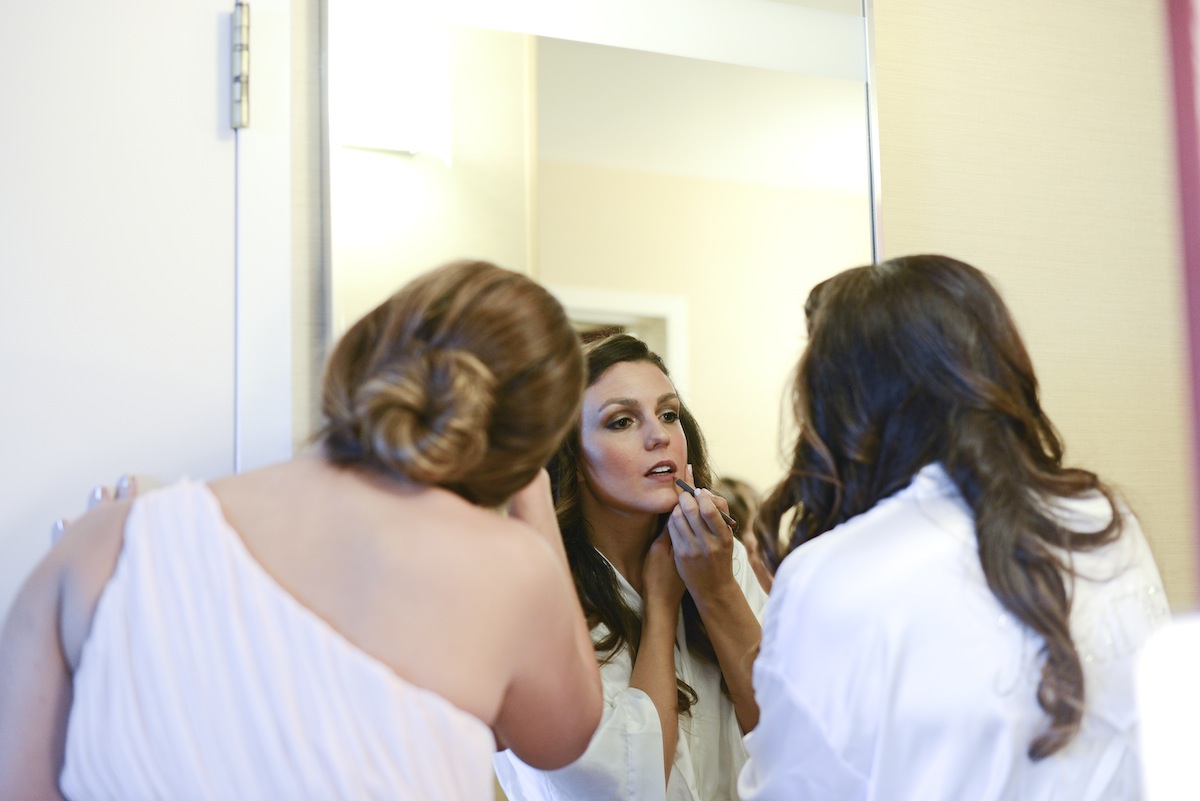
Lips- Line your lips then gloss up those puckers with a neutral lipstick and gloss. I hadn't previously been into lipstick, so this was another splurge for me, as I wanted to make sure I had a shade that matched my skin tone. It's also kind of cool because now anytime I wear that lipstick it reminds me of my wedding day. A note about lips- if going bold and bright is your thing, do it, but just make sure to keep your eyes relatively neutral. Likewise, if you go big with the eyes, keep the lips toned down. If you aren't sure what the heck you want to do, neutral will always be a safe choice.
Finish- Once you have your look exactly how you want it, spray it with hair spray. No, I didn't just jump to talking about hair. Seriously set your face with hair spray. Of course, make sure you hold the can about 5 inches from your face and close your eyes (duh), but hair spray will ensure your makeup isn't going anywhere (a trick I picked up from a runway make-up artist).
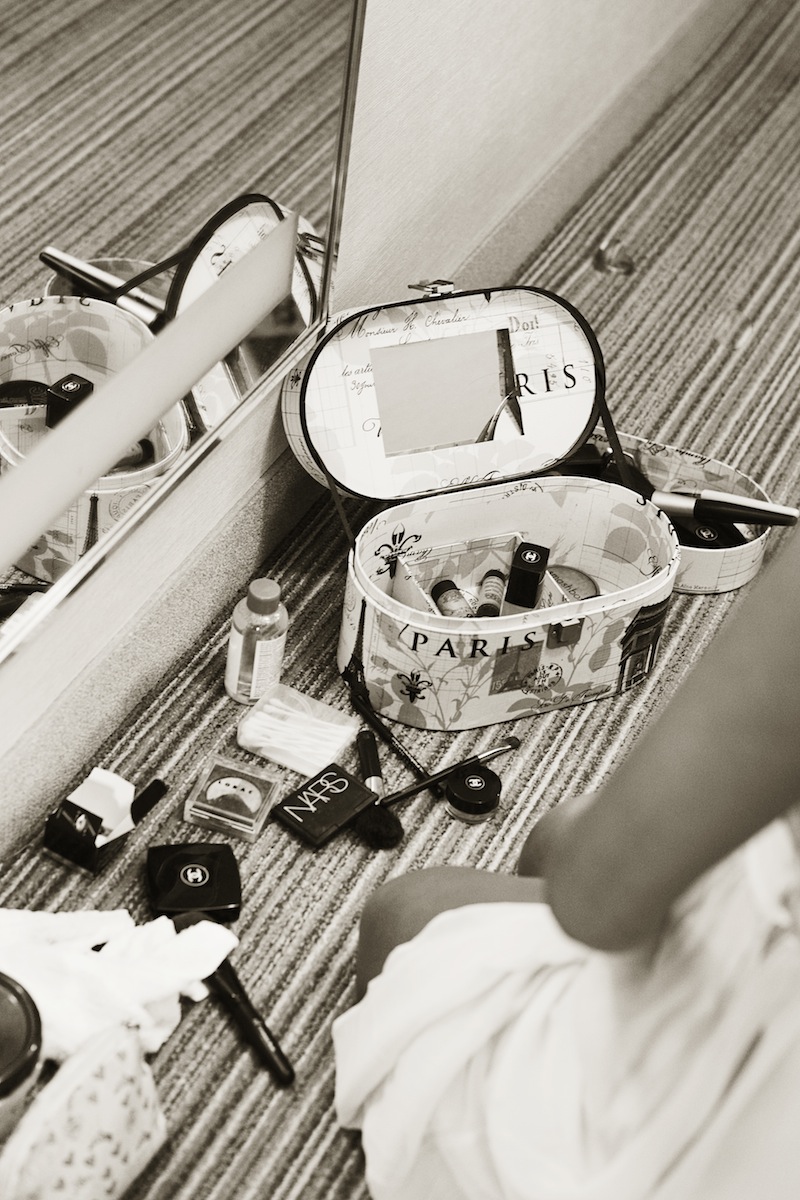
Don't Leave Without- Lipstick and lipgloss, blush and brush, bronzer and blush, concealer, blotting papers, bobby pins, hair ties, mini hair spray bottle, perfume...whether you have them in a clutch, you leave them in the limo, or one of your bridesmaids holds onto them, these items will be your touch-up saviors.
Last Advice- Just remember to be you. You don't want to walk down the aisle and have people only see your makeup or have your husband wondering if his bride got lost because he doesn't recognize you. Like I mentioned already, this isn't the time to buy all new makeup and try fancy new tricks, or trendy looks, or bright colors, or crazy highlighting. Stick to what you know and use colors, shades, and products that you're familiar with. Splurge on things like foundation or eyelash extensions, not eyeshadows and powders (you can get such good quality ones at drugstores, no splurge is necessary). When you look back at your wedding pictures, you'll be much happier with a classic, clean, neutral look that lets you shine through.

Here are my DIY Wedding Hair Tips-
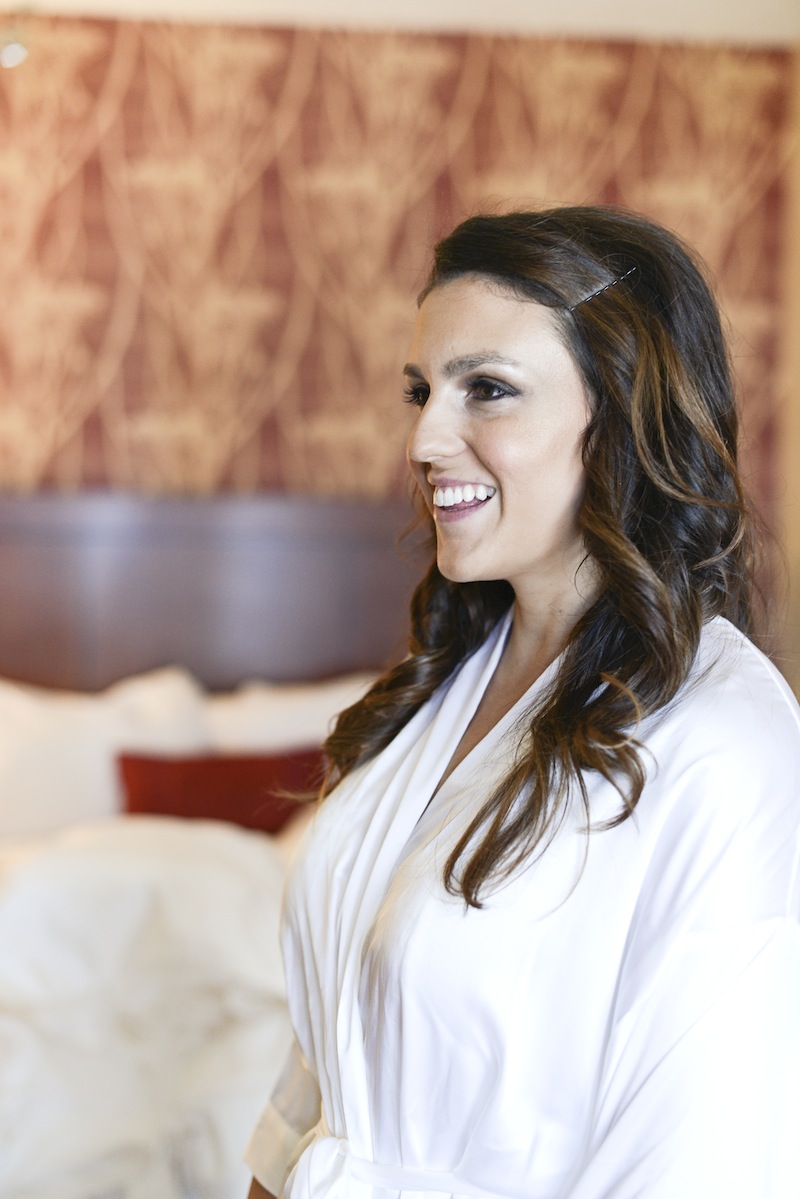
I almost feeling silly saying this (because it's so freaking easy), but the most affordable way to get your hair done for a wedding, is to get a blow out. Now, I know I'm lucky that I have several blow bars right where I live, but your local hair salon could just as easily give you a blow out. For my hair, I woke up very early Saturday morning and got a blow out at the Drybar. I contemplated getting one of their up-do's (incredibly affordable as far as wedding up-do's are concerned), but decided I liked my hair better down. Once I was back in my hotel room, I simply styled it how I liked, by pulling some of my hair back on one side and securing it with bobby pins. My bridesmaids all chose to do their own hair, but a place like the Drybar would be also be great for handling a bridal party group. Plus, you can't really beat $40 for a wedding 'do (or a regular 'do, for that matter).

All pictures taken by our incredible wedding photographer Lesley of Kensington Blue
- Primer- Smashbox Photo Finish Primer
- Foundation- Chanel Perfection Lumiere Long-Wear Flawless Fluid Makeup, 30 Biege
- Foundation Brush- E.L.F Foundation Brush
- Make-up Sponge- Sephora Sculptor Makeup Sponge
- Eye Concealer- bareMinerals Stroke of Light, Luminous 1
- Cover-Up- Smashbox High Definition Concealer, Medium
- Powder- NYC New York Color Smooth Skin Loose Face Powder, 741A Translucent
- Blush- Nars, Orgasm
- Bronzer- Smashbox, Sunkissed Matte
- Highlighter- Nars Illuminator, Orgasm
- Eyelid Primer- Lorac Behind the Scenes
- Eyeshadows- Lorac Movie Star, Chanel Mystic Eyes, Chanel Lilim, Chanel Illusoire, Chanel Emerveille
- Eyeliner- Maybelline Unstoppable Eyeliner, Onyx
- Eyebrows- E.L.F. Brush, Pencil, and Clear Mascara
- Lipliner- Laura Mercier Lip Pencil, Chestnut
- Lipstick- Chanel Rouge Coco Shine, 71
- Lipgloss- Chanel Glossimer, 94
- Eyelash Extensions-Wink Eyelash
- Spray Tan-NY Sun Club
- Eyebrows-Boom Boom Brow Bar
- Hair- Drybar