
DIY Photo Booth

I hope you guys are enjoying the wedding posts so far. And if you're not...well that's just too bad! Obviously kidding, and my sincerest apologies if you're getting sick of all the wedding stuff....after this week there will be no more, I promise!
I had briefly mentioned yesterday about the DIY photo booth that we had at our reception. While it doesn't quite take the place of an original photo booth, it still provides a lot of fun for your guests at only a fraction of the cost to you (I'm talking less than $100!!). Side note- our wedding was the reason we made our own photo booth, but truly no reason is necessary for this affordable and easy DIY. This photo booth would be perfect for any type of party, a small gathering, a random Friday night in, when you're bored and feel like snapping some funny shots, maybe even a Wednesday night pow-wow....basically you have no excuse not to get in on this photo booth action!

Here are the steps we took to creating our own photo booth-
•We originally planned to make the photo backdrop against a wall, but our reception vendor suggested we use one of their extra screen room dividers. It worked perfectly, but a wall is a great back up option if no divider is available.
•Keeping in line with our cake, we decided to make the backdrop pink ombre as well. We purchased 2 packages of each color (white, light pink and dark pink) of wide crepe paper (similar to these; can also be found in some Michael's, Hobby Lobby and Party City). The sheets of paper were then simply taped to the divider in order from lightest to darkest.
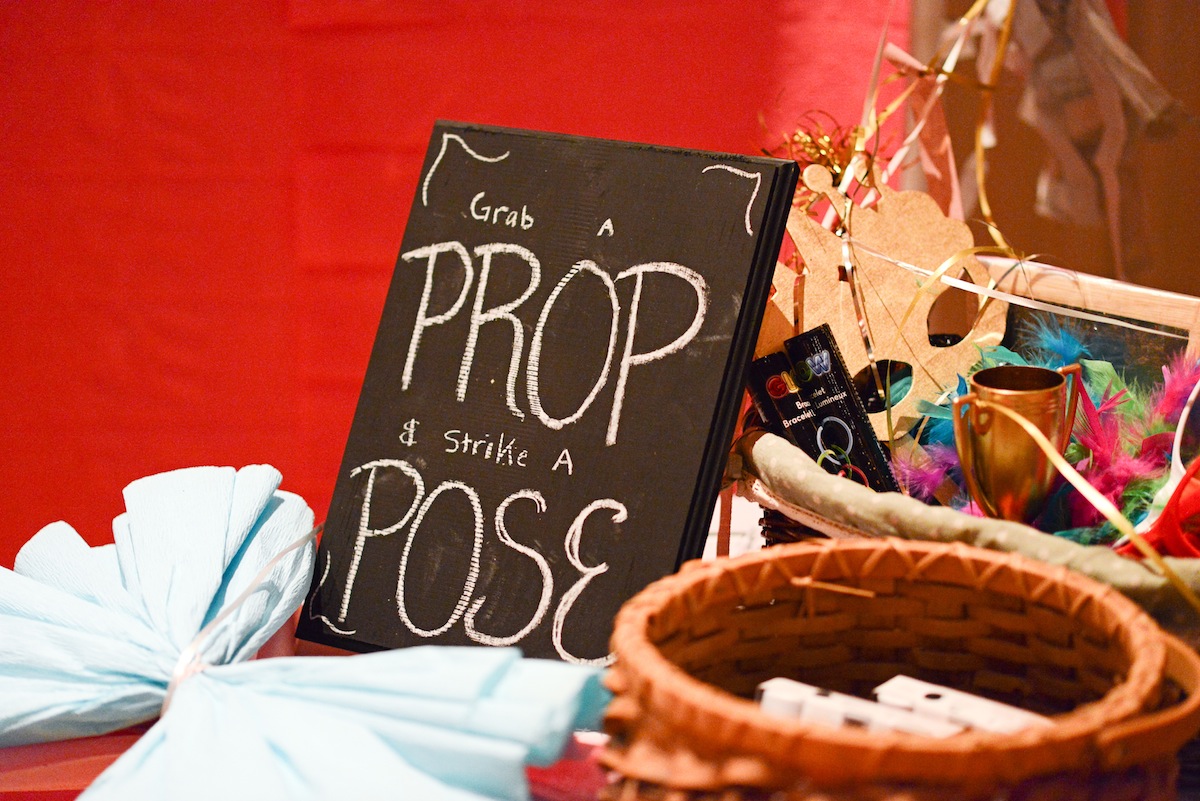
•Like our sign for the sparklers, our photo booth sign was simply made from a wooden sign bought at Michael's and covered with chalkboard paint.
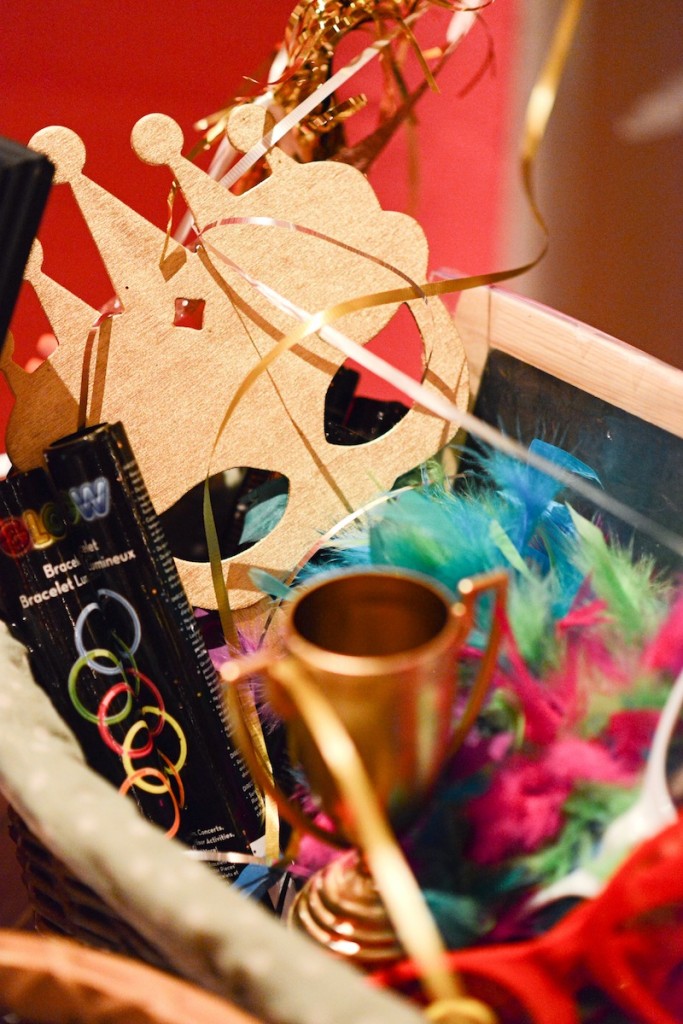
•Our props were a combination of stuff we had, stuff we made, and even a few dollar bin finds. There are no set rules for what kind of props you need or even how many you should have. Most of ours disappeared by the end of the night, so don't spend a lot on these items. Most importantly, get things that are fun and colorful. Our props included- 2 giant bow ties (made from leftover crepe paper), a couple of packages of glow sticks (from the Target dollar section), 2 pairs of giant sunnies (Party City), a multi colored boa (Party City), a mini chalkboard and chalk (dollar section of Michael's), a plastic trophy spray painted gold (dollar section of Target), wooden crown mask spray painted gold (less than a dollar at Michael's), wooden star wand spray painted gold with gold and silver ribbon tied on the handle (less than a dollar at Michael's; these are a similar option), and a handful of bright plastic beads (that may or may not have been hanging around from my college Mardi Gras days). We threw all the props in a basket from Christmas Tree Shop (they have a great selection of cheap baskets).
•As part of the props/background decor, we included two large balloons with fancy sparkly fringes. The balloons we purchased at Party City, then my husband and his father had them blown up at a local grocery store the morning of our wedding. We had pre-made the fringes earlier in the week following a method similar to this, but using gold and silver tissue paper, pink crepe paper, and gold and silver tinsel. The fringe was then tied onto the balloons at our venue and a weight was added to the bottom to keep the balloons in place.
•We finished our DIY photo booth by providing a basket filled with disposable cameras (we bought the wedding pack at Party City) so our guests could always have something to snap a photo with, whether it was one of our cameras, one of theirs, or even a cell phone.


All pictures taken by our incredible wedding photographer Lesley of Kensington Blue
In case you missed it you can see our look here, the venue here and find out all the little details of our wedding here.


