DIY Outdoor Bar Cart + Styling Tips

DIY Outdoor Bar Cart + Styling Tips
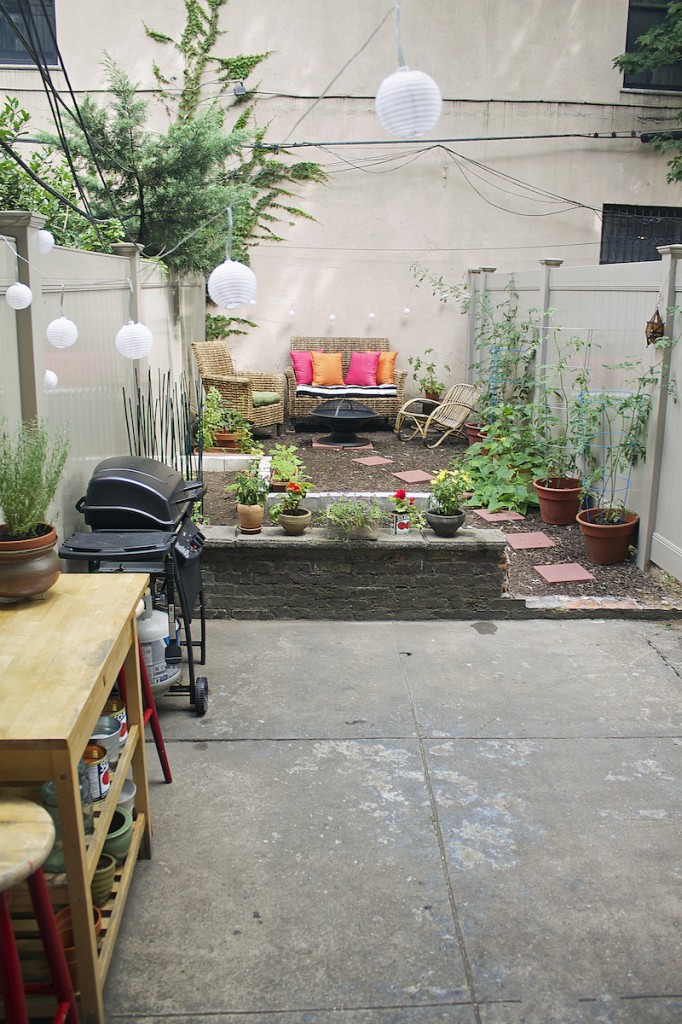
It was quite by mistake that we ended up with an outdoor bar cart in our backyard, but now that we have one, I am convinced everyone that doesn't have one is totally missing out (ummm, having a bar just inside your house is so yesterday, haven't you heard?!). Before I reveal the 2nd part of our backyard makeover tomorrow, I thought I'd share one last snippet (I'm such a tease, I know) by revealing our little DIY outdoor bar cart. Also, it's Thursday, which means it's almost Friday, which means it's basically the weekend, which means you're totally going to need a bar cart of booze in your backyard. Oh, and I made you a video, because, well, I couldn't make you a drink at my outdoor bar cart, so making you a video was the next best thing. Obvs!
P.S. To see our full $500 backyard makeover, click here.


SUPPLIES
Wood Stain (you want something that says waterproof, like for exterior use)
HOW TO MAKE THE BAR CART
1. Use a damp cloth to wipe down the kitchen cart to make sure it’s nice and clean.
2. Add on a coat of wooden stain, then let it dry for at least 4 hours. Repeat. Let it dry overnight.
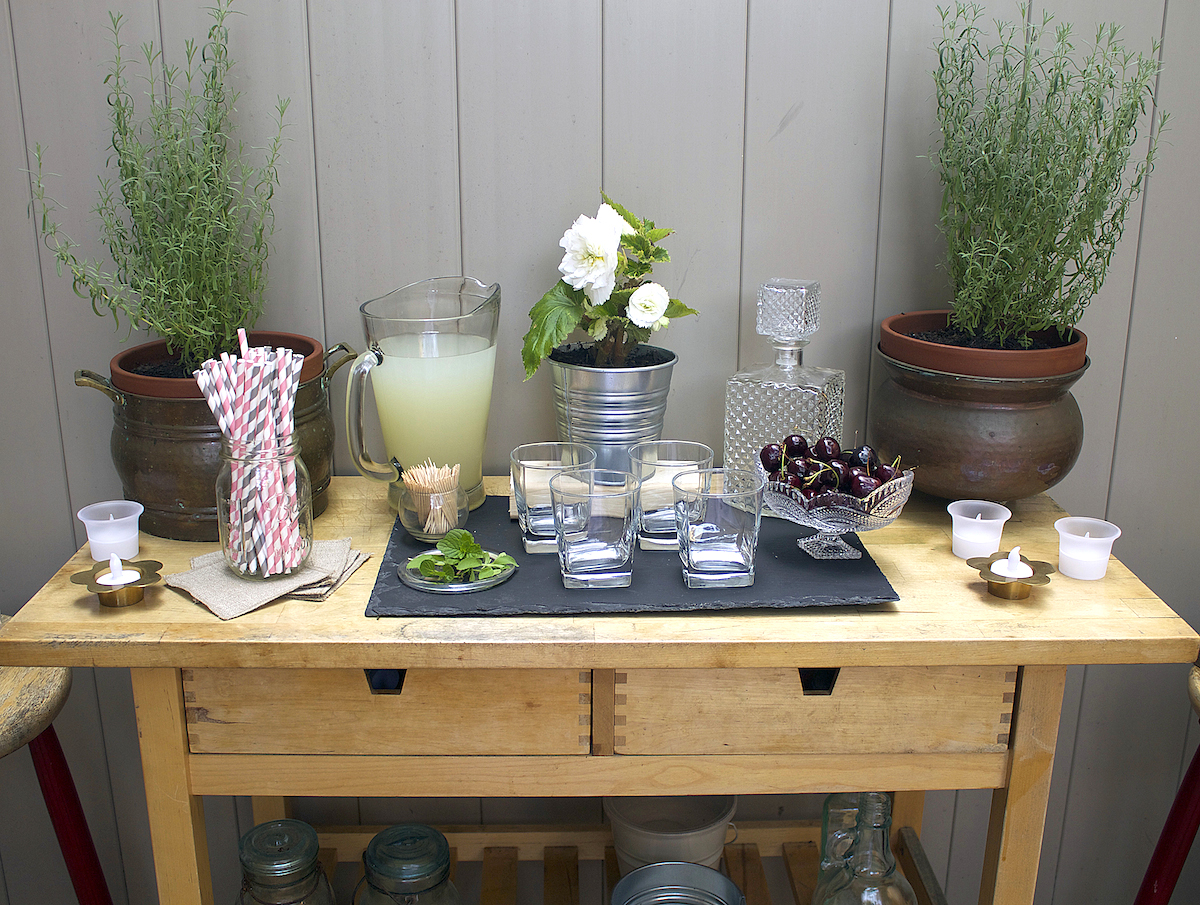
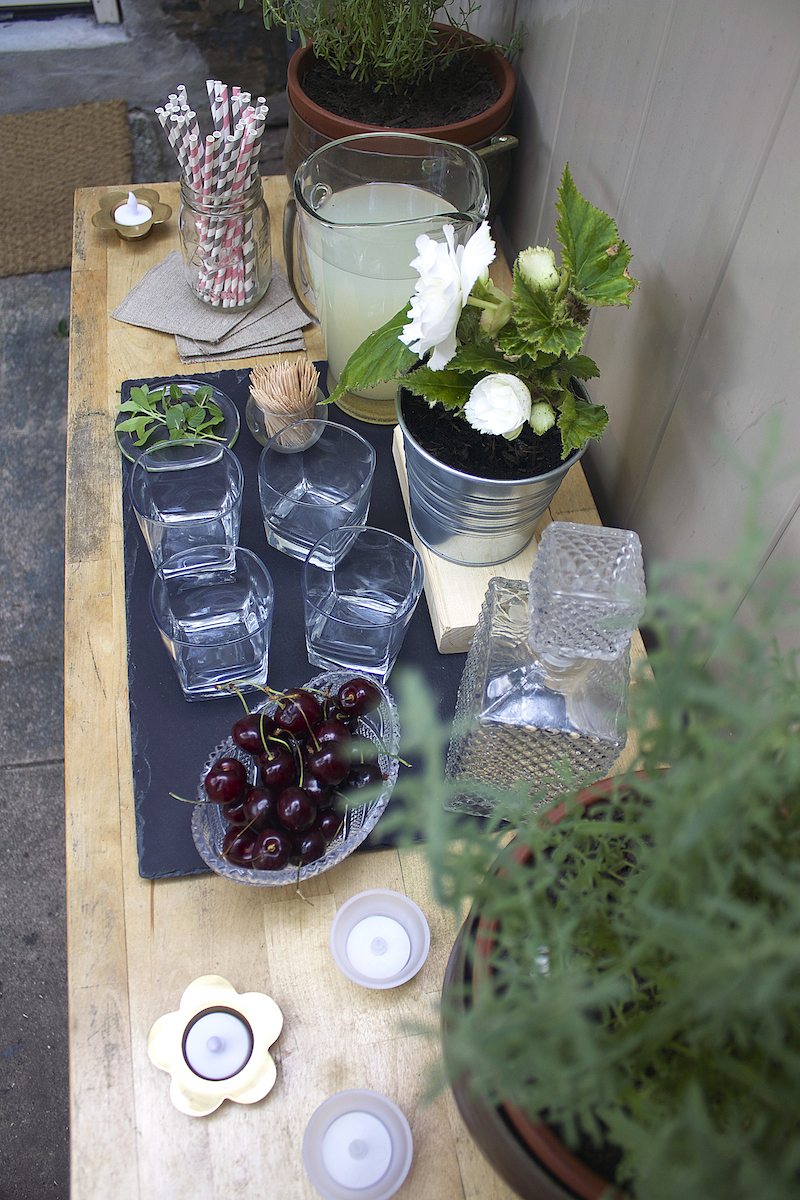
To style the bar cart, some of the things I like to have include:
Non-alcoholic beverages/mixers, liquor (served in a fancy decanter, preferably), glasses, napkins, fun straws, fresh fruit, mint, toothpicks (for the fruit), votives (battery operated ones are best for outdoors), various trays, slate, wood pieces, etc (to add visual variety), fresh flowers
Proceed to style as you wish and watch the below handy dandy little video I made you for some styling inspiration.
Supplies Shown In Video (linked to either the same item or similar items): Pitcher, Glasses, Mason Jars, Straws, Decanter, Slate Board, Flameless, Votives, Galvanized Bucket (holding the white flower; also great to use as an ice bucket)